How To Make Perfectly Light and Sticky Rice Every Time (2 Sure-Fire Family Methods!)
Growing up in an Asian family meant rice was our go-to starch for pretty much every meal. I used to go to my Midwestern friends’ houses and be floored that they had mashed potatoes and no rice at dinner!
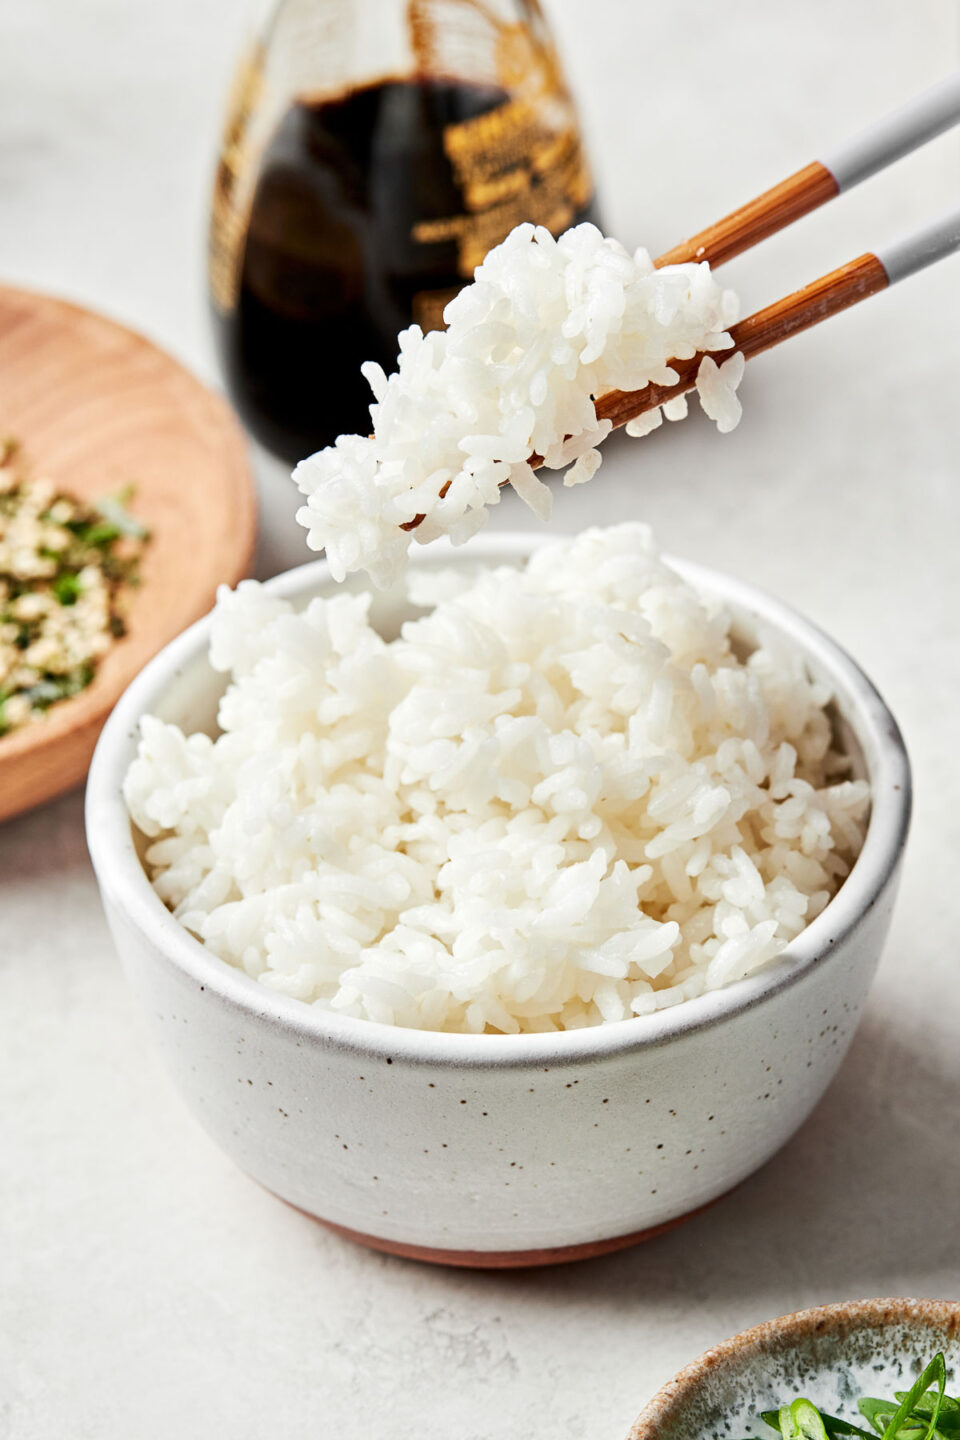
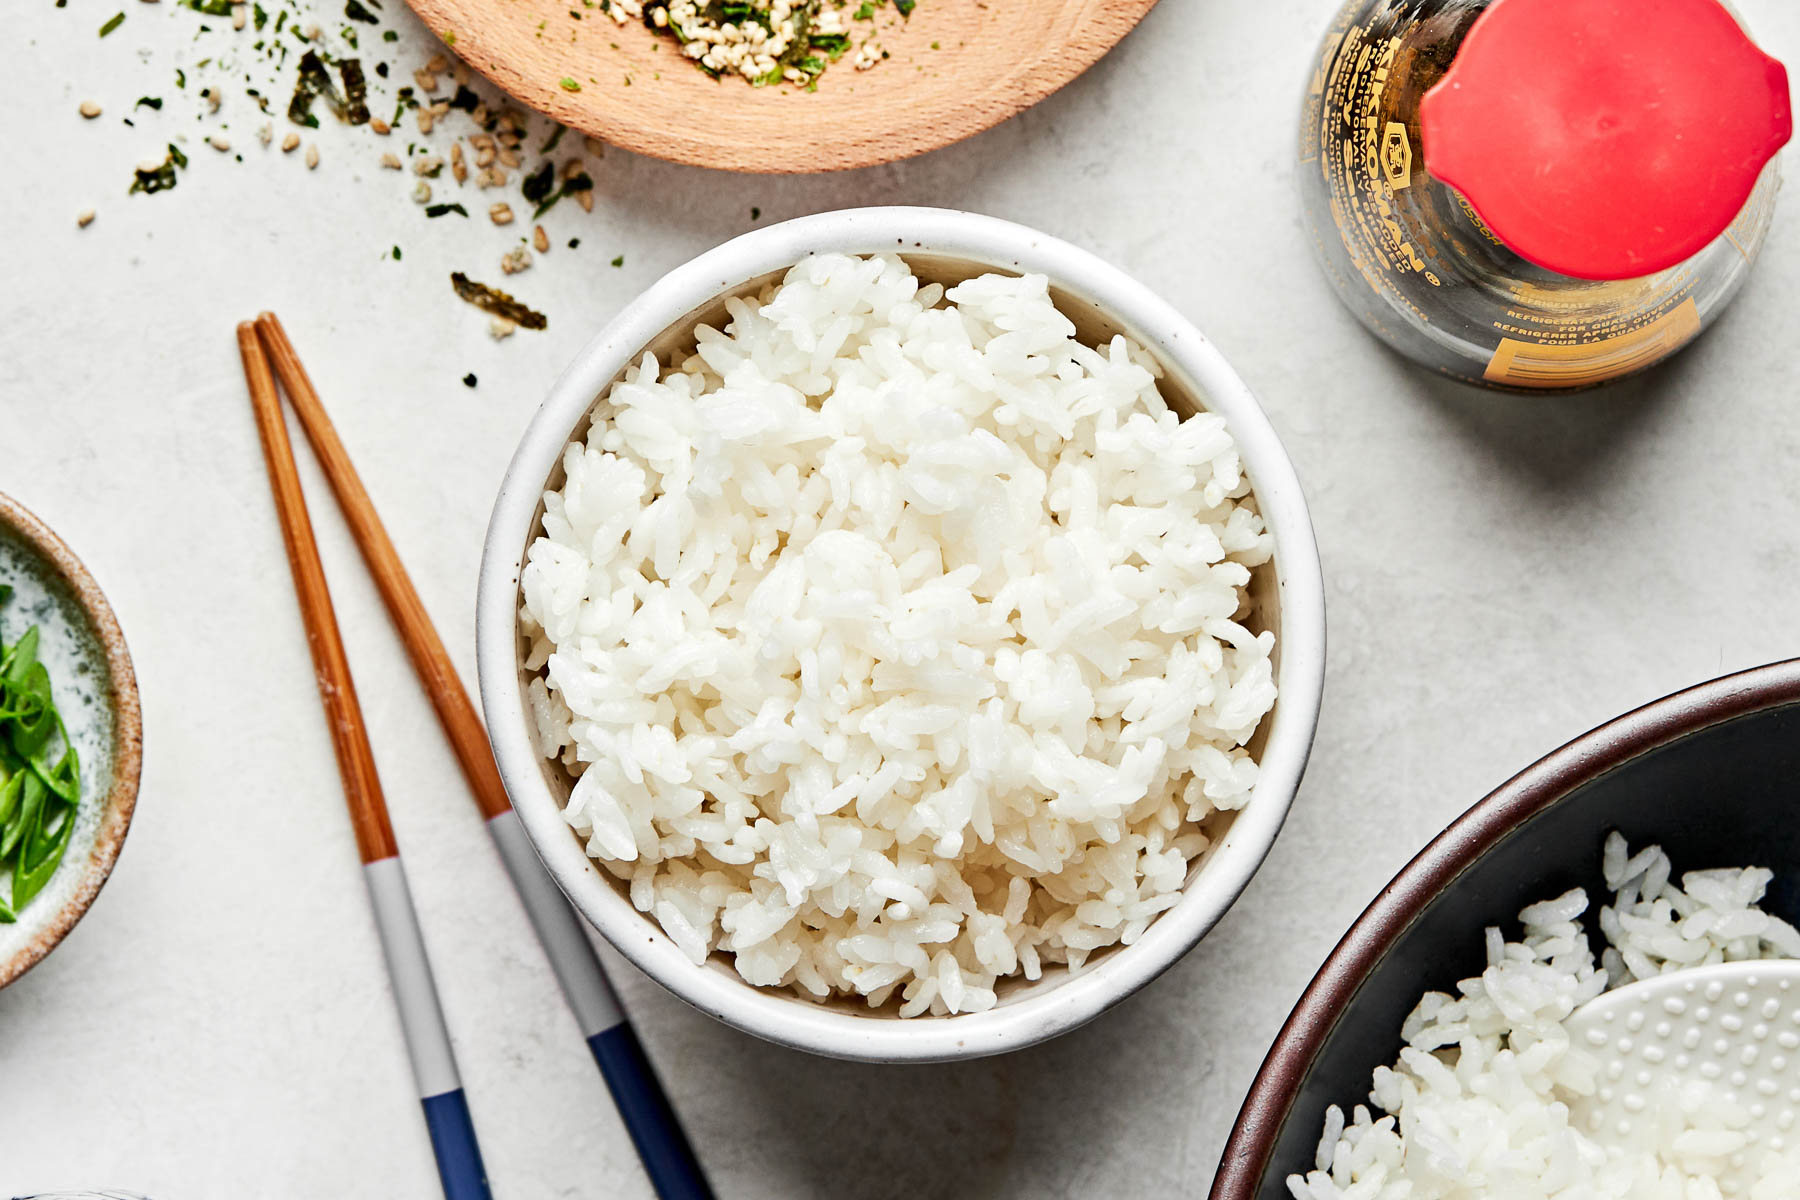
Since I learned how to make rice from my mom (who was taught by her Japanese mother, grandmother, and aunties), I’m pretty particular about my rice. Perfectly cooked rice should be gently steamed until the grains are plump and cling together just the right amount. THAT is the cozy rice of my childhood. 🥰
Nailing that texture does take a little finesse – but don’t worry! If your rice often comes out soggy, dense, or al dente, these 2 tried-and-true methods are the perfect fix.

A Taste of Hawaii at Home
18+ cherished family recipes, from my ‘ohana to yours.
Why You’ll Love Calrose Rice
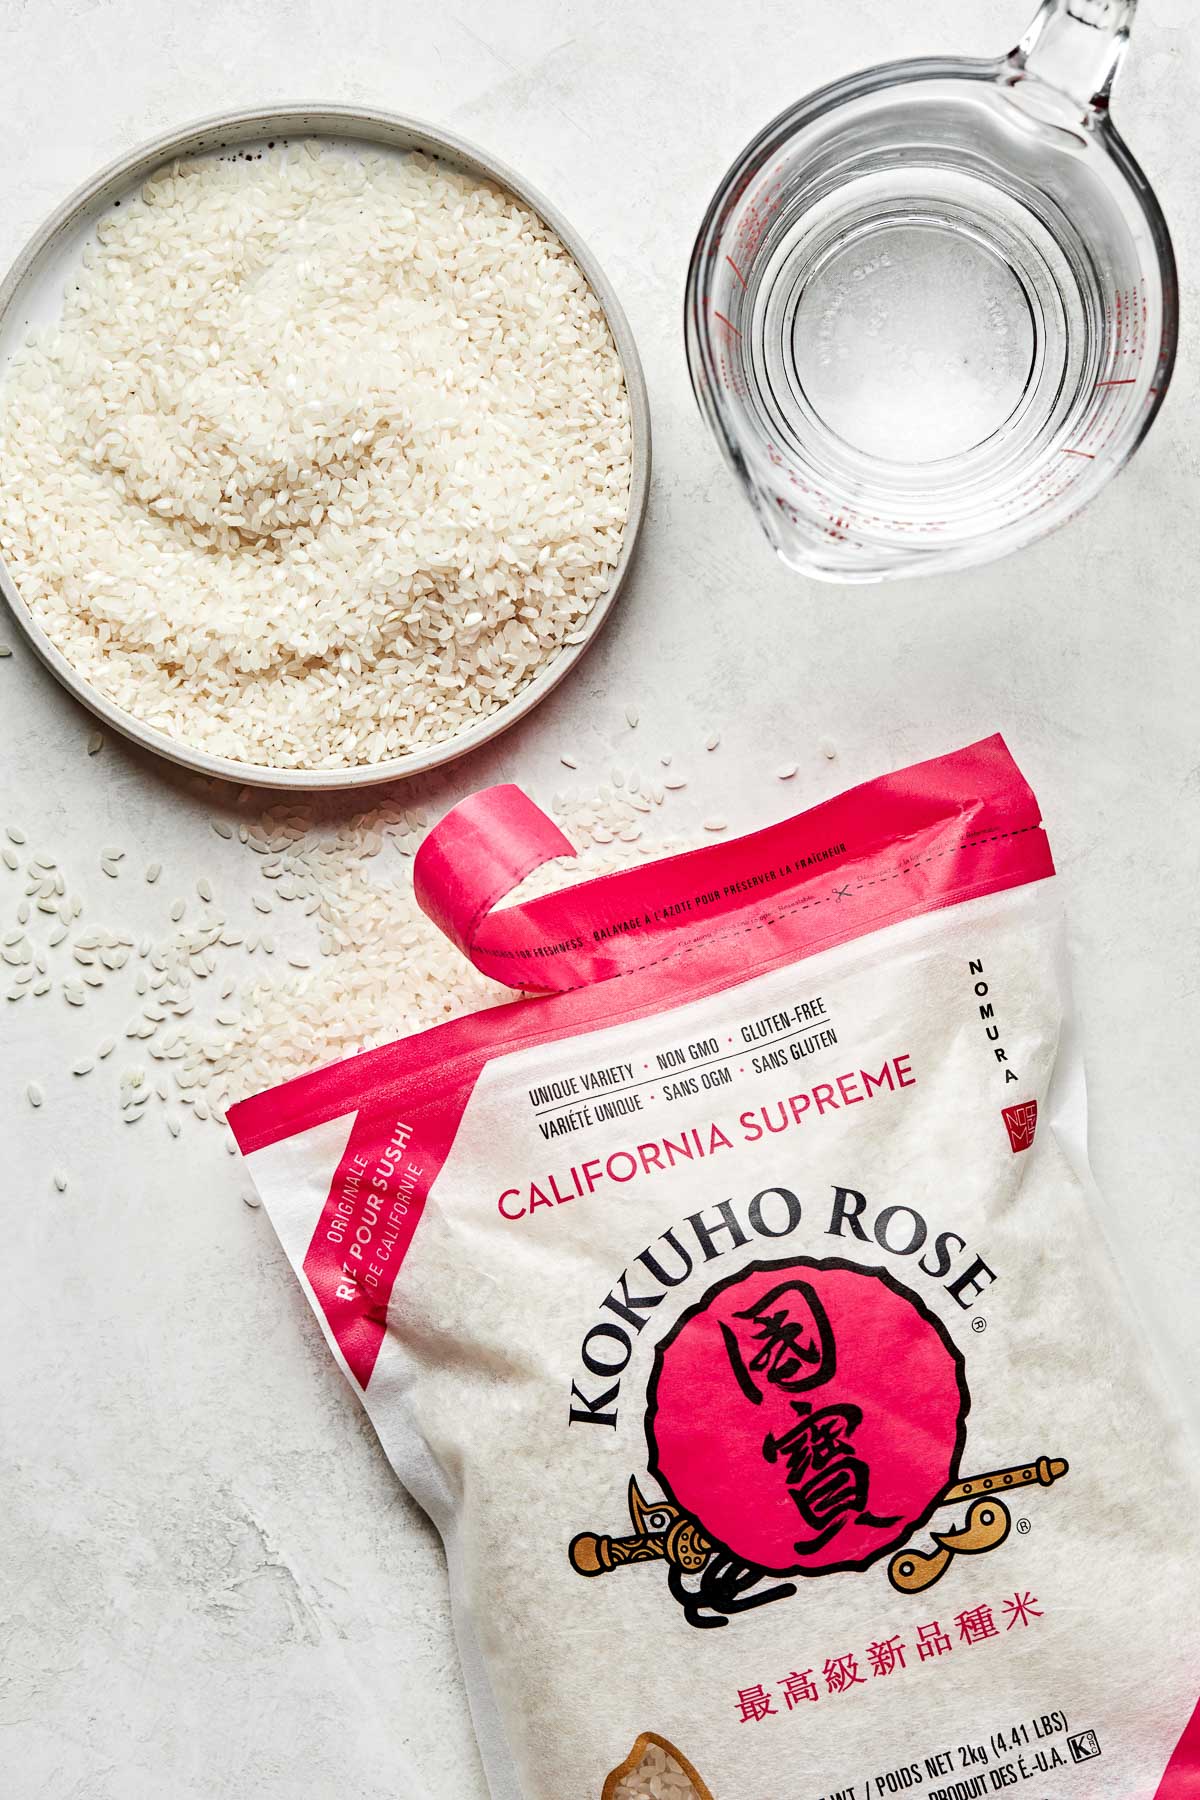
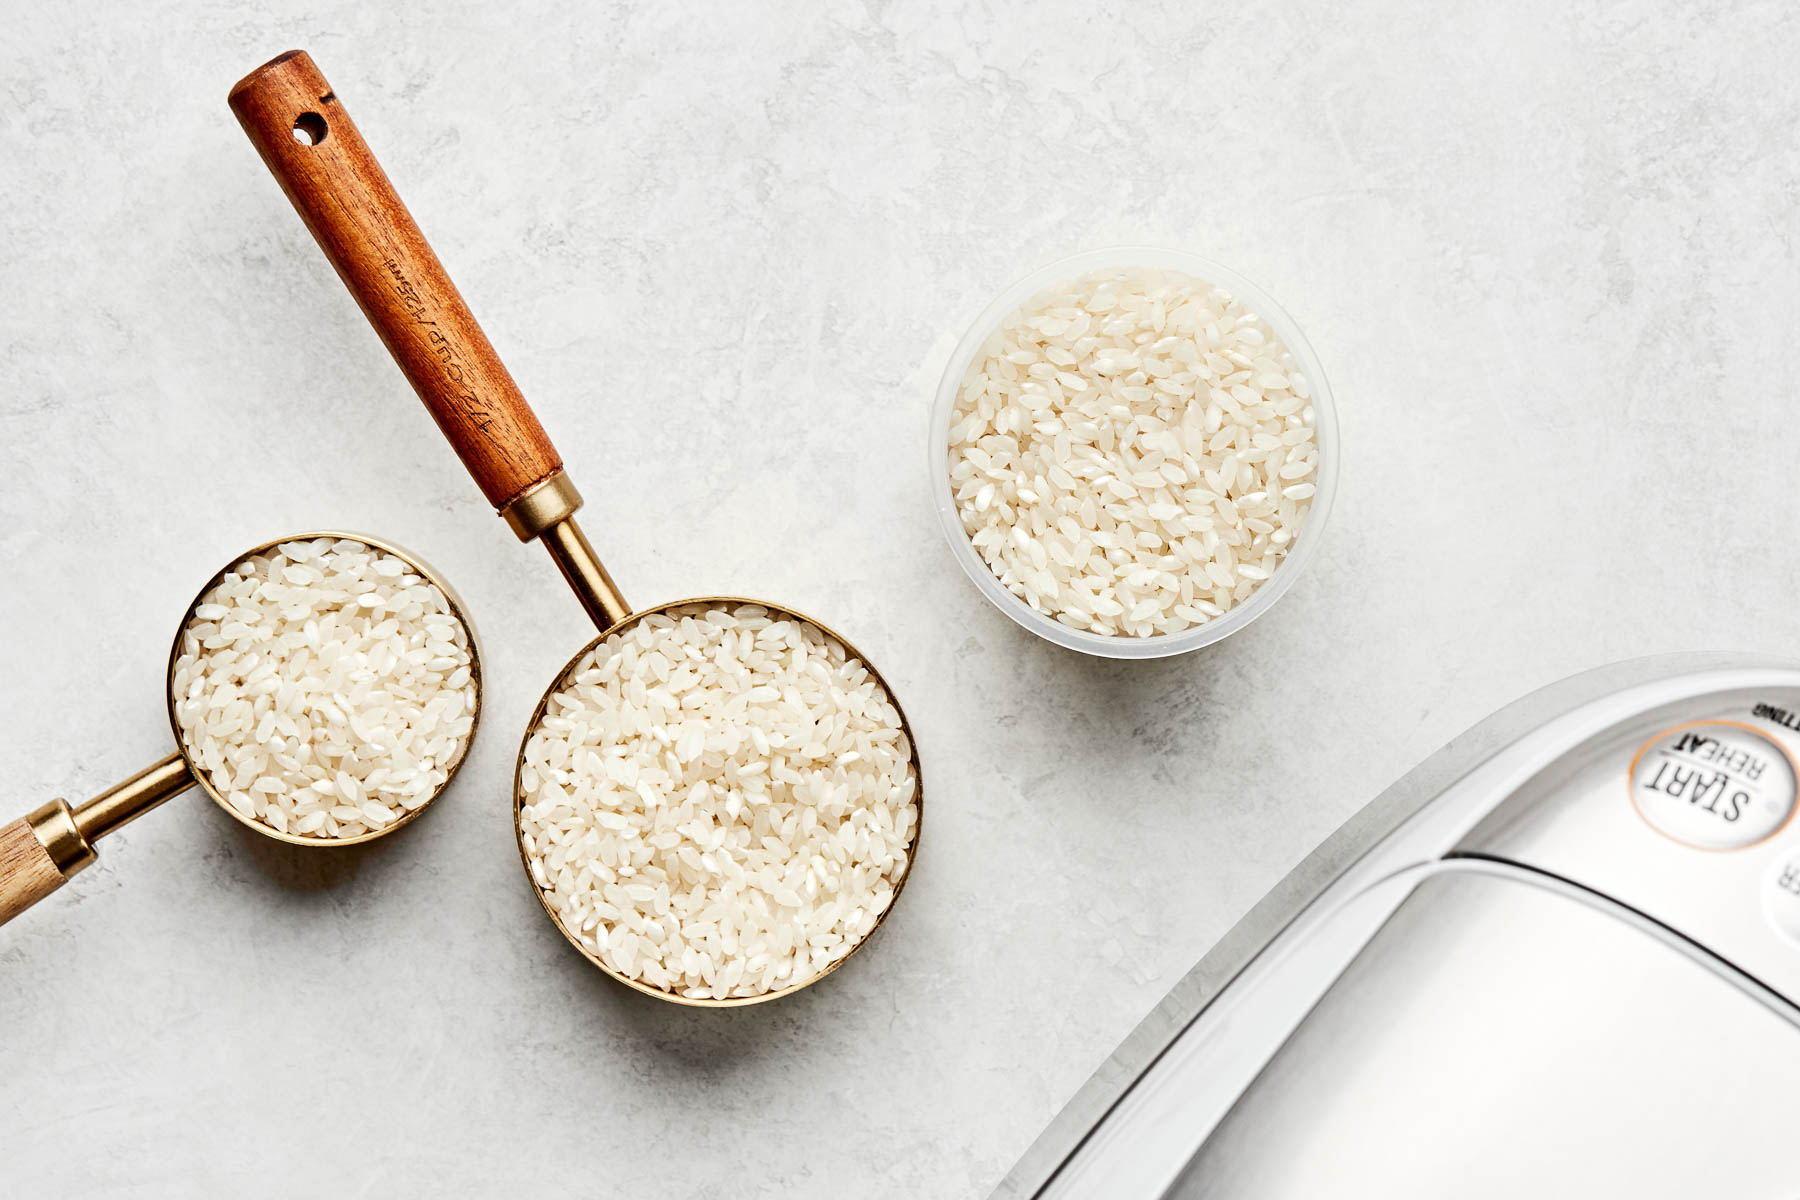
My family’s go-to brands are Kokuho Rose and Botan.
Calrose Rice Essentials
 Buy Now →
  Buy Now →
  Buy Now →
Stainless Steel Measuring Cups & Spoons
Buy Now → Buy Now →
 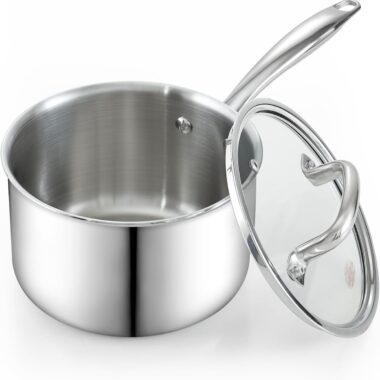 Buy Now →
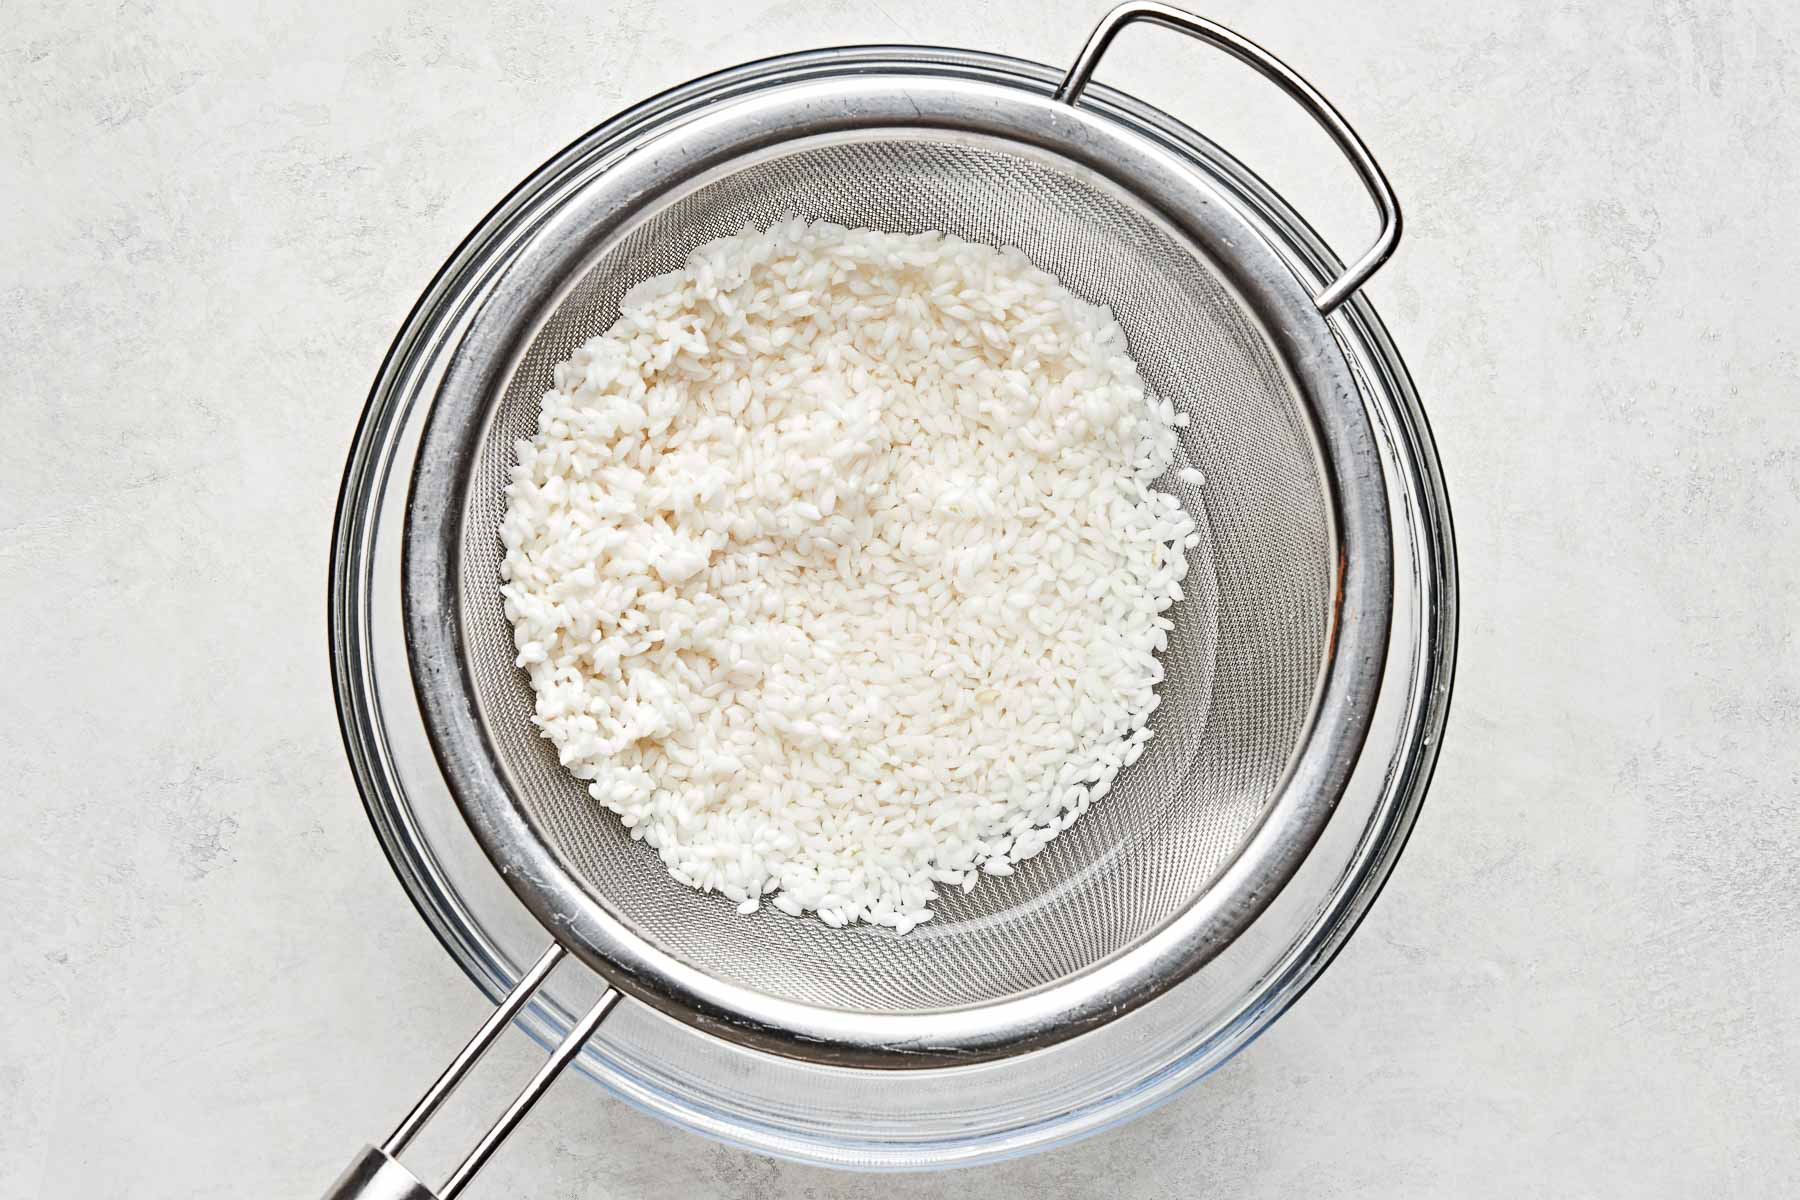
 Before You Do Anything, Always Rinse Your Rice First
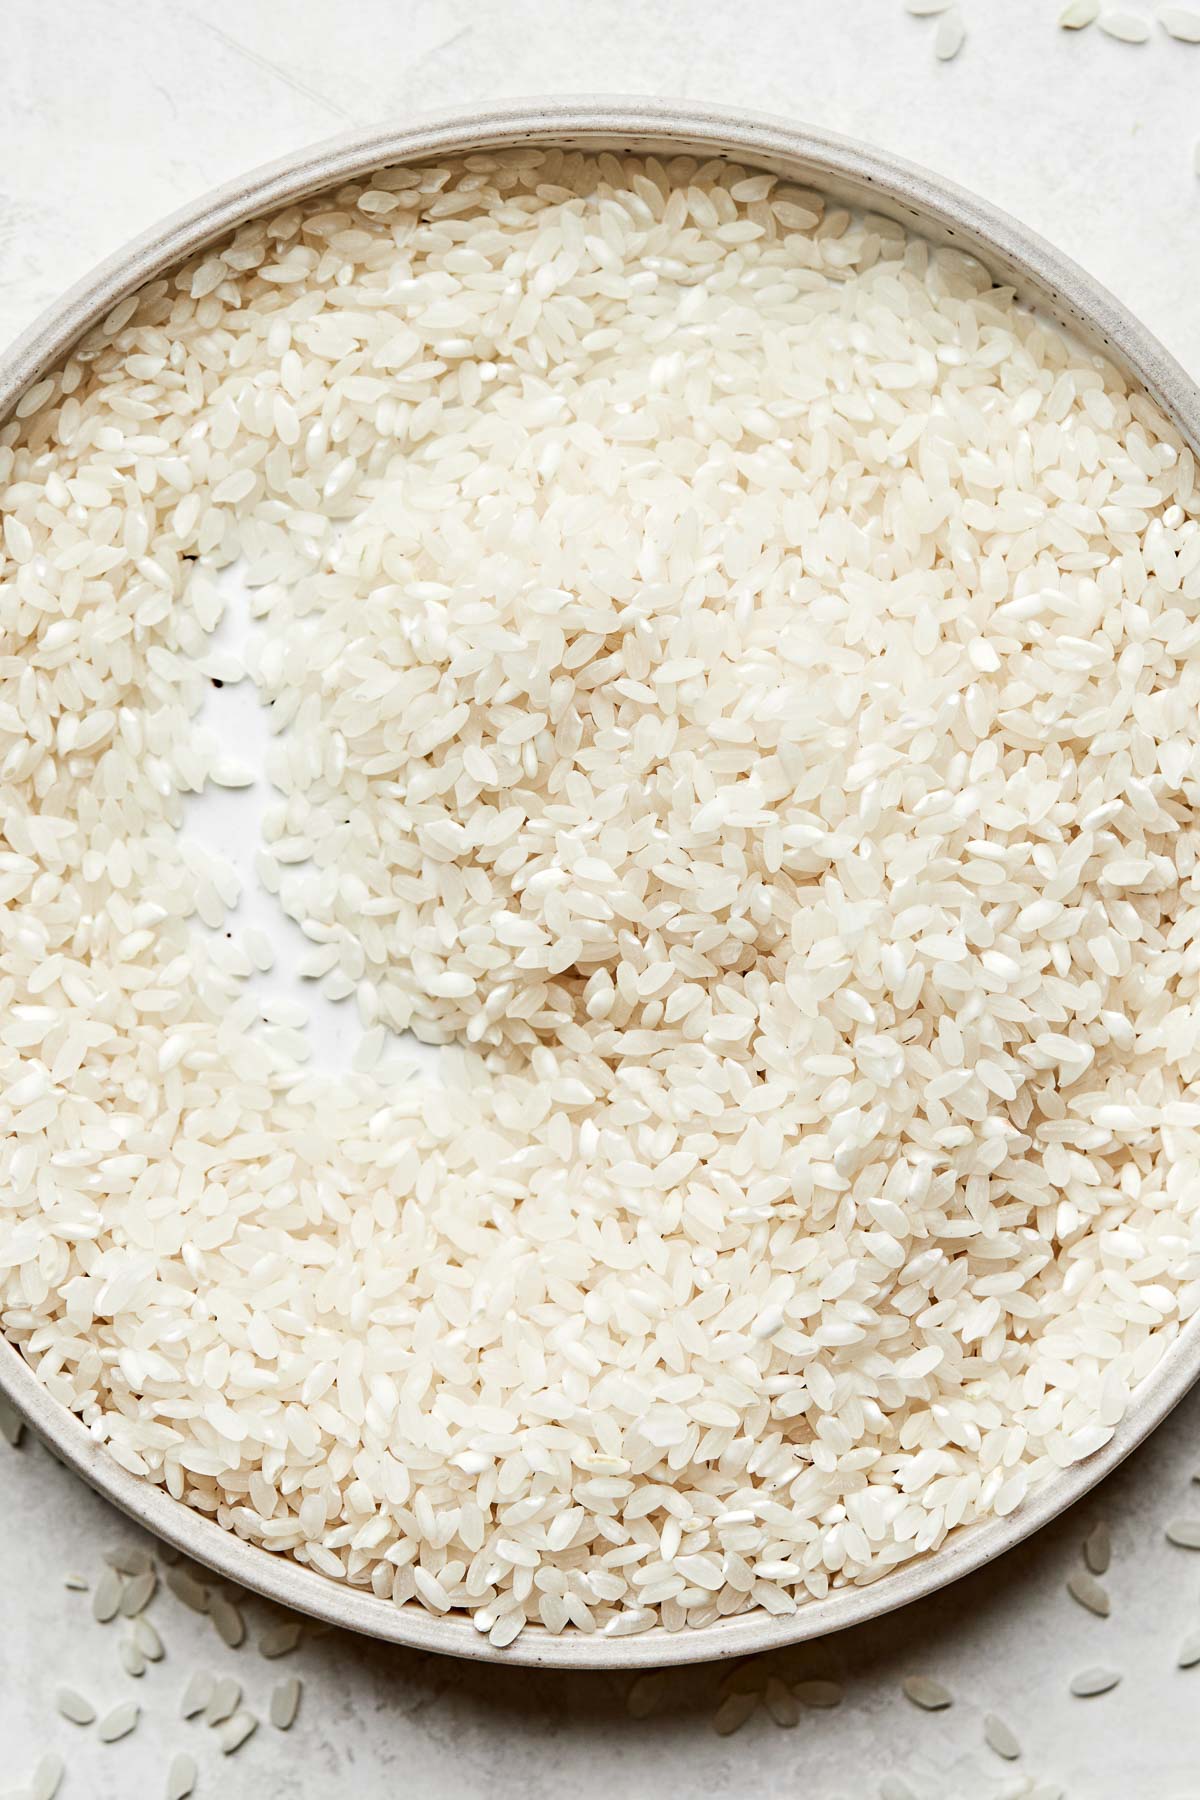
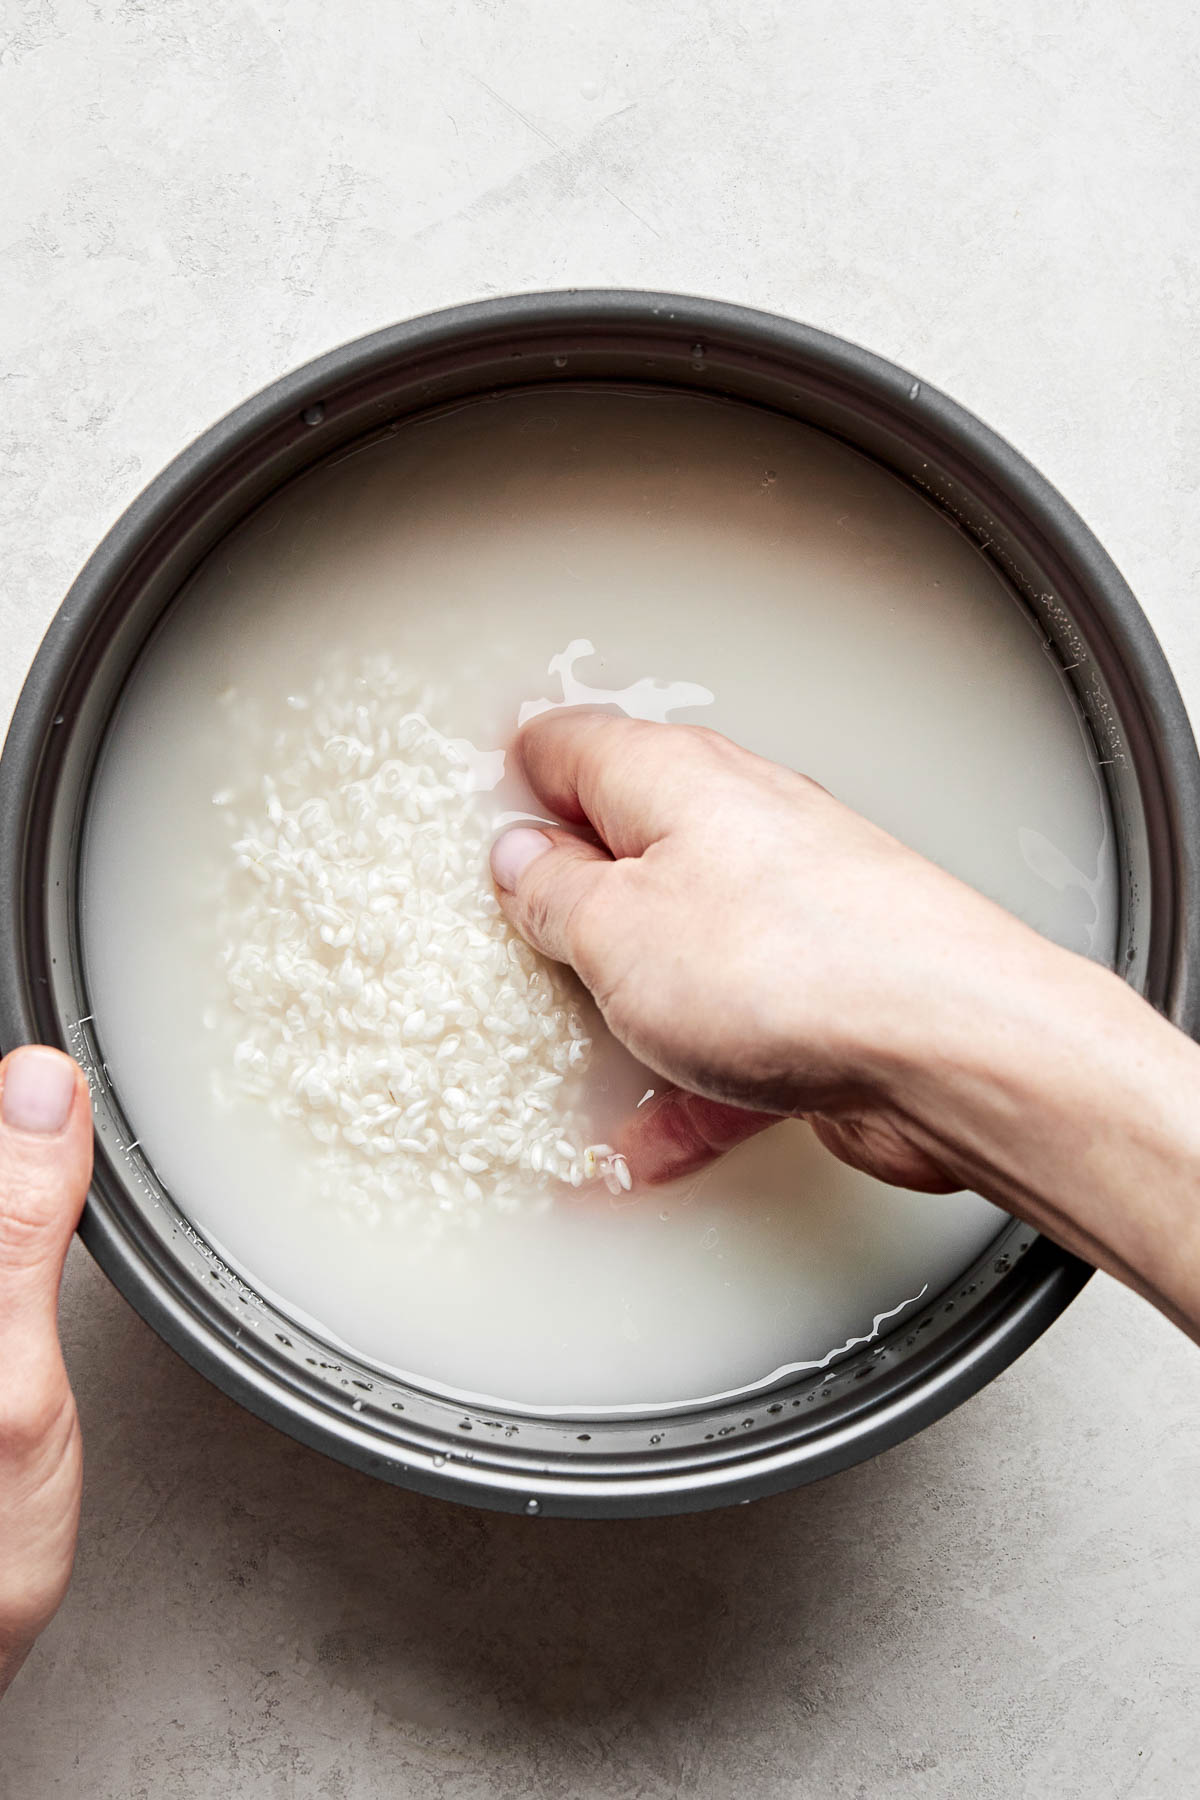
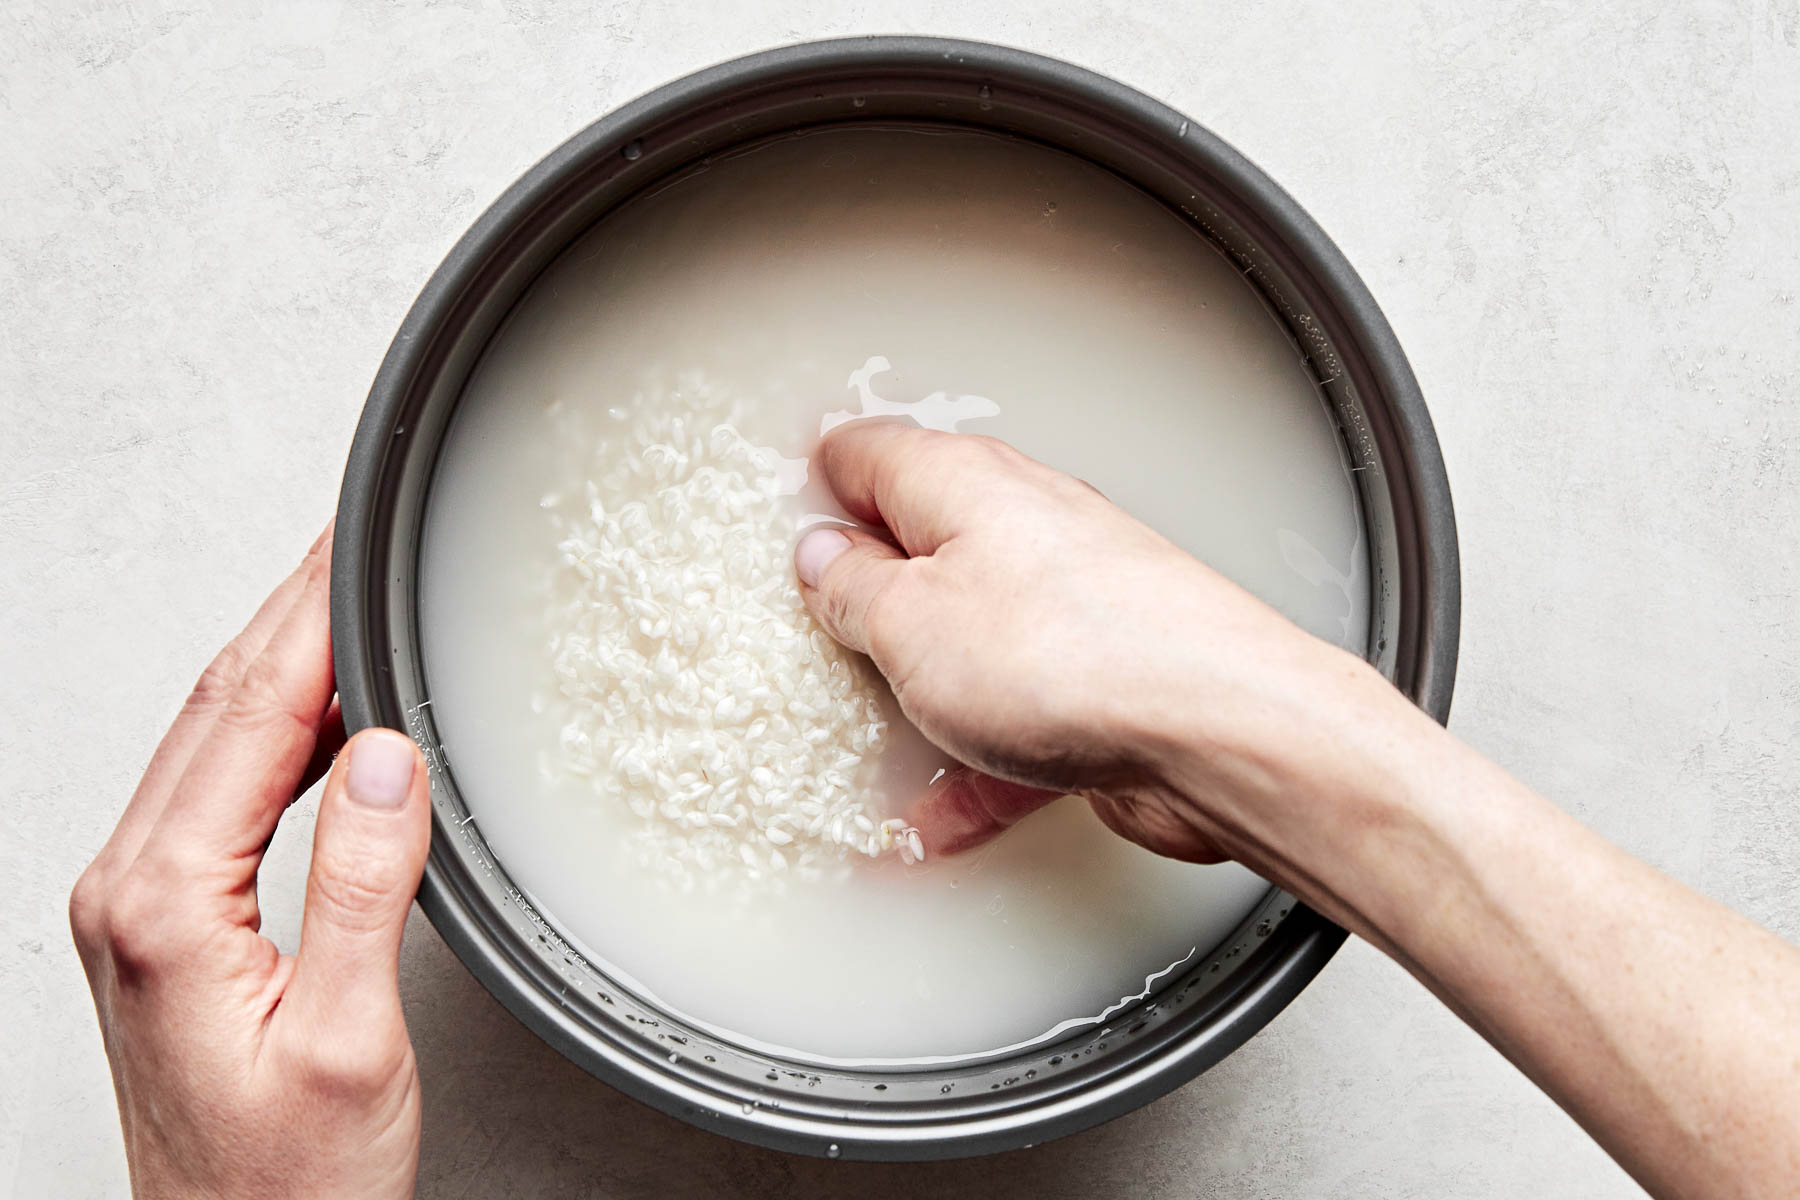
Rice is naturally coated in starches that, if not rinsed off, can create a gummy texture and make the rice clumpy or mushy. Not ideal!
You can rinse your rice two ways: run it under water in a fine-mesh sieve; or soak it in warm water, jostle it around with your hands, drain, and repeat. Both processes take a few minutes, but it’s worth the time.

How to Cook Calrose Rice in A Rice Cooker
I love cooking Calrose rice in a rice cooker because it’s easy, reliable, and entirely hands-off. The machine is designed to steam the grains from all sides (including the top!) for an even cook. Zojirushi is my go-to rice cooker for its temperature control and warming feature, but any rice cooker will get the job done!
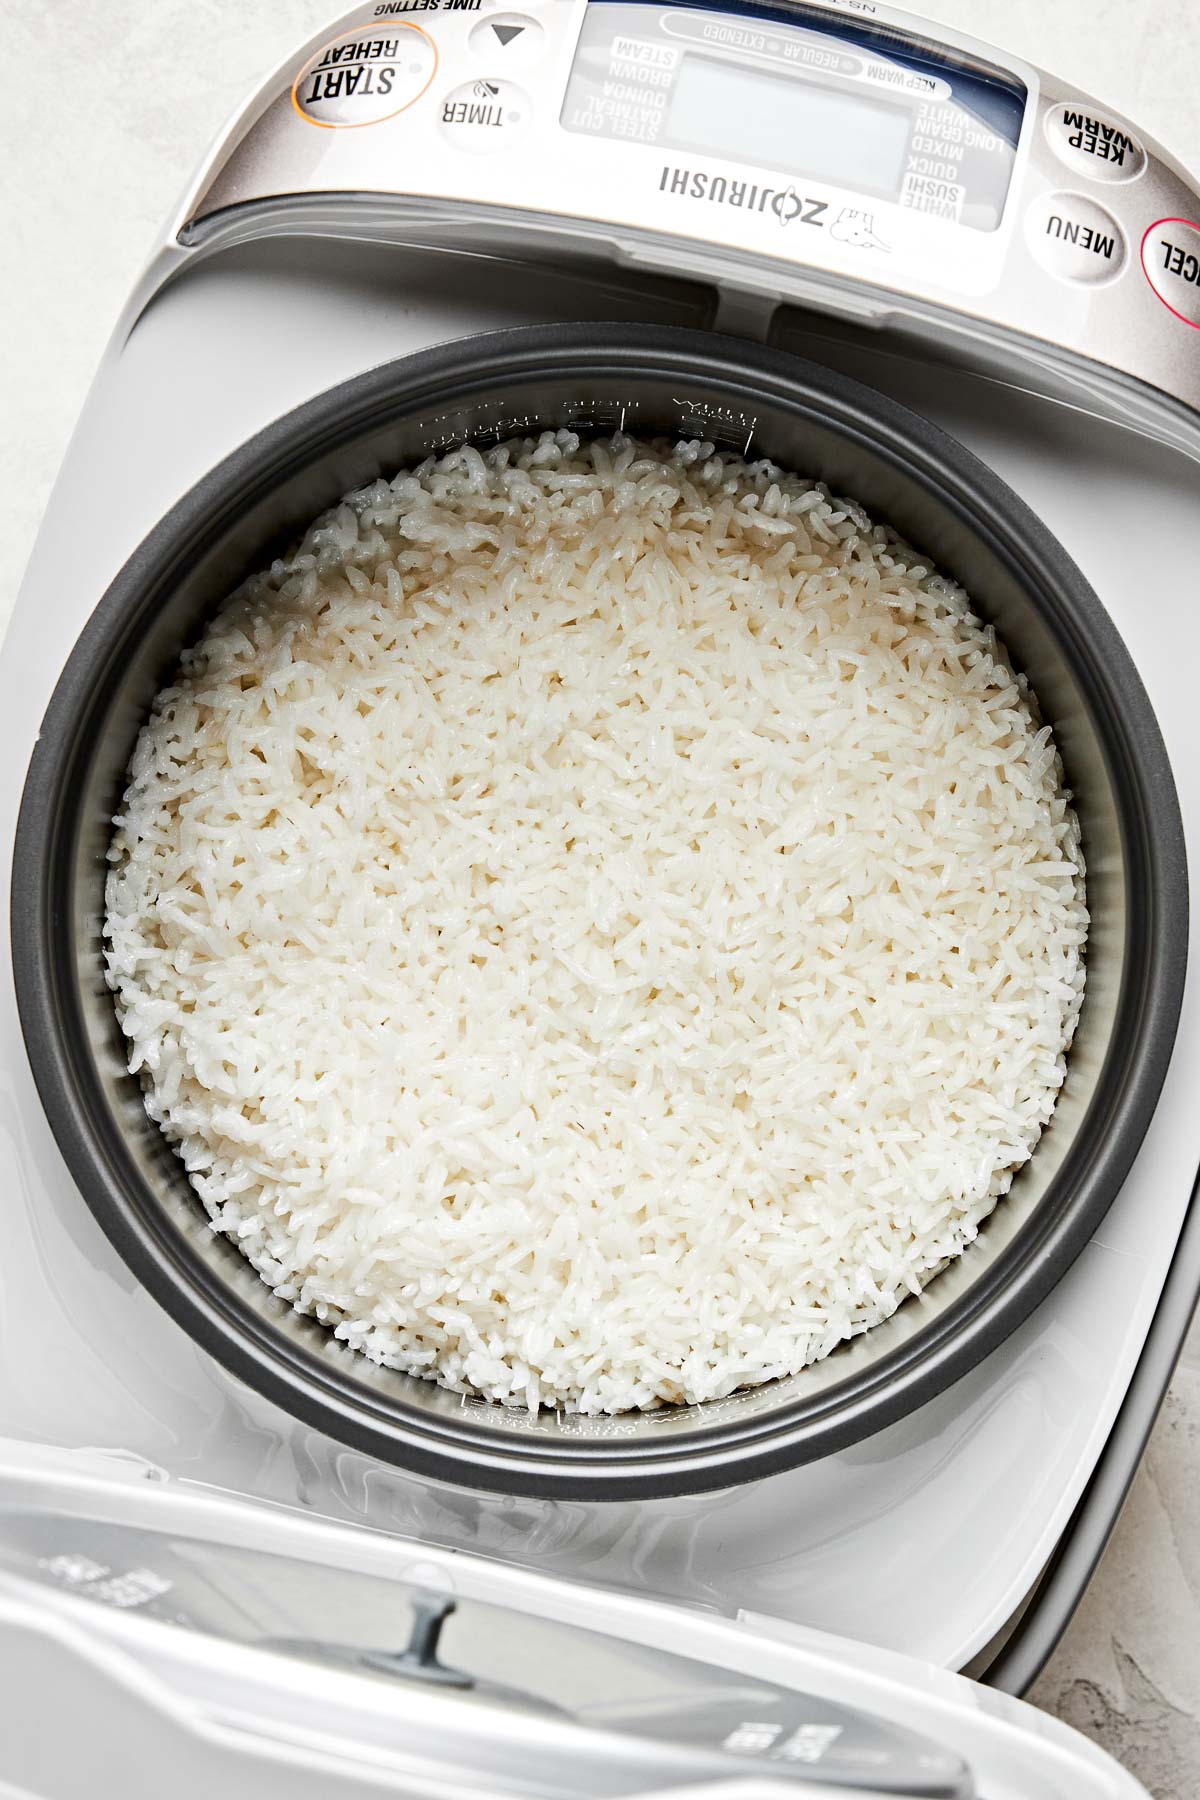
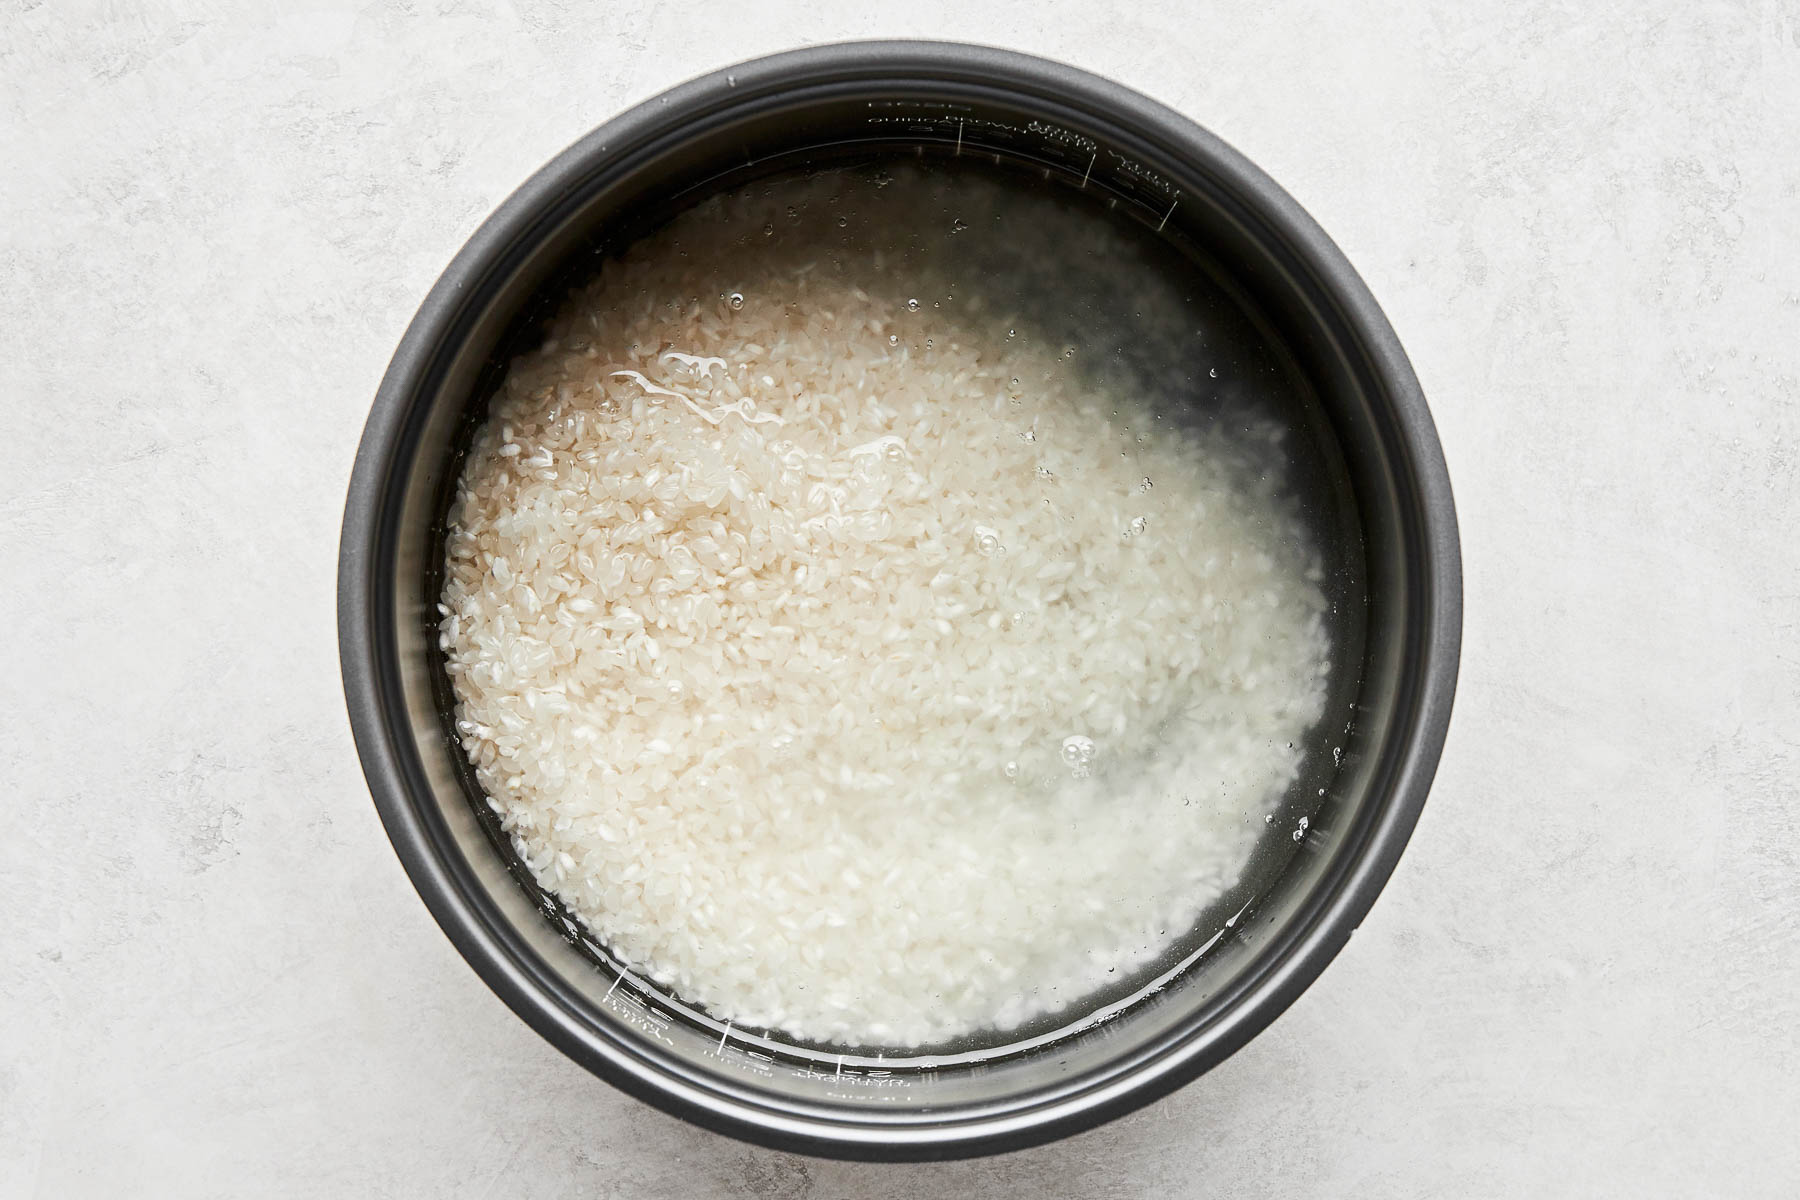
The Best Water-to-Rice Ratio: Typically, a rice cooker measures water depending on the number of scoops of rice you use. If you use 1 scoop of rice, fill the pan with water up to the “1” line – easy! I always fill the water slightly under the line to be safe. The rice cooker will really hold on to all the steam, and you don’t want to end up with mushy rice!
How to Make Calrose Rice on the Stove
Don’t have a rice cooker? No worries – my Japanese Auntie Lillian never owned one either!
You can still make perfectly cooked rice on the stovetop as long as you have a heavy-bottomed pot with a tight-fitting glass lid. It’s best if the lid has a tiny steam hole to prevent it from lifting as it simmers; otherwise, the water can boil over and the rice may cook unevenly.
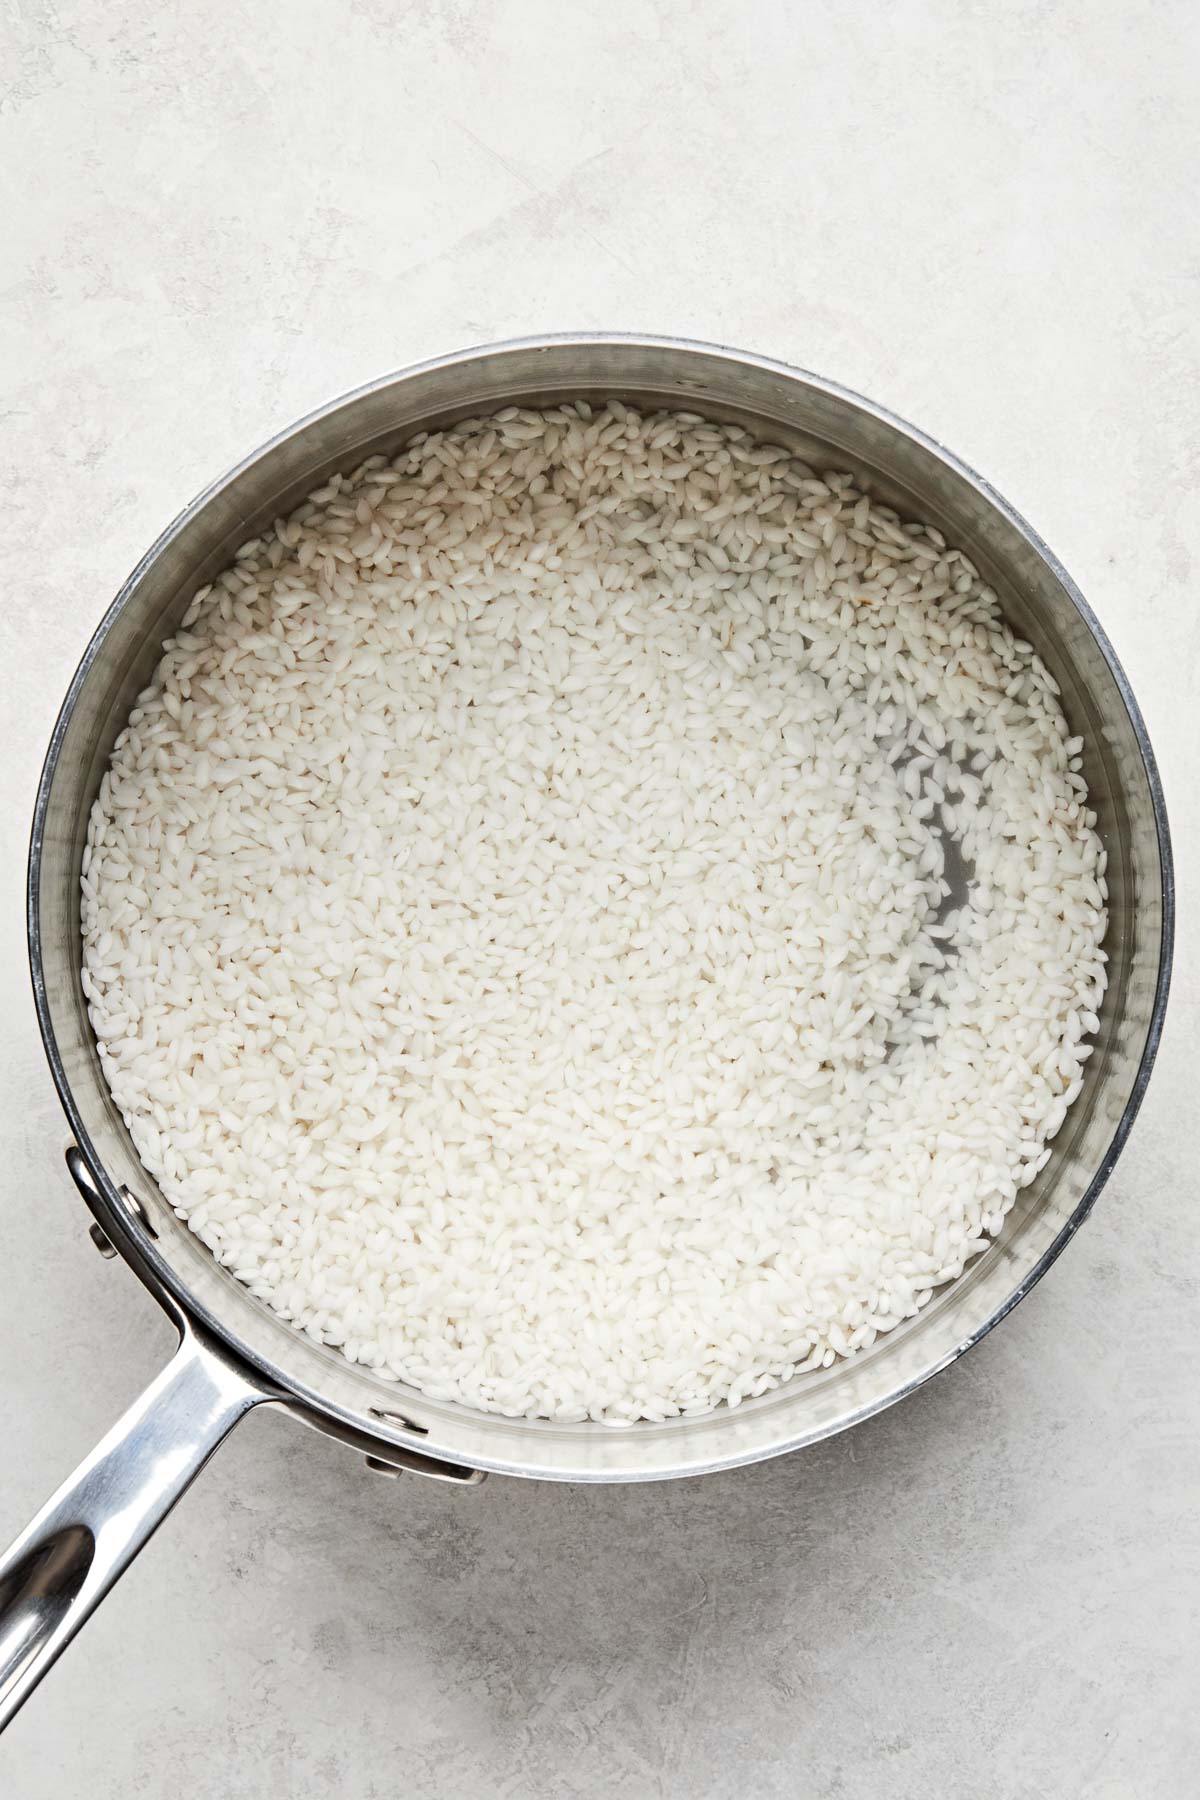
The Best Water-to-Rice Ratio: For the stovetop method, use 1 cup + 2 tablespoons of water for every cup of rice. Because the pot doesn’t have a perfect seal, some of the water will evaporate—adding that extra bit of liquid will keep the rice from burning!
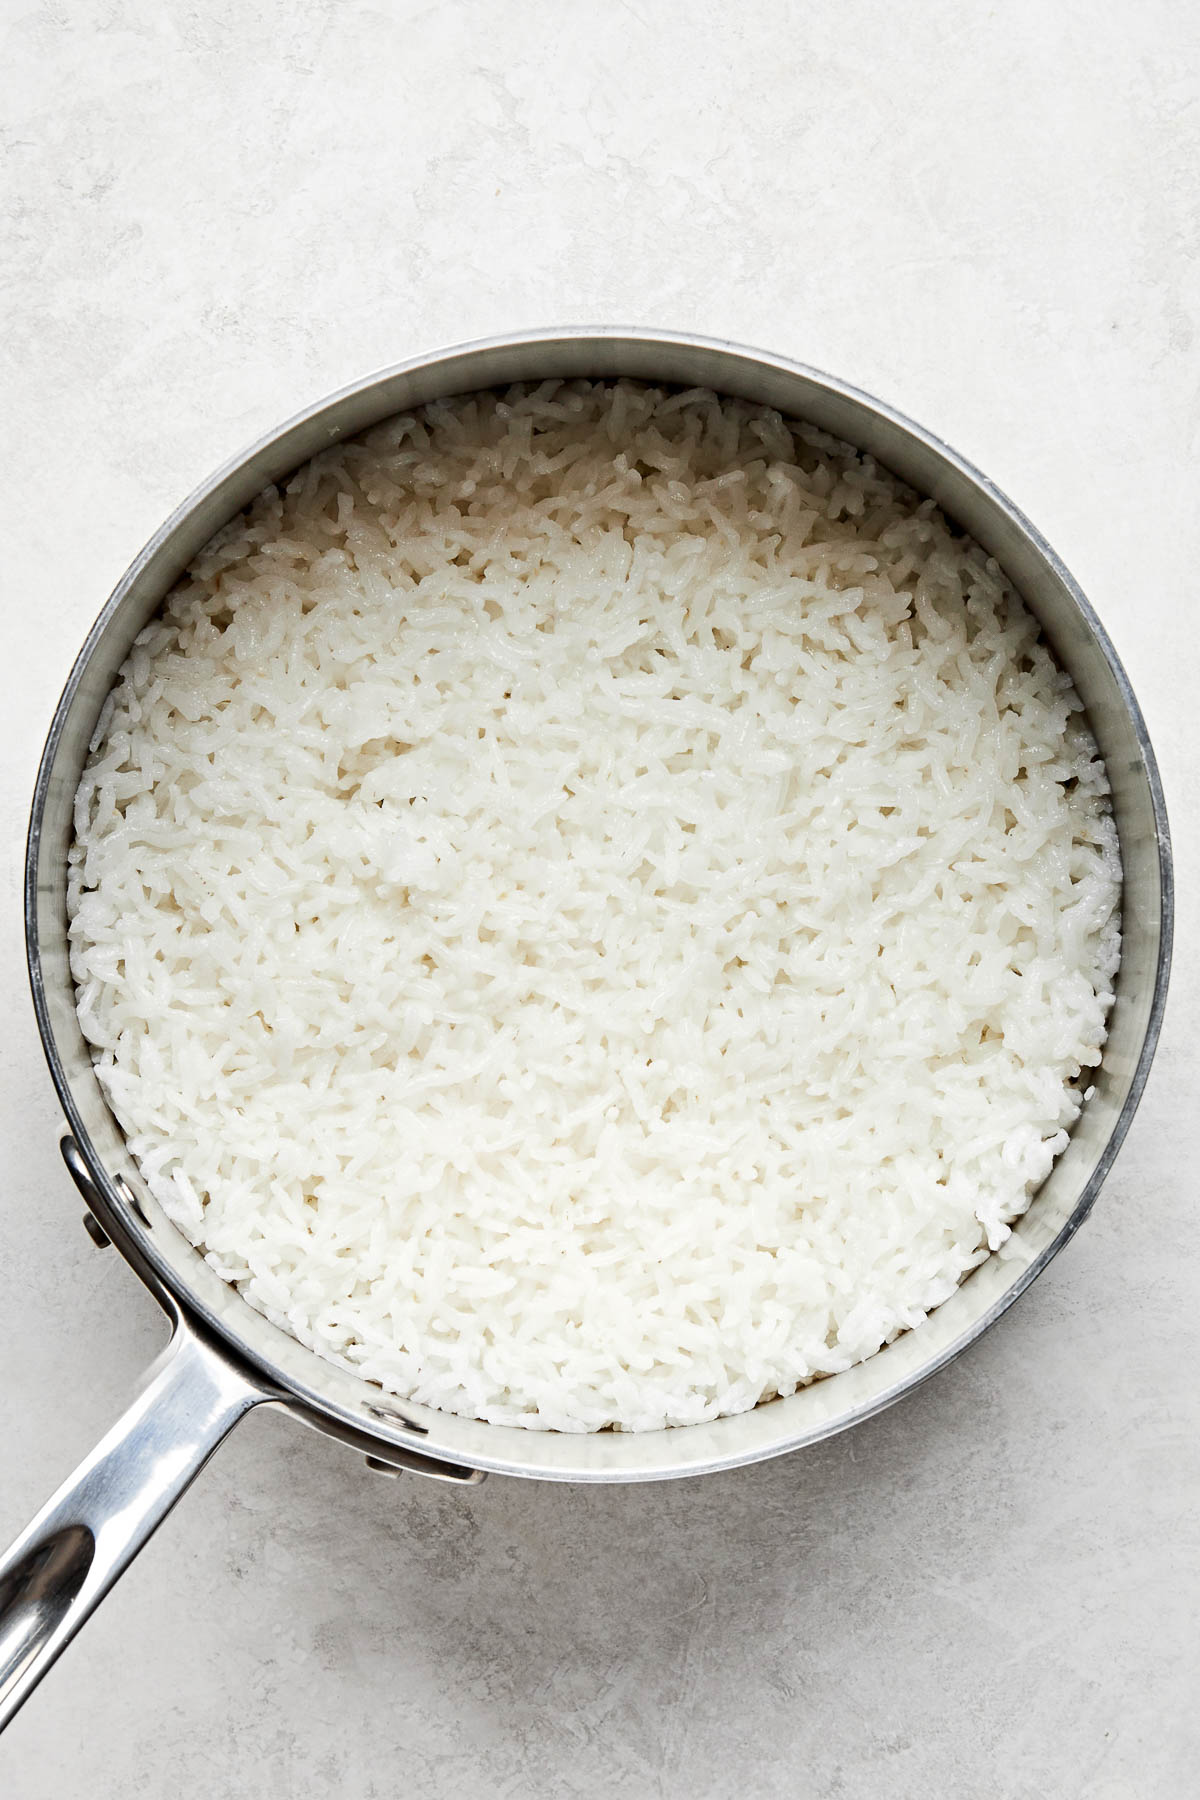
Properly Fluffing Your Rice
You’ve put in so much effort to keep your rice toothsome but tender so far, and you don’t want to undo all that by scooping it too soon or incorrectly!
Let the rice rest for 5-10 minutes (lid stays on!) before scooping–this lets the starches settle and redistribute throughout the pot of rice evenly. It’s the same idea as letting a piece of meat rest before slicing into it!
Instead of digging into the pot of rice with a spoon (which compacts and breaks the grains), gently scrape the Calrose rice from the top to preserve its airy texture. A plastic rice paddle makes this super easy.

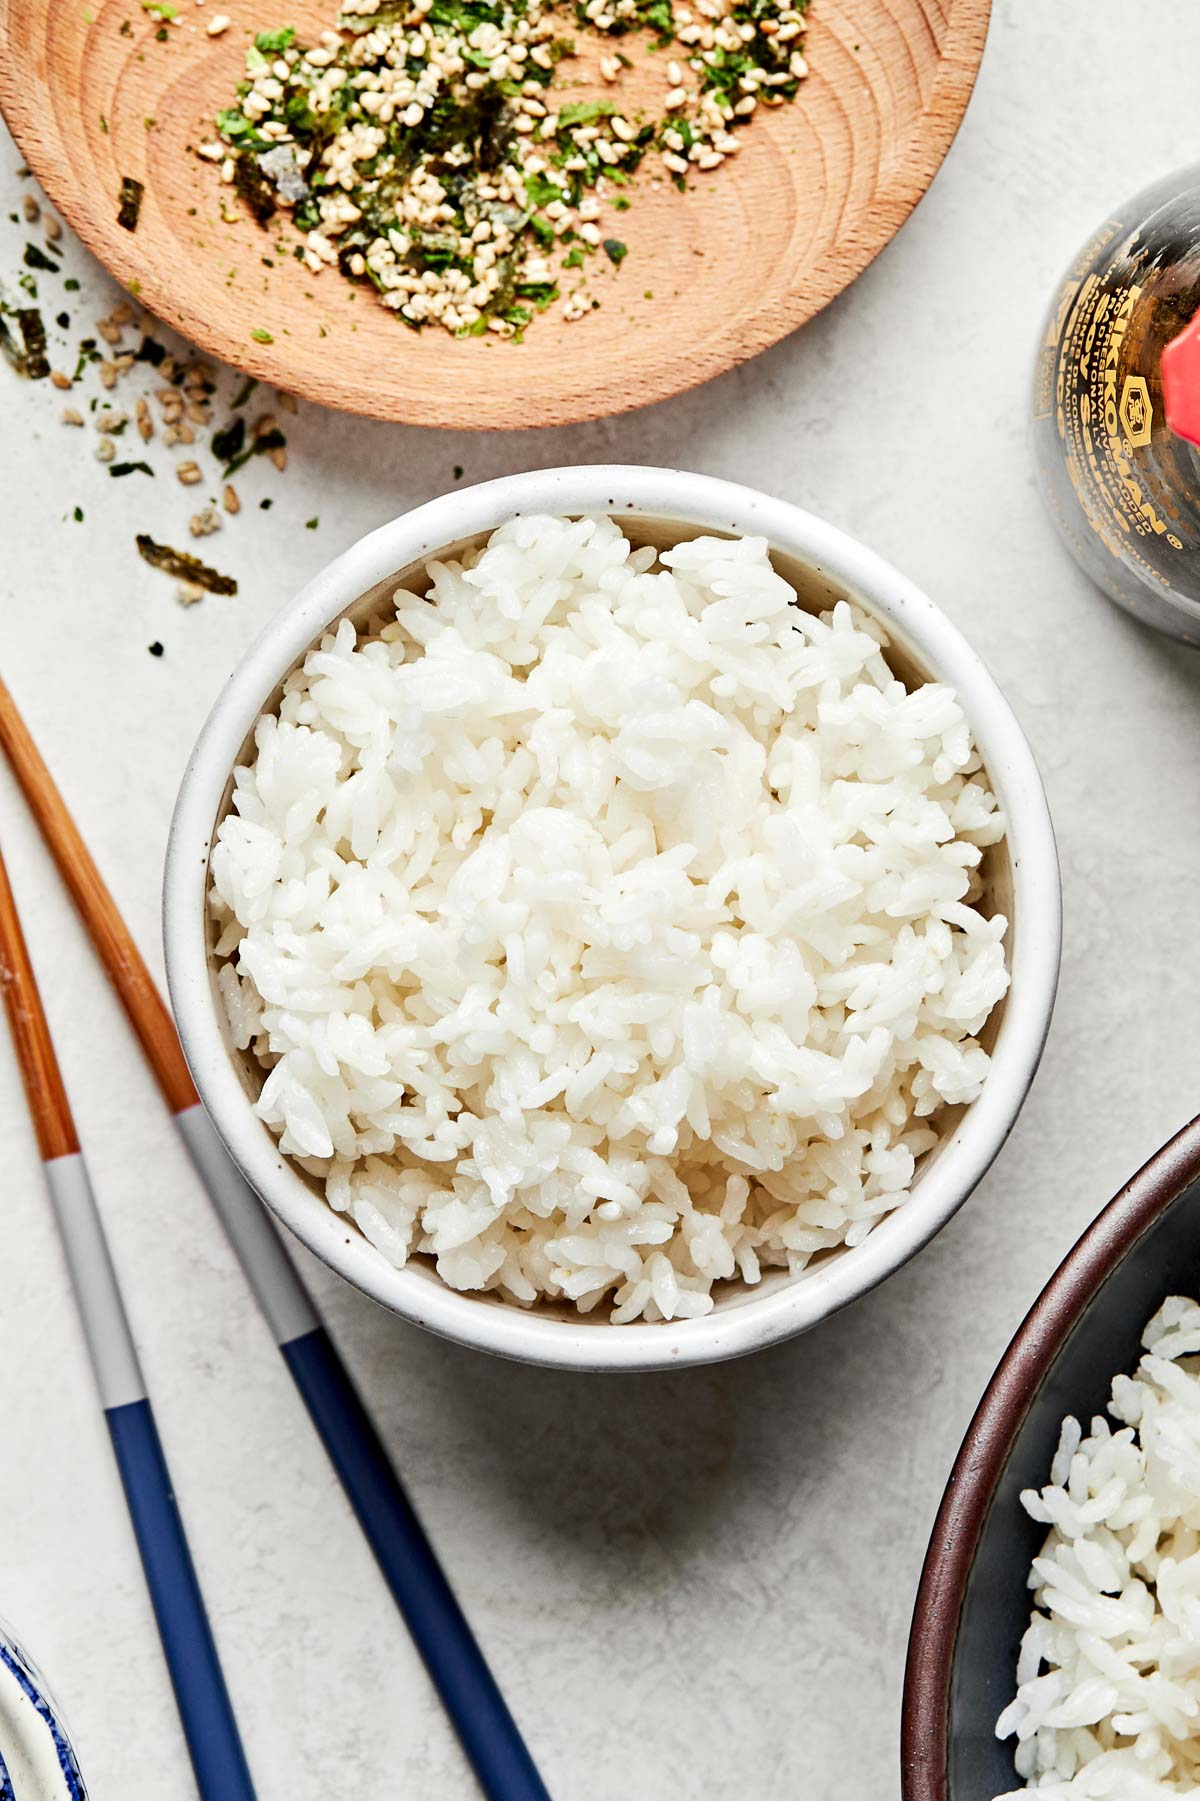
Serving Suggestions
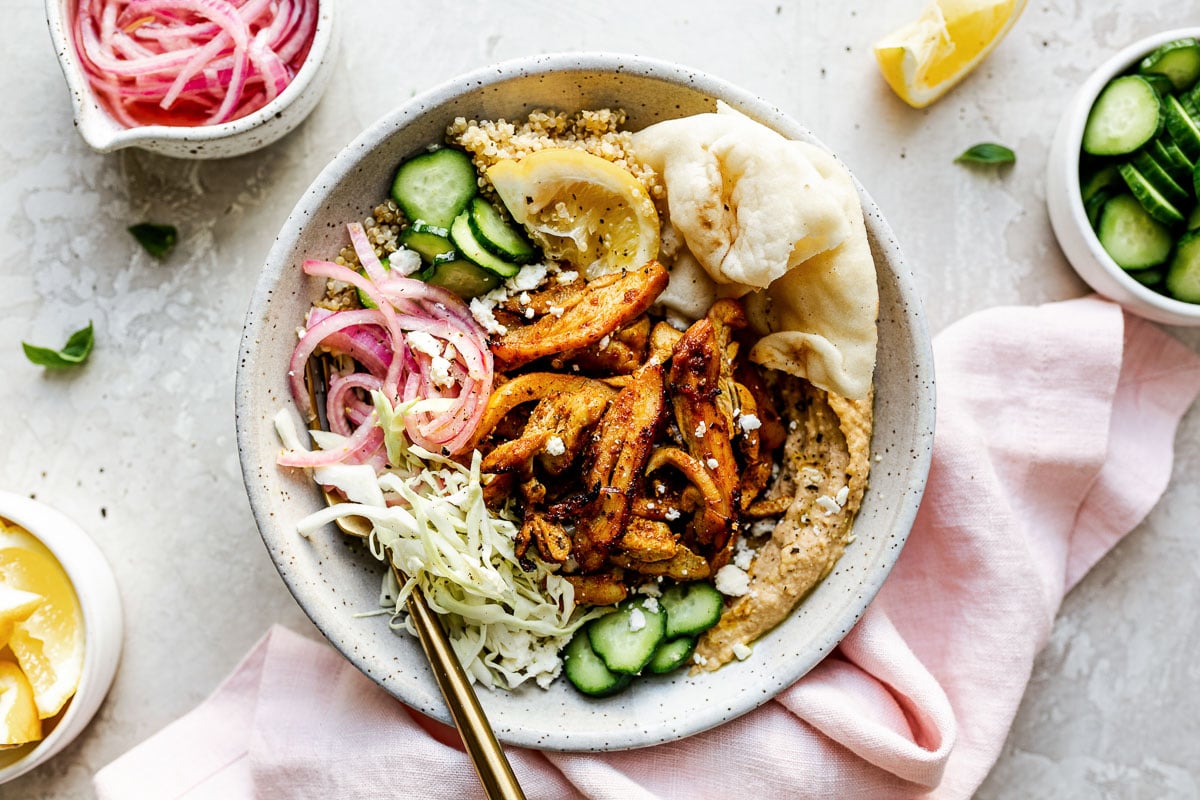
Calrose rice is perfect for soaking up the savory, umami-richness in many East Asian and Pacific Rim dishes. I love it as relief for your palate against rich and salty dishes like saucy Shoyu Chicken, Hawai‘i-style Ahi Tuna Poke Bowls, and savory-sweet Baked Teriyaki Chicken Thighs.
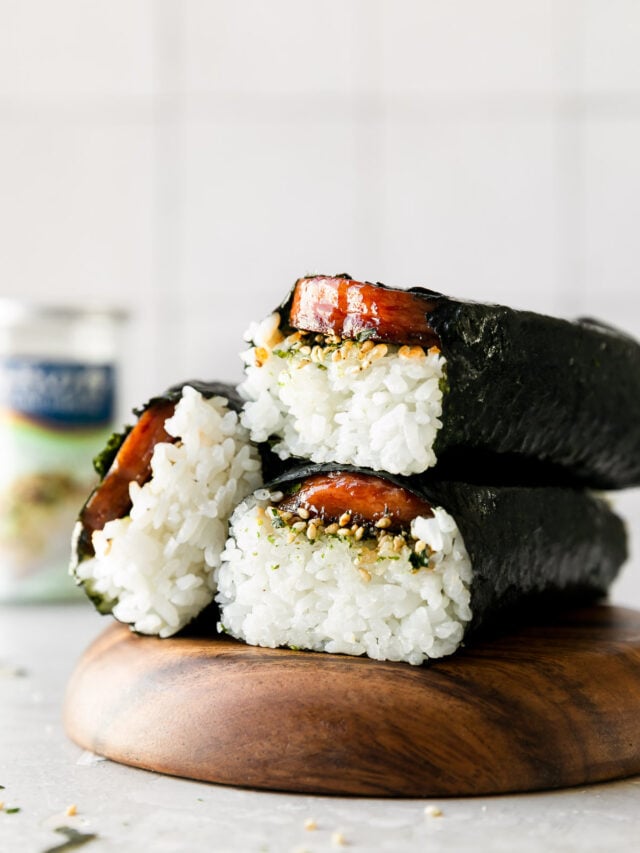
It also holds its shape well enough to be used in making homemade sushi or Mom’s Best-Ever Spam Musubi.
I can’t wait for you to master How To Cook Calrose Rice! If you try it, be sure to let us know! Leave a comment with a star rating below. You can also snap a photo and tag @playswellwithbutter on Instagram. We LOVE seeing your PWWB creations! ♡ Happy cooking!
Print
How to Cook Calrose Rice Perfectly (Rice Cooker or Stovetop)
- Prep Time: 5 minutes
- Optional Soak: 30 minutes
- Cook Time: 20-40 minutes
- Total Time: 45 minutes
- Yield: 6 servings 1x
- Category: Techniques & How Tos
- Method: Stovetop, Rice Cooker
- Cuisine: Asian
- Diet: Vegan
Description
Learn How to Cook Calrose Rice using 2 foolproof methods from my Japanese Mom, Grandma, and Aunties! Using either a rice cooker or a pot on the stovetop, I’ll show you how to make rice the unsung hero of your weeknight dinners—never mushy, never chewy.
This is a hands-off kitchen skill worth learning if you love Asian-inspired meals like saucy stir fries, fresh poke bowls, glazed teriyaki chicken, and more!
Ingredients
for the rice cooker
- 2 scoops Calrose rice (1 ½ cups)
- Water to the second fill line
for the stovetop
- 1 ½ cups Calrose rice
- 1 ½ cups + 3 tablespoons water
Instructions
Rice Cooker Directions:
- Measure the rice: Most rice cookers come with a measuring scoop. One level scoop of rice is approximately 6 ounces or ¾ cup of Calrose rice. Use the scoop to measure as much rice as you need and transfer to the rice cooker’s inner cooking pan. (If you do not have the measuring scoop, measure your rice in ¾ cup increments.)

- Rinse the rice: Cover the rice with warm water, then use your hands to gently agitate the grains to rinse away excess surface starch. Carefully drain the water. Repeat rinsing until the water runs clear – this takes a good minute or two; be patient!
- Measure the water: Following the manufacturer’s directions, add water to the inner cooking pan. Typically the pot’s fill lines correspond to the number of scoops of rice used; if you used 2 scoops of rice (or 1 ½ cups), fill to the “2” line of the rice cooker. I always fill my rice cooker slightly under the fill line to ensure perfectly sticky and fluffy results.
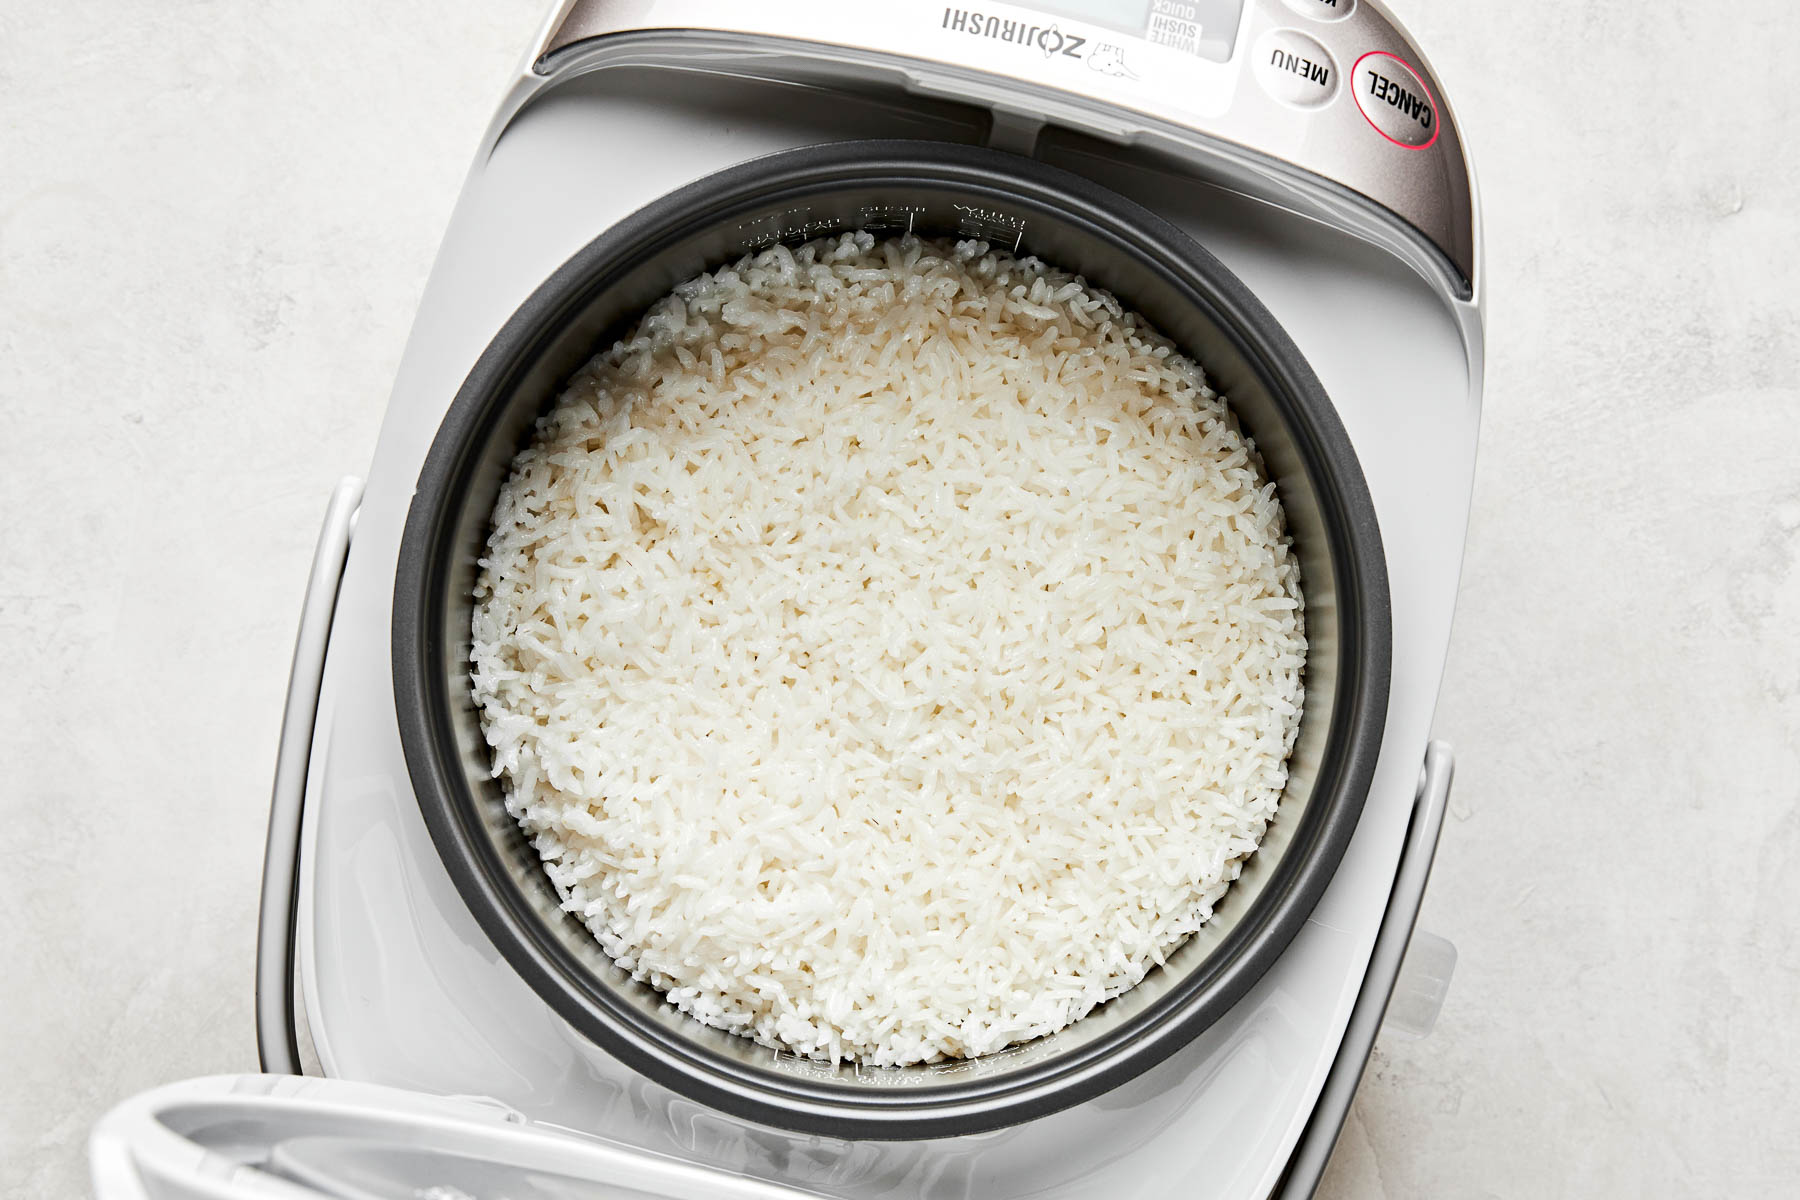
- Cook the rice: Place the inner cooking pan in the rice cooker and cook according to the manufacturer’s directions. Let the rice steam and rest in the rice cooker for 5-10 minutes before serving.
- Serve: Use a rice paddle to gently scrape rice from the surface of the pot. Be sure to scrape rather than dig into the rice; digging compacts the grains and we want the rice to stay nice and light! Enjoy immediately.
Stovetop Directions: It is essential to use a heavy-bottomed pot with a tight-fitting glass lid, like this one. Ideally, the lid has a steam release hole that prevents it from rattling and lifting as the rice simmers.
- Measure and rinse the rice: Use a measuring cup to measure as much rice as you need; for this method to work properly, you need at least 1 ½ cups of dry Calrose rice. Transfer the rice to a fine mesh strainer and rinse under warm water until the water runs clear – this takes a good minute or two; be patient!
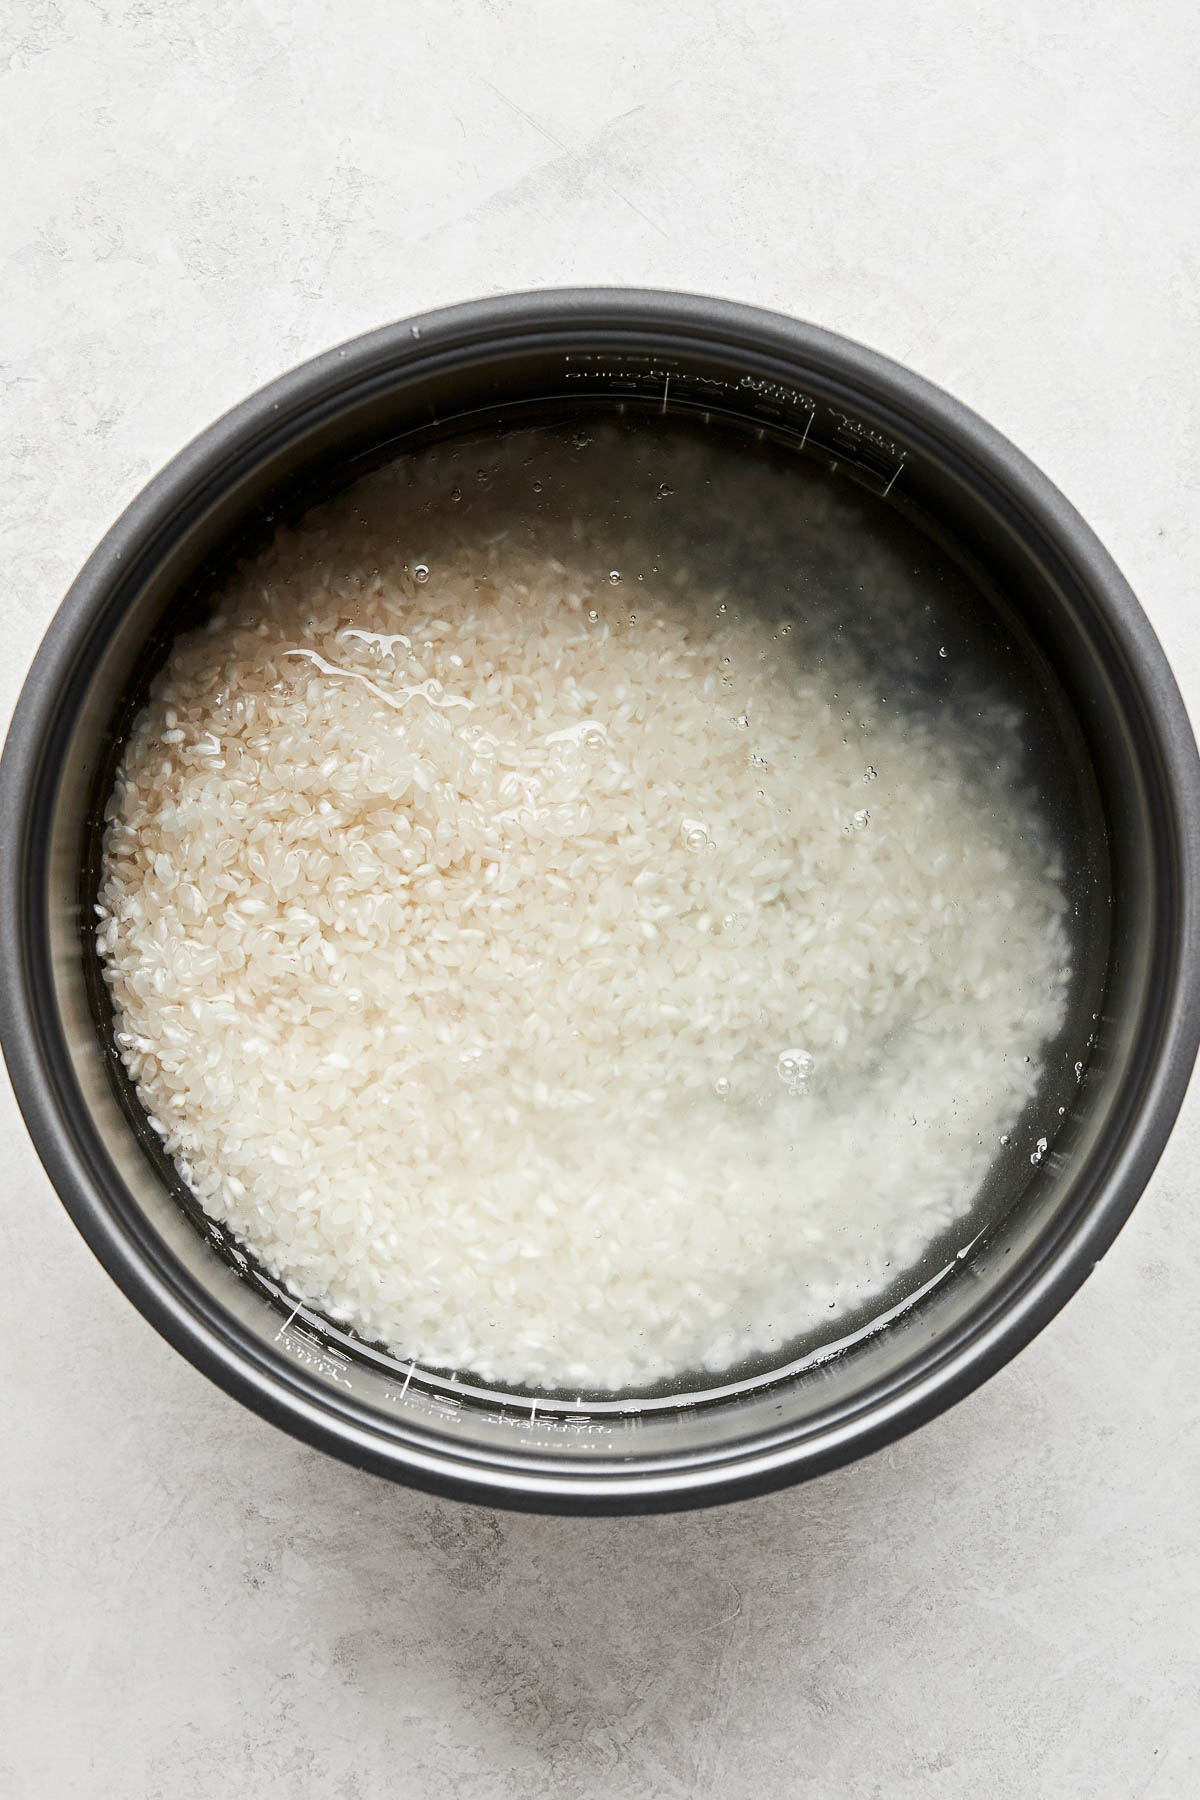
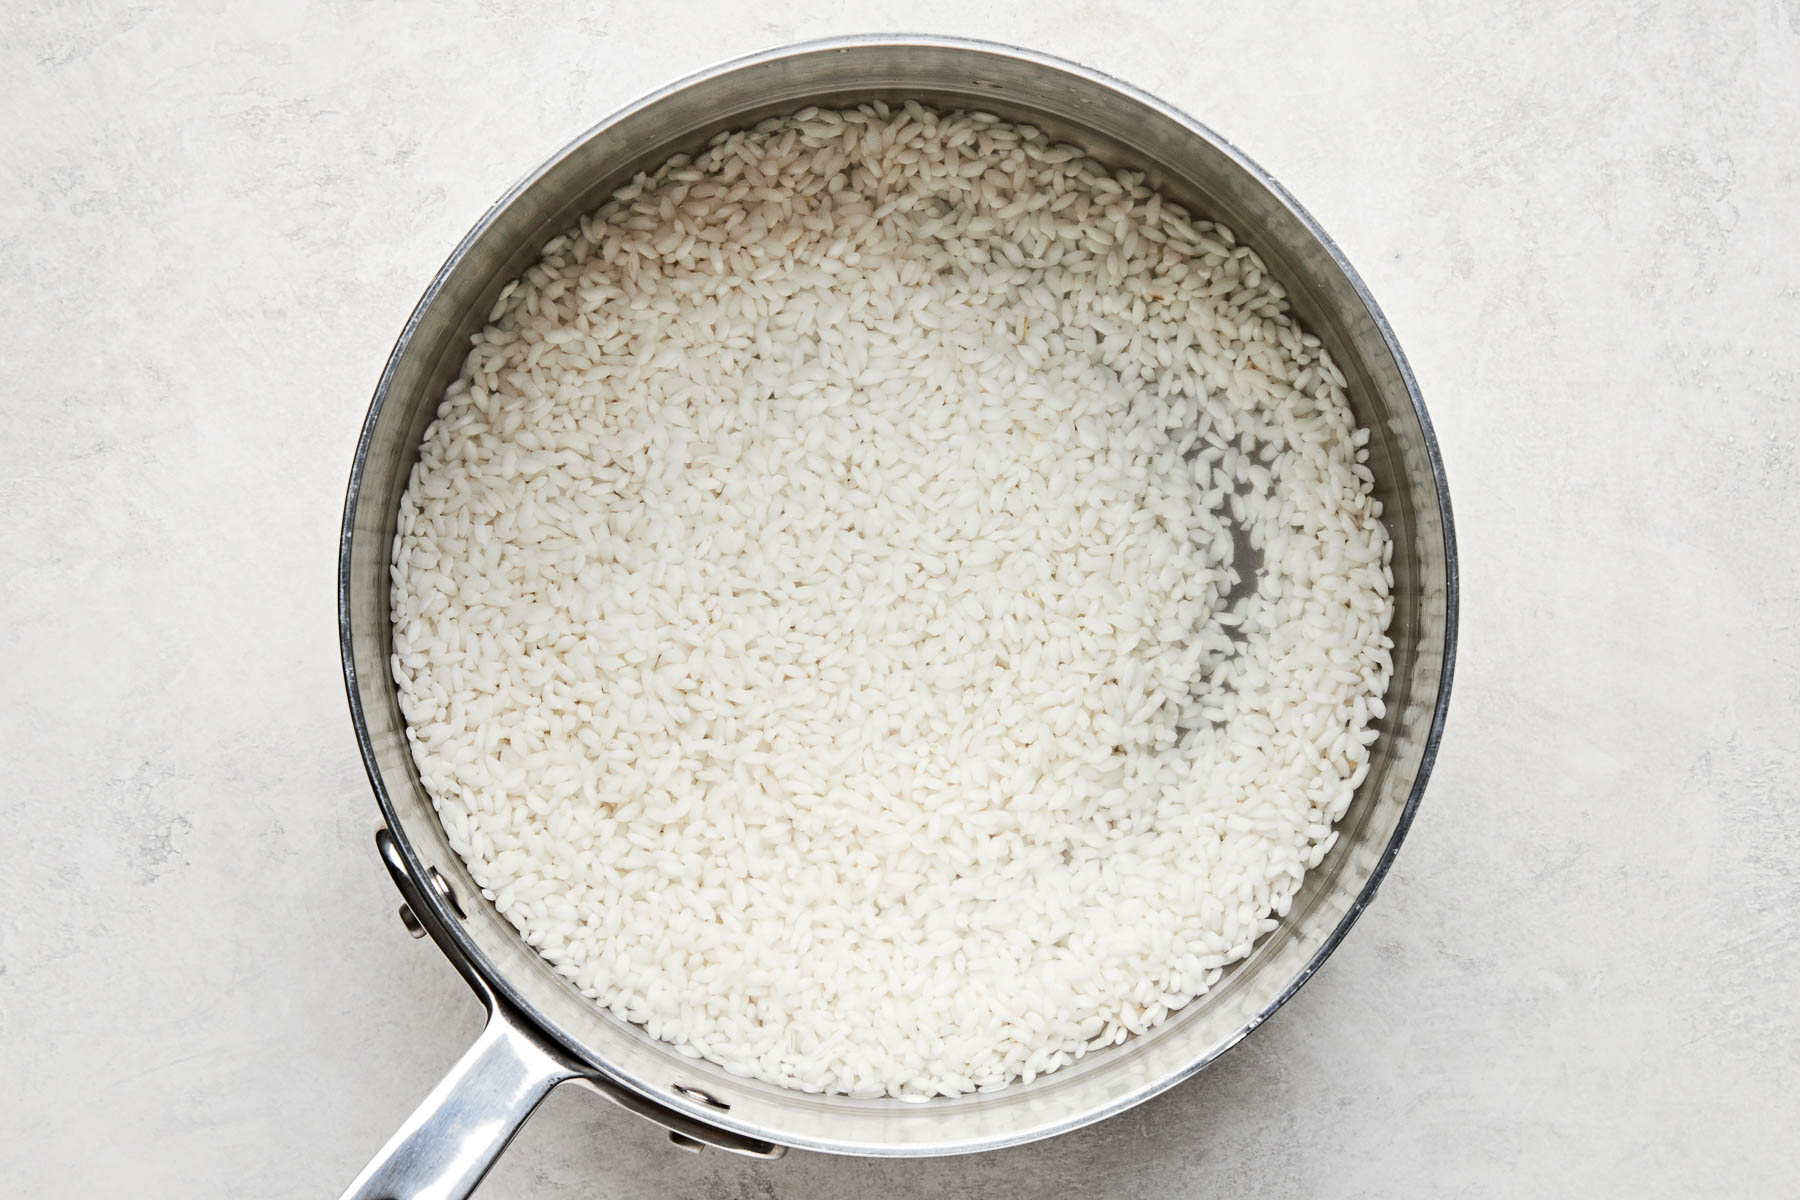
- Soak the rice: Shake off any excess water, then transfer the rinsed rice to a heavy-bottomed pot with a tight-fitting lid (see note, above). For the stovetop method, use 1 cup rice to 1 cup + 2 tablespoons water; if you used 1 ½ cups of rice, you will need 1 ½ cups + 3 tablespoons water. Add the corresponding amount of water to the pot with the rice. Set aside to soak for 30 minutes to help the rice cook evenly.
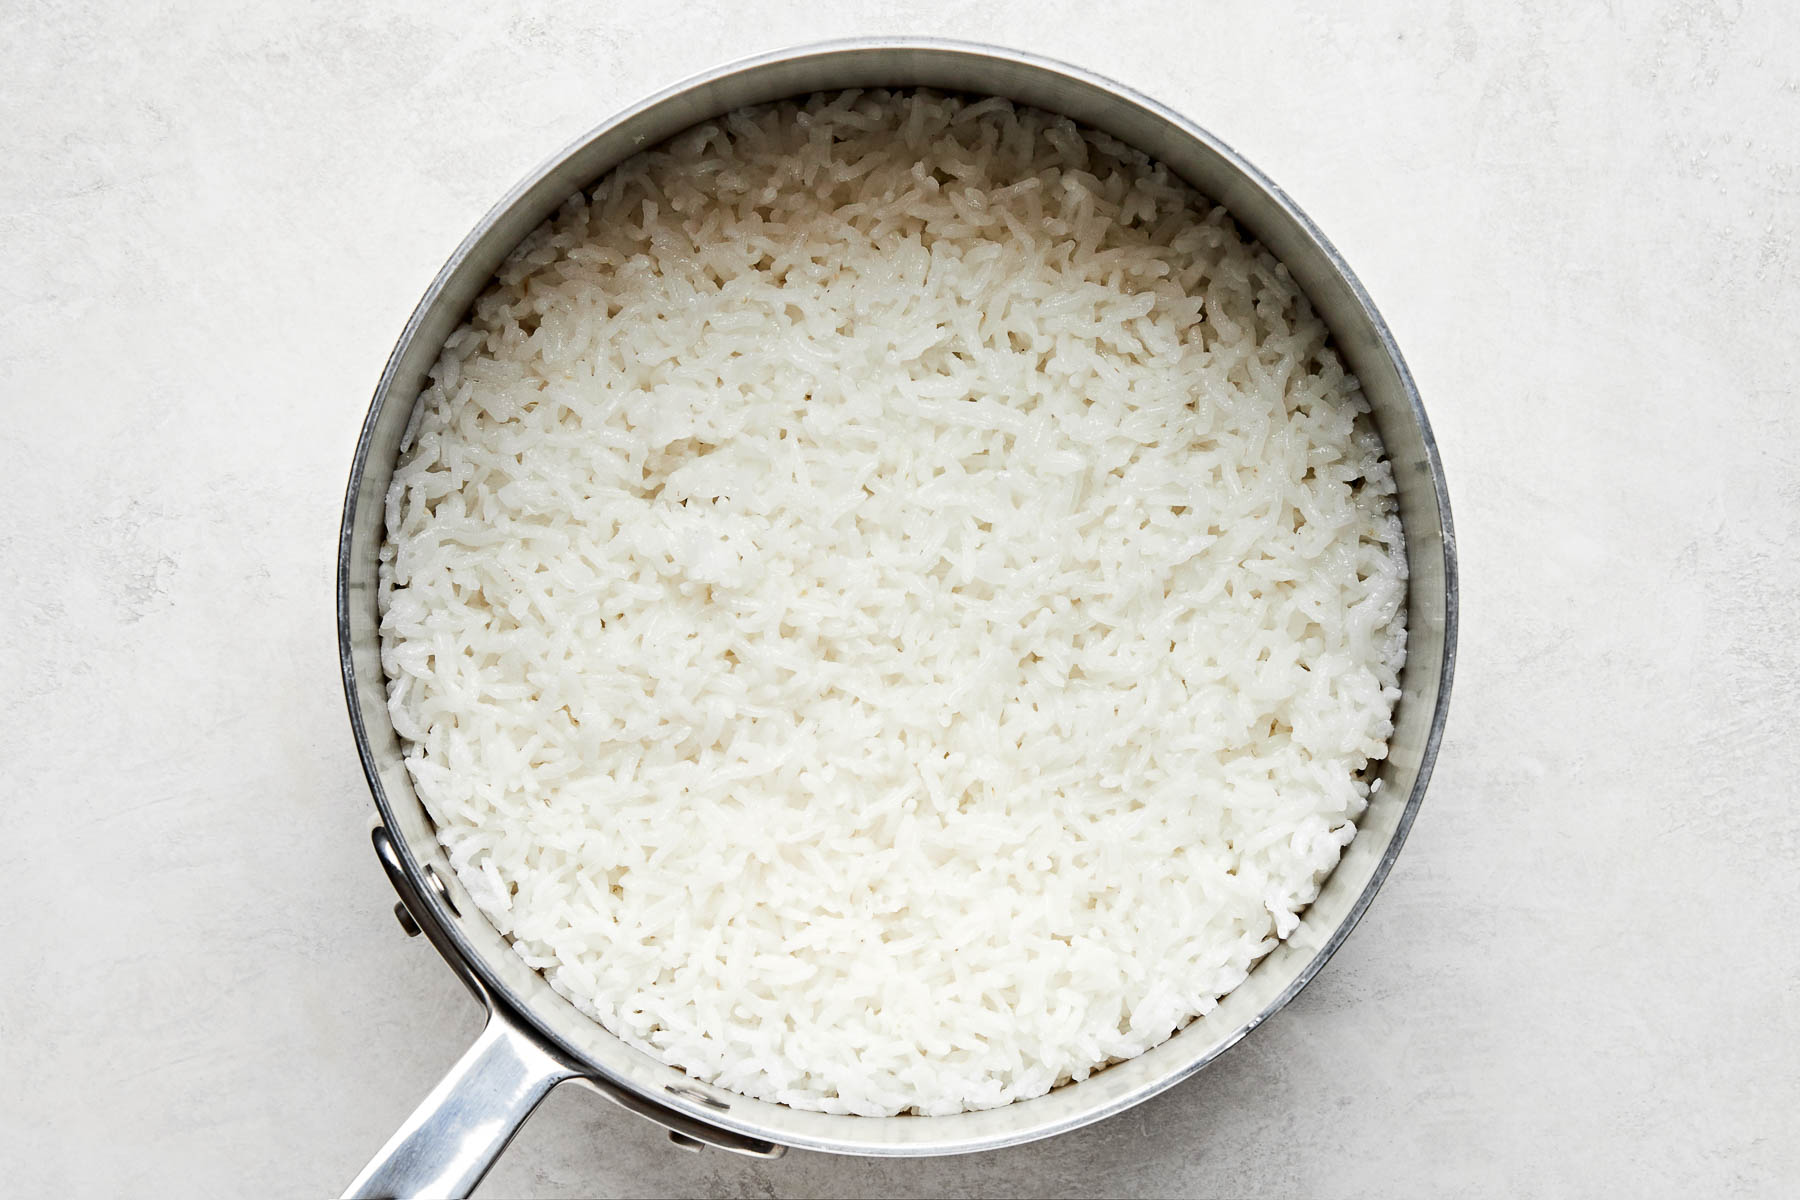
- Cook the rice: Once the rice is soaked, cover the pot and place it over high heat. From this point on, do NOT lift the lid! Once the water reaches a full boil, reduce the heat to maintain a gentle simmer. Simmer the rice for 10 minutes. Remove from the heat and let the rice steam for 10 minutes more without lifting the lid.
- Serve: Once the rice has steamed, uncover the pot. To serve, use a rice paddle to gently scrape rice from the surface of the pot. Be sure to scrape rather than dig into the rice; digging compacts the grains and we want the rice to stay nice and light! Enjoy immediately.
Notes
Calrose rice is a medium-grain rice with the best light and sticky texture! My family’s preferred brands are Kokuho Rose and Botan, though Hinode and Nishiki are good too. Feel free to use whatever brand is most accessible to you. You can use either white or brown Calrose rice, though the measurements and ratios in this recipe are written for white rice.
Storage and Reheating: Allow any leftover rice to cool completely, then transfer to an airtight container and store in the refrigerator for up to 5 days. Reheat in the microwave until warmed through; if your rice seems particularly dry, sprinkle a little water over top before microwaving. Leftover Calrose rice is also fantastic for fried rice – Mom’s Spam Fried Rice is my favorite recipe.
Follow along with Plays Well With Butter on Instagram, YouTube, Facebook, and Pinterest for more unfussy recipes that pack a big punch of flavor!