THIS POST IS SPONSORED BY
Minnesota Beef. As a Minnesota-based food blogger, I’m so proud to support the cattle farmers and ranchers who responsibly raise incredible beef right in my backyard. All thoughts & opinions are my own.
This Fall-Apart Tender Braised Beef Roast is the Definition of Low-Effort, High Reward
Braised beef is one of my favorite things to make for dinner in the fall and winter.
And while braising might sound super fancy, it’s actually a pretty simple, delightfully hands-off process. With just a gentle simmer, you can make humble ingredients absolutely shine! 👩🏻🍳
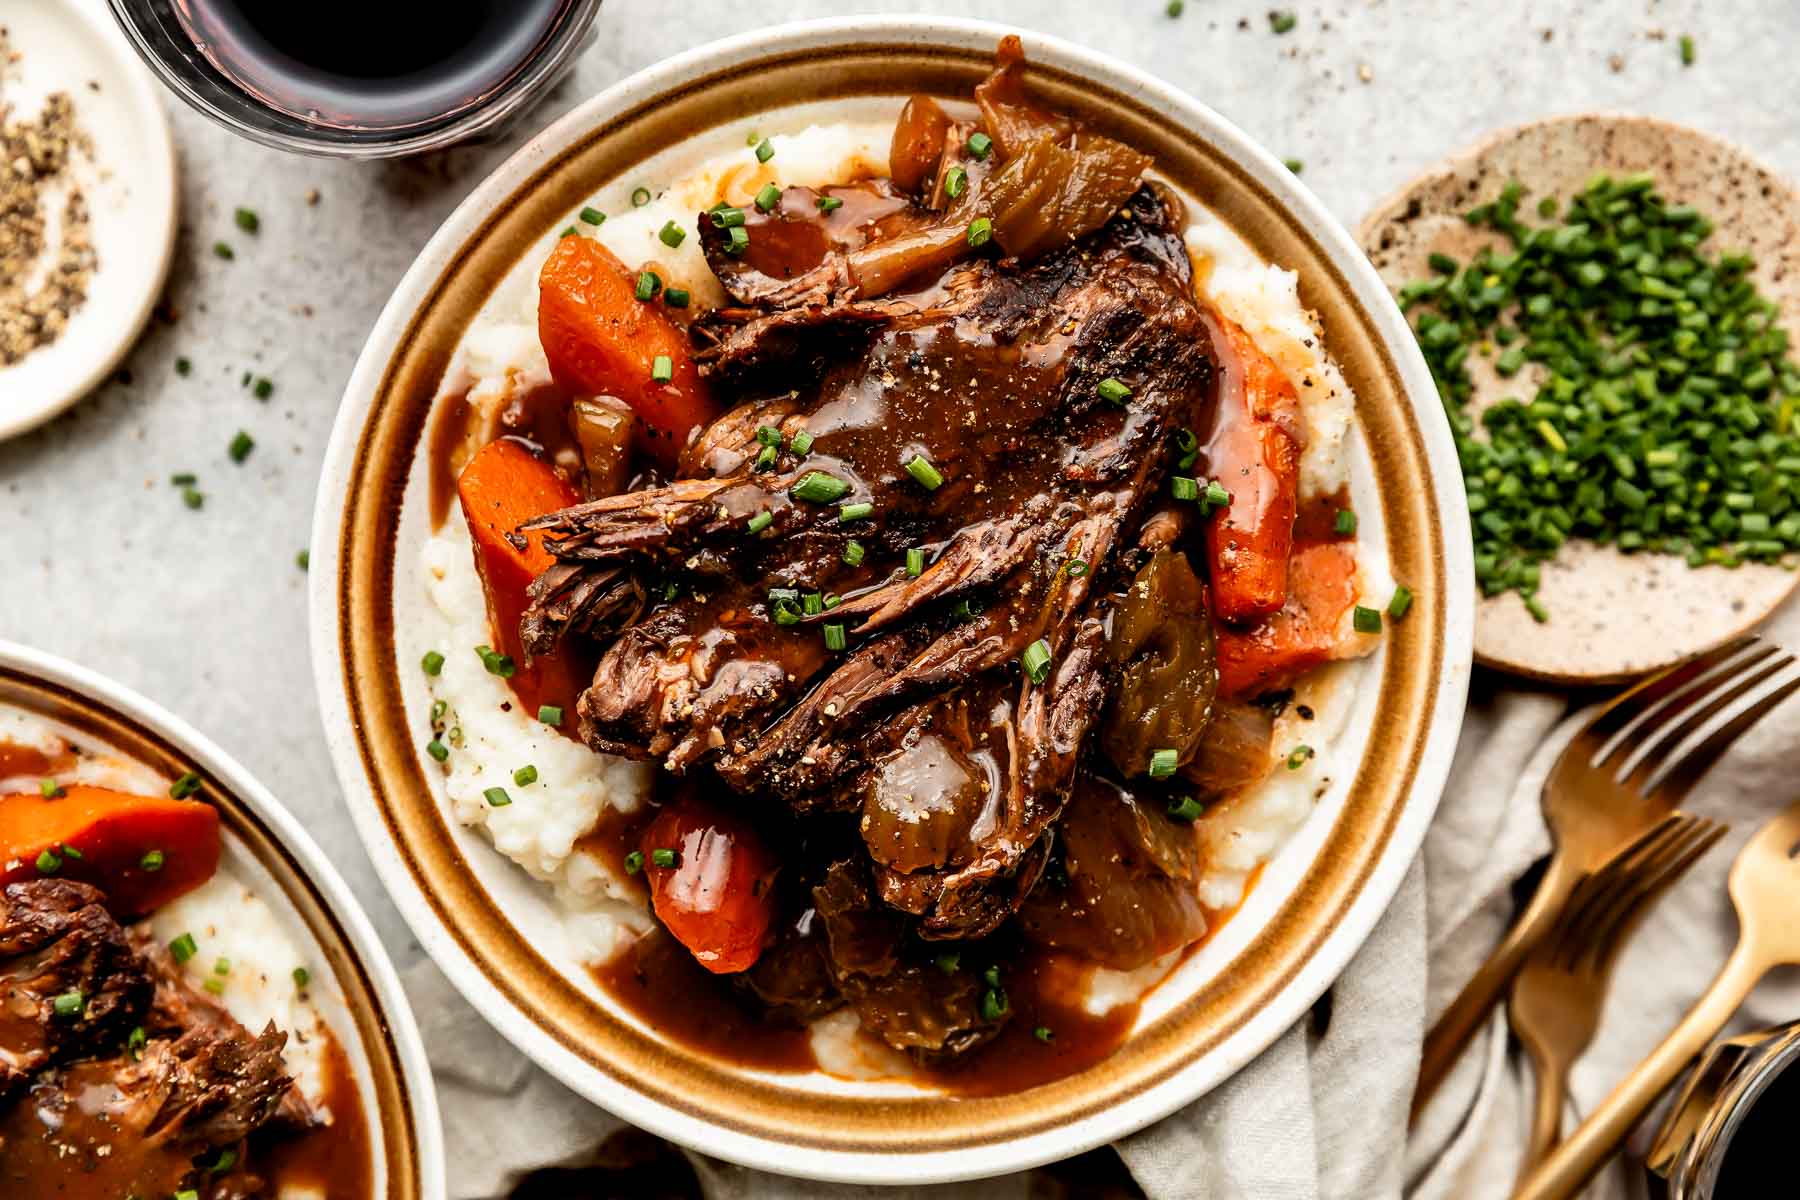
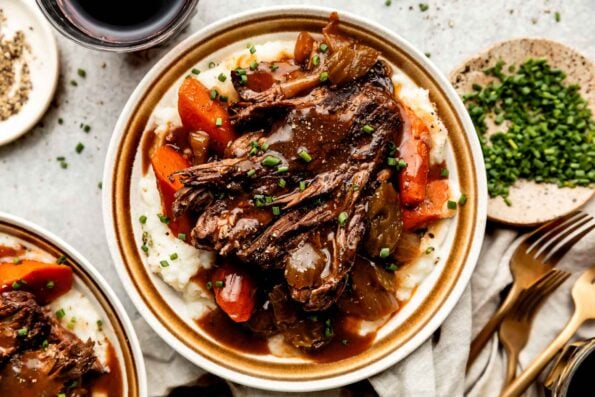
This braised beef recipe is a budget-friendly version of my favorite Damn Good Red Wine Braised Short Ribs, replacing pricier beef short ribs with a hearty chuck roast. The roast simmers alongside a generous amount of feel-good vegetables in an herbaceous red wine sauce that infuses the entire braising pot with rich, aromatic flavor.
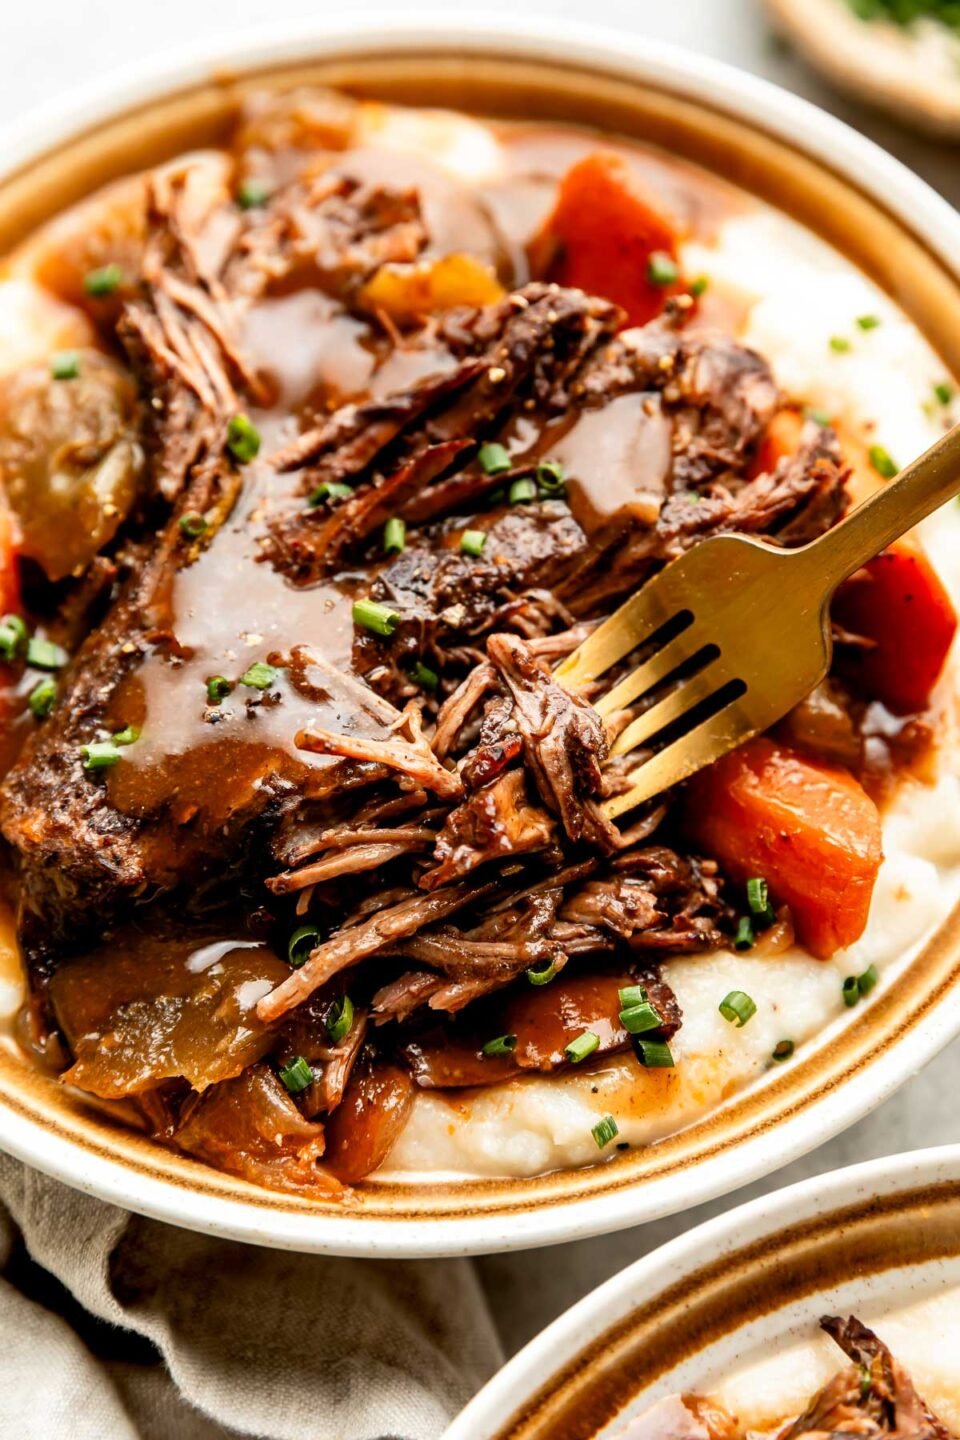
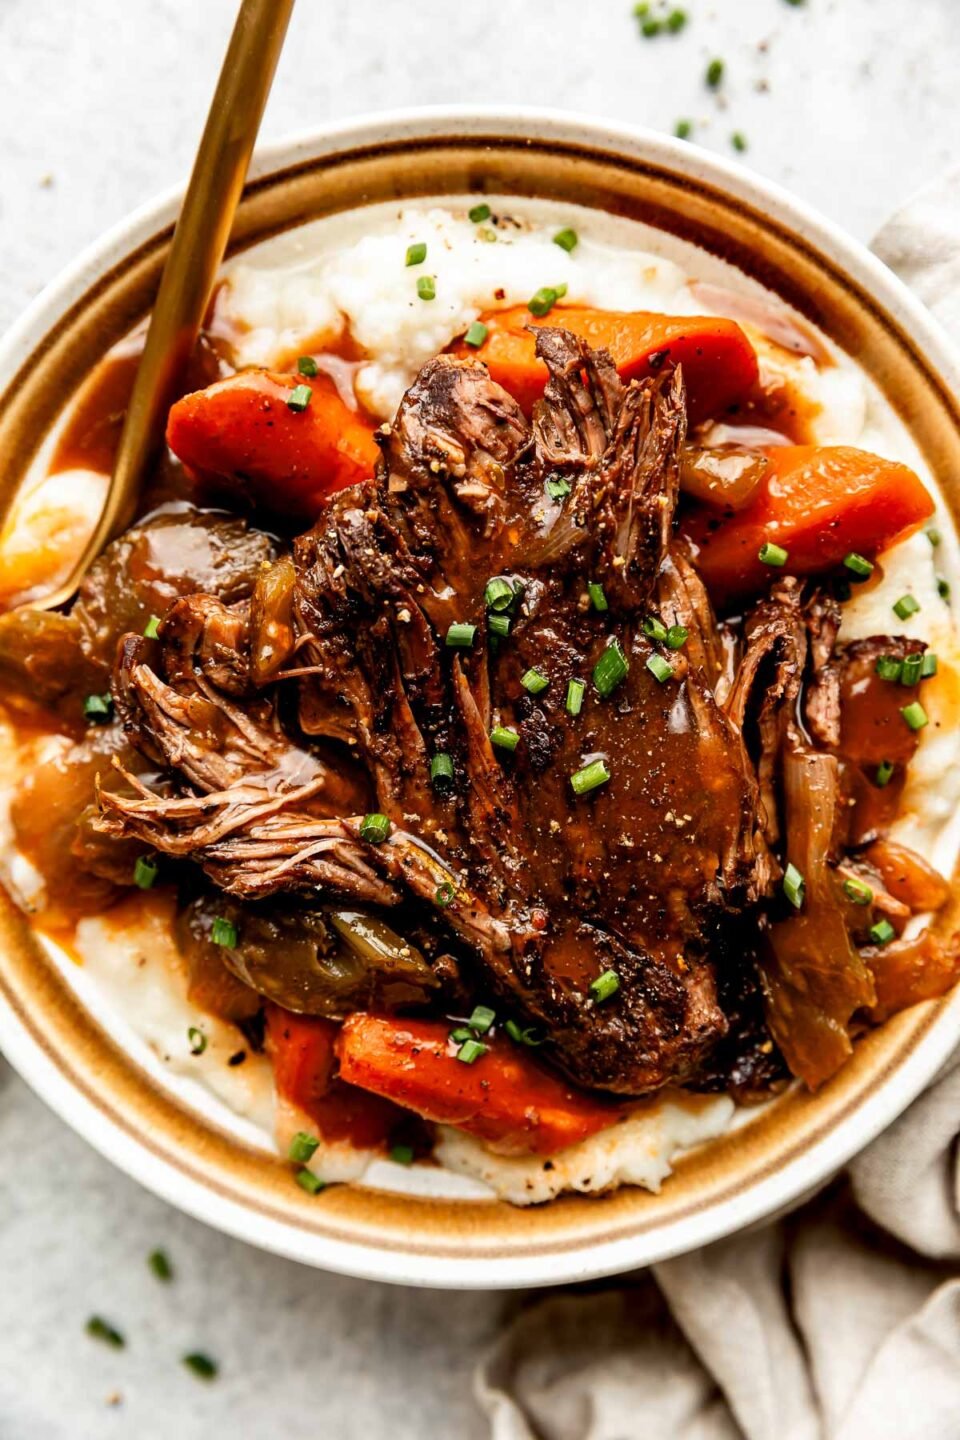
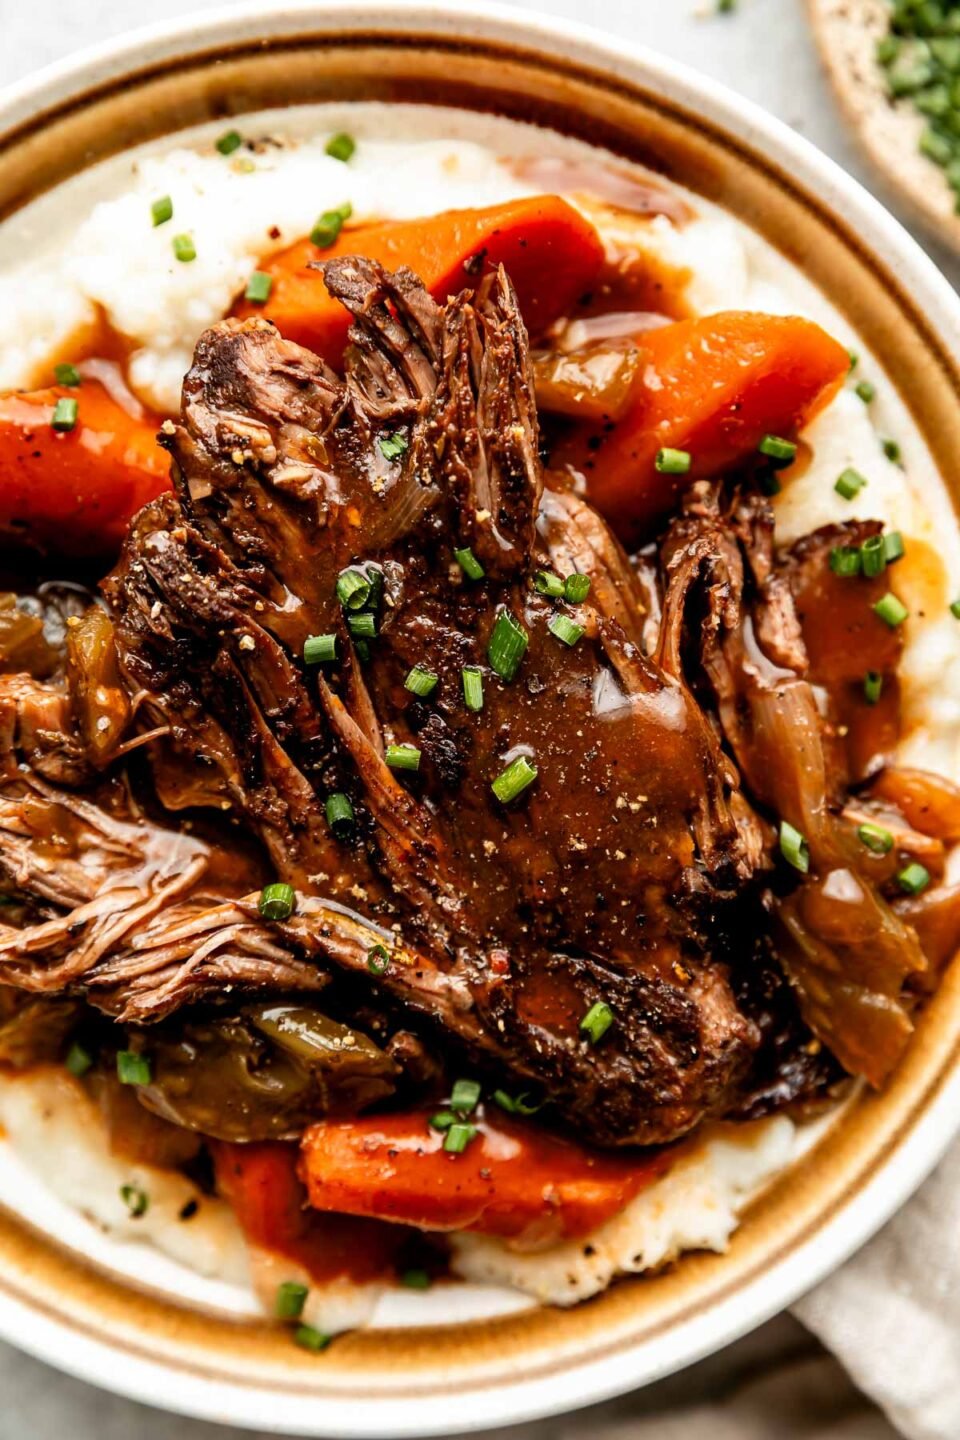
And after hours of gently cooking, the braised beef chuck roast becomes fall-apart tender with the nudge of a fork, practically melting away in your mouth. The red wine sauce also thickens as it simmers, creating a built-in gravy that’s perfect for drizzling all over your dinner plate.
For only a little bit of effort, this red wine braised beef is deliciously high in reward. It’s a comforting home-cooked meal that’s impressive to serve for fancy moments like the holidays or cozy Sunday suppers.
Craving more meltingly tender beef dinners? ⇢ Be sure to try my viral Braised Beef Ragu or Extra-Veggies Beef Pot Roast. Both are easy beef chuck roast recipes that use a hands-off braise to create a ton of slowly simmered flavor!
Hearty Beef Chuck is Perfect For Braising
Tough cuts are ideal for long braises and they always yield a beautiful result.
This recipe uses chuck roast, an upper arm cut of beef that stands up really well to a long braise. The low and slow heat turns the meat’s hard-working connective tissues into a melt-in-your-mouth tender bite.
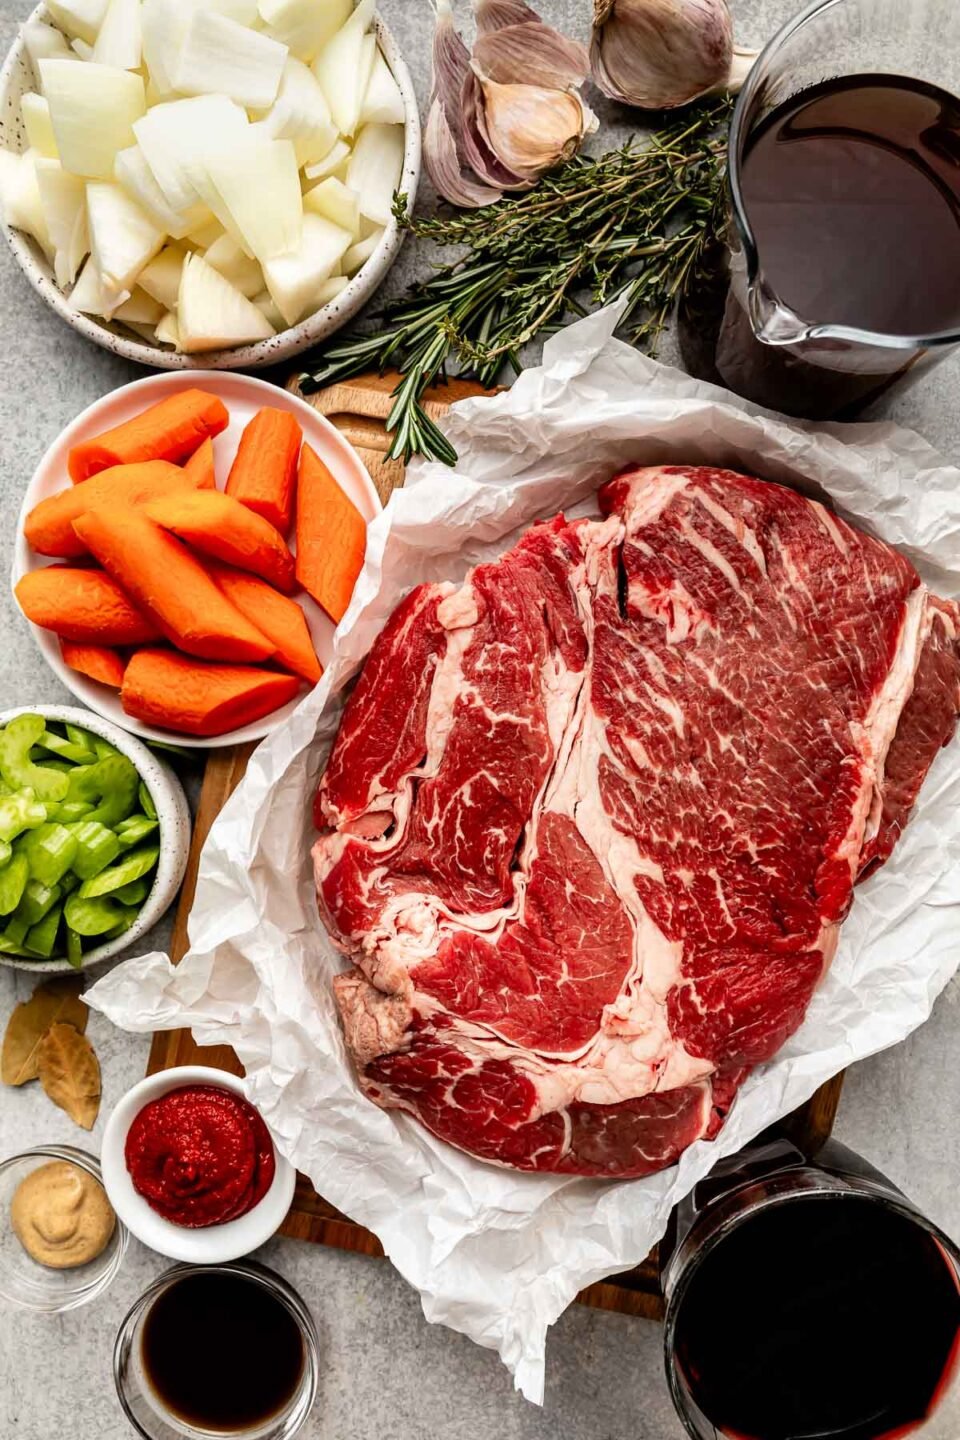
As simple as it is to braise chuck roast, don’t forget these 3 essential prep steps before you begin cooking:
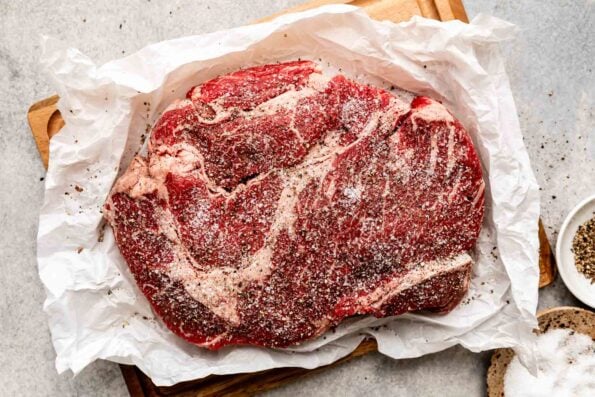
- Bring the beef to room temperature. This can take up to an hour with a large roast, so plan ahead! Why? ⇢ Room temperature meat browns and roasts more evenly.
- Pat the chuck roast dry using paper towels. Why? ⇢ Moisture is the enemy of a good, hard sear! Drying the beef helps it brown much easier.
- Season generously! Salt brings out beef’s naturally rich flavor. A good rule of thumb is to use 1 teaspoon of kosher salt per pound of meat.
Sourcing Tip! ⇢ As a Minnesota-based food blogger, nothing makes me happier than supporting the thousands of cattle farmers in my backyard. That’s why I made this braised beef roast with extra-flavorful Minnesota Beef. If you have the opportunity to support your local ranchers, please do!
The Best Red Wine for Braised Beef
Braising beef chuck in red wine is an easy way to give your roast some more aromatic flavor. Red wine (vs white wine) is much bolder, so it stands up to the richness of the meat.
For this recipe, I recommend using a dry, medium-bodied red wine like a Chianti or Merlot. You don’t have to break the bank here. A nice, drinkable wine is all you need, especially since it’s the base of flavor for the braising liquid.
Prefer not to cook with alcohol? ⇢ Just replace the red wine with more beef stock! The braised beef chuck roast may taste a little less aromatic, but it will still be meltingly tender and have beautifully rich flavor.
Shop This Post
 Buy Now →
  Buy Now →
  Buy Now →
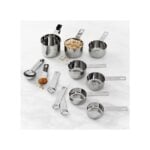
Stainless Steel Measuring Cups & Spoons
Buy Now → Buy Now →
  Buy Now →
 How to Make Red Wine Braised Beef
Braising beef sounds way more complicated than it is. So, what is braising, exactly? ⇢ A braise slowly simmers food, often large cuts of meat, in a covered pot with a cooking liquid. The gentle heat tenderizes the meat over several hours until it practically falls apart.
That’s exactly what we’re doing with this red wine braised beef recipe! After a few simple steps of prep, the whole braising process is almost entirely hands-off.
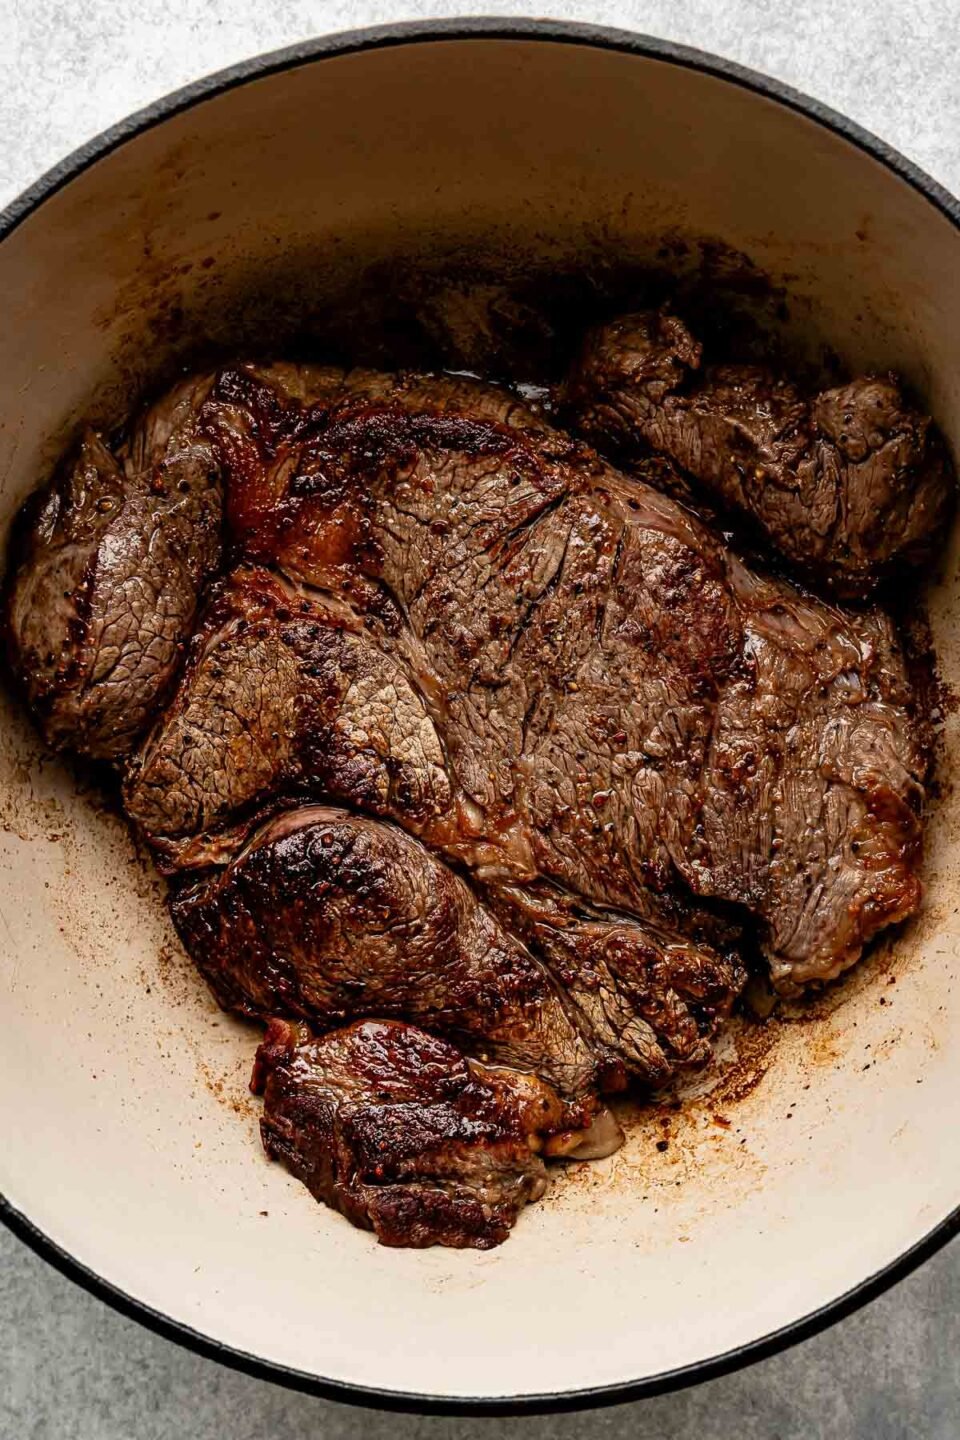
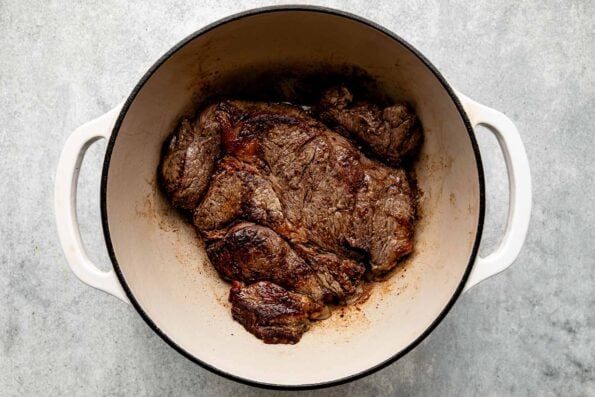
Brown the chuck roast. Add the chuck roast to a large, heavy-bottomed pot on a hot stove. The meat should instantly start searing, creating a beautifully browned crust. Rotate the roast every 4-5 minutes to sear all its sides, then remove the beef from the pot. Why? ⇢ Thanks to a chemical process called the Maillard reaction, the beef’s rich flavor deepens as it browns.
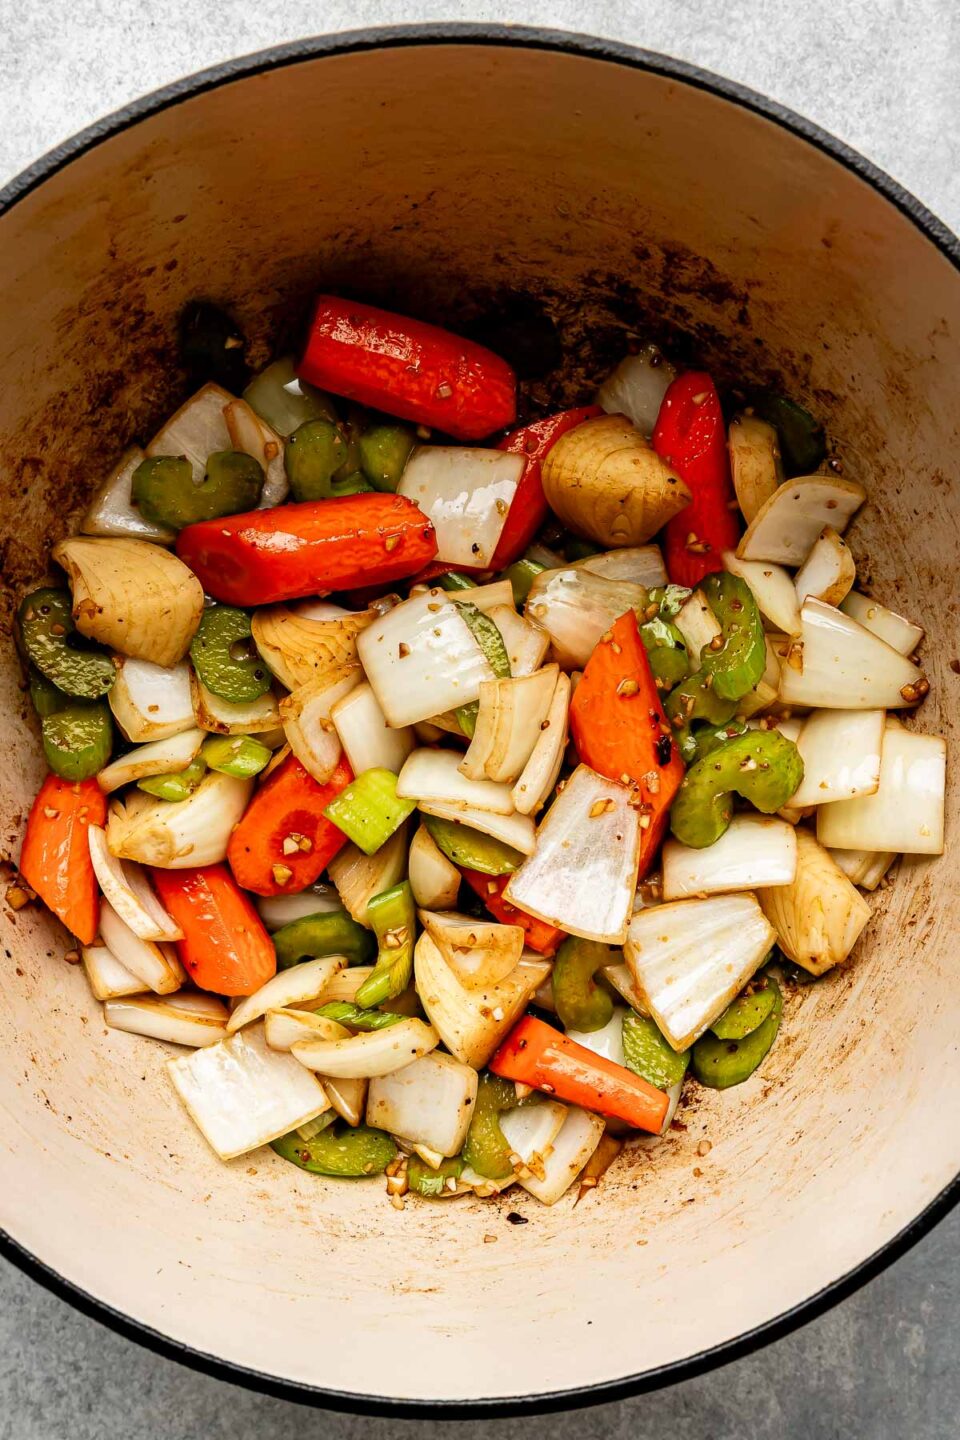
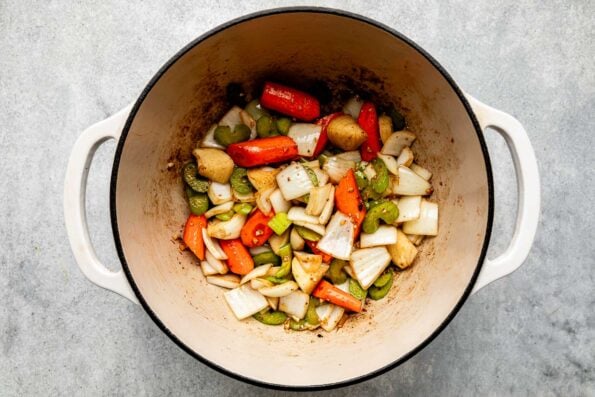
Sauté the veggies. Add garlic and hearty pieces of carrots, celery, and onion to the pot, cooking them in the beef renderings in the pot. This only takes a few minutes – you just want them to be slightly softened and fragrant at this point.
Deglaze the pot. Slowly pour in the red wine, using a wooden spoon to scrape up any browned bits of fond from the bottom of the pot. Why? ⇢ Developed by browning the beef and softening the vegetables, these browned bits of fond are FULL of flavor! Scraping them from the surface of the pot incorporates their richness into the red wine braising liquid.
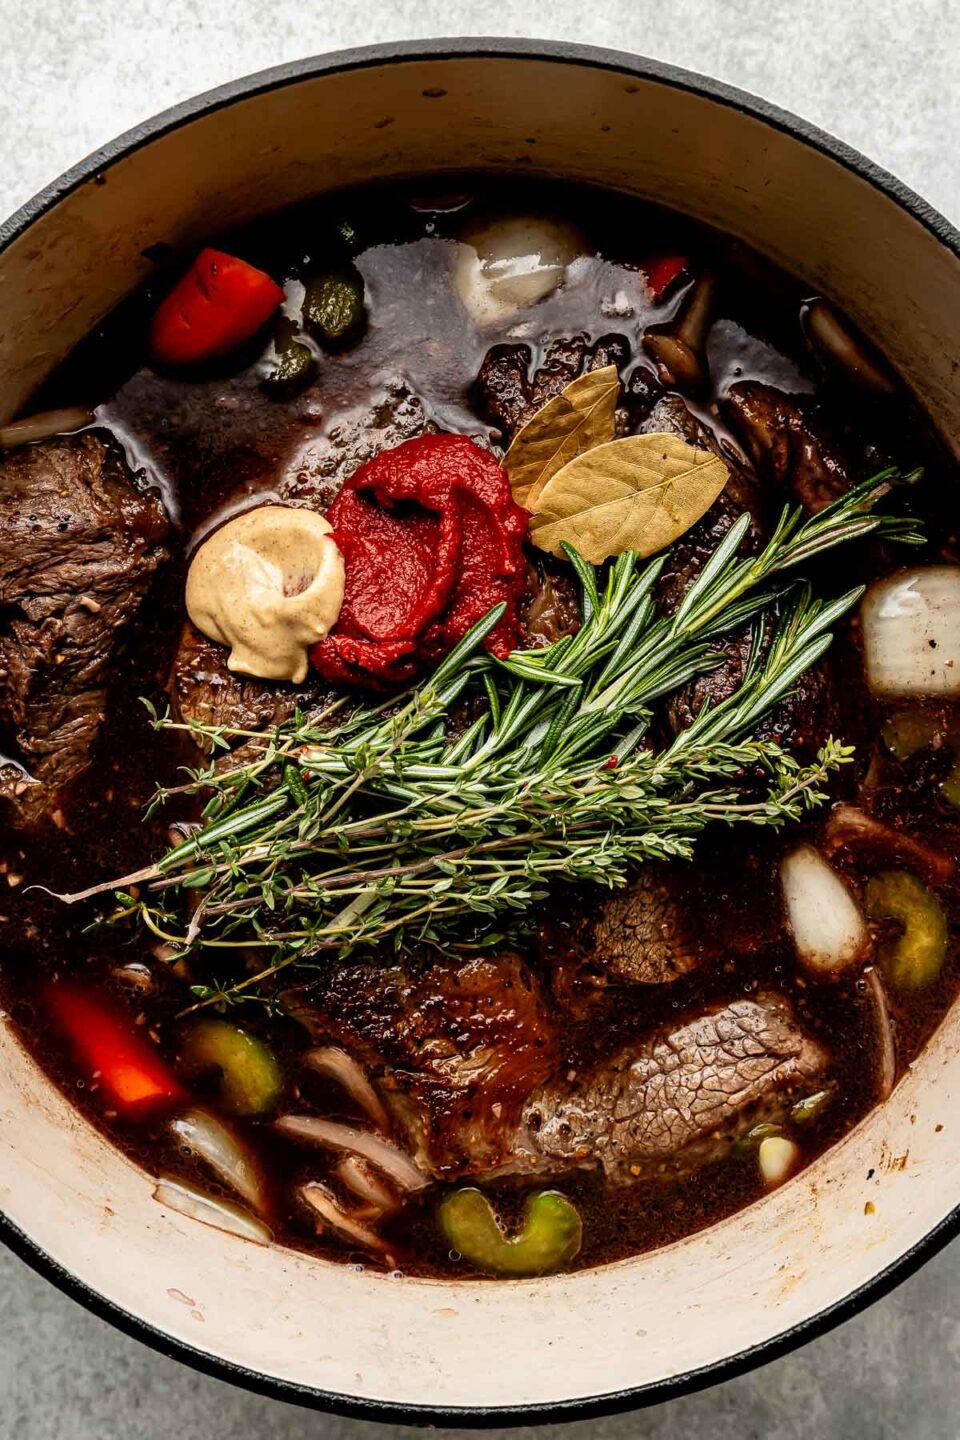
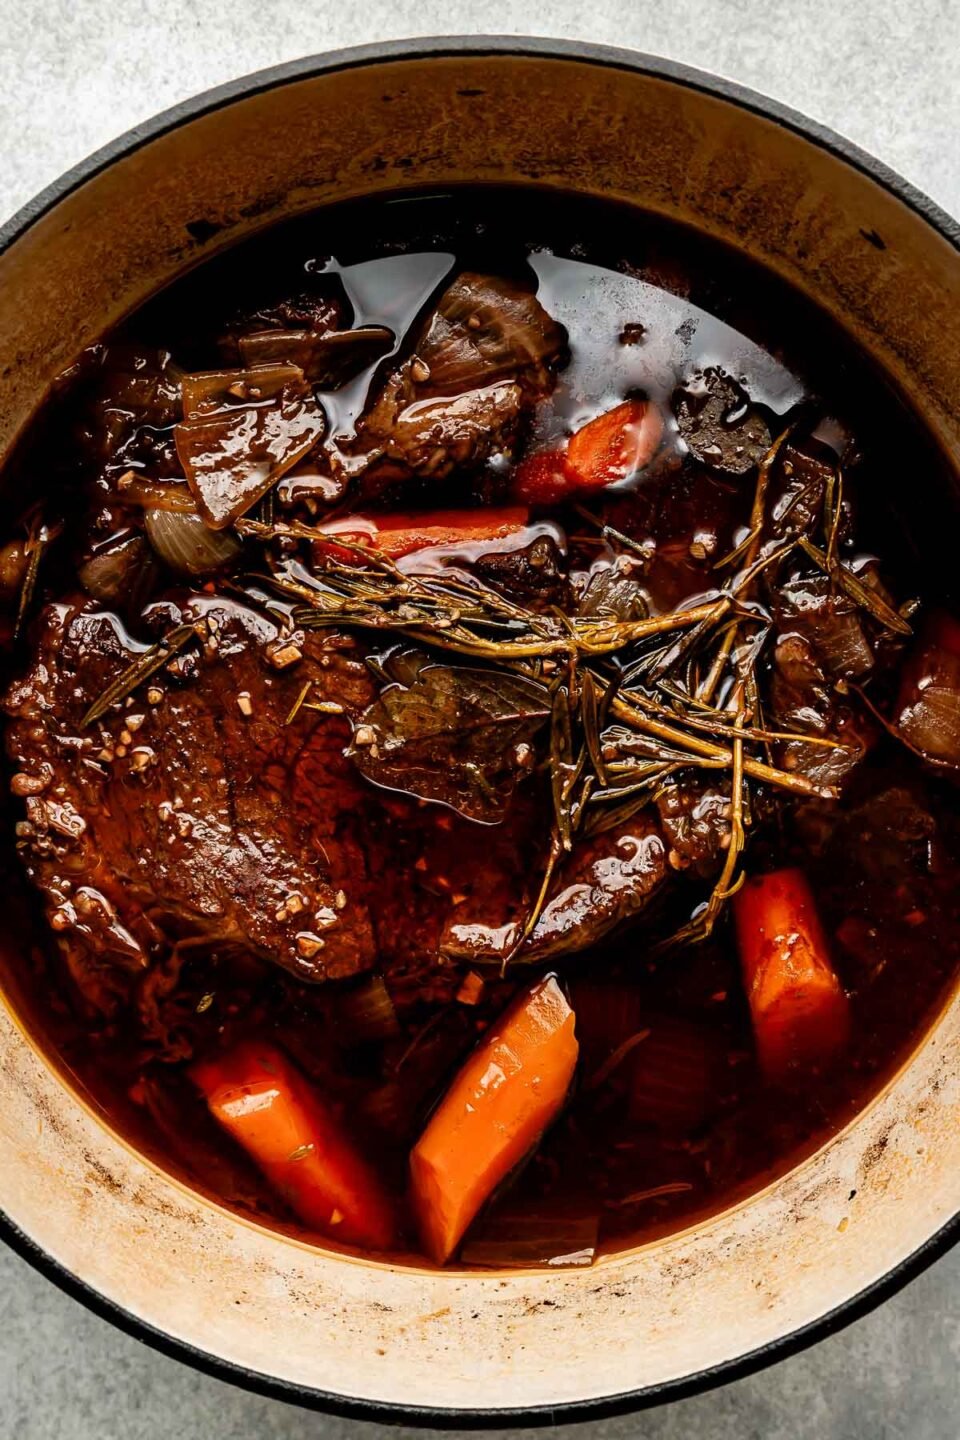
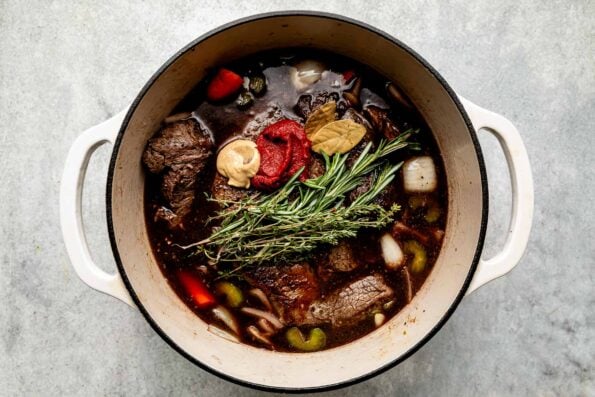
Braise the beef. Add the browned beef chuck back to the pot with the beef stock, bay leaves, and sprigs of fresh rosemary and thyme. I also use a little Dijon mustard, tomato paste, and Worcestershire sauce to create extra depth of flavor. Cover the pot and let it all simmer on the stove for 3 – 3 ½ hours. Determining doneness. ⇢ You’ll know the meat is ready once it’s tender enough to easily shred with a fork.
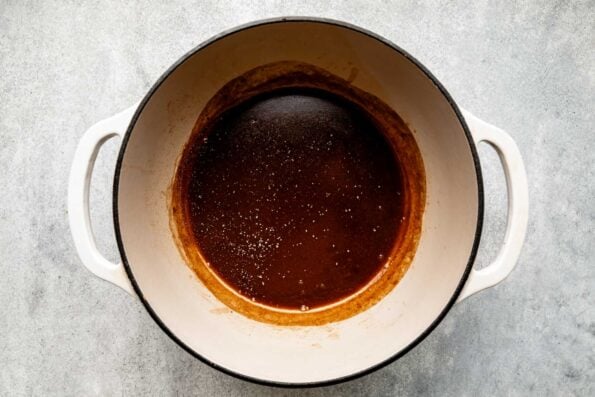
Thicken the red wine braised beef liquid. At this point, the roast is cooked and delicious. But I love taking an extra moment to thicken the braising liquid. This makes it into a super smooth, spoonable gravy! Remove the beef and spent herbs from the pot, then stir in a flour slurry (a simple mixture of flour and beef stock) until the liquid thickens.
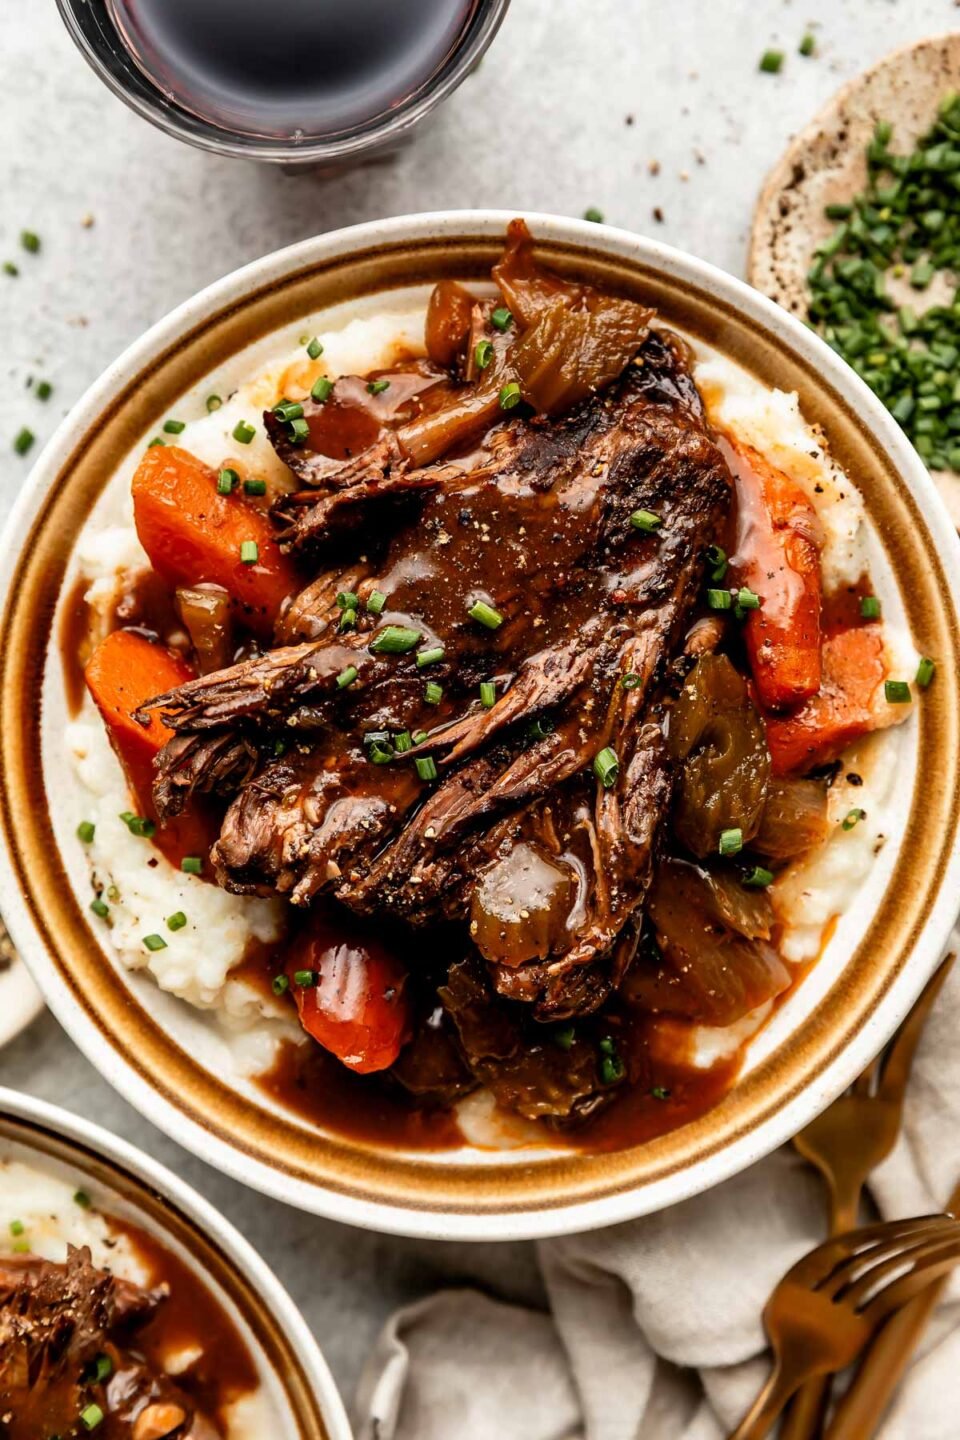
Alternate Cooking Methods
I love braising a beef roast on the stovetop, but you can prepare this recipe in many different ways! Your oven or a slow cooker/Crockpot are best for mimicking a delicate braise. An electric pressure cooker like an Instant Pot also does the trick if you’re tight on time. Check the Recipe Notes, below, for step-by-step guidance!
Serving Suggestions
Once the braised beef roast is tender, simply break it apart into 6 or 8 hearty portions – this should be incredibly easy given how tender the meat is. From there, you’re ready to serve!
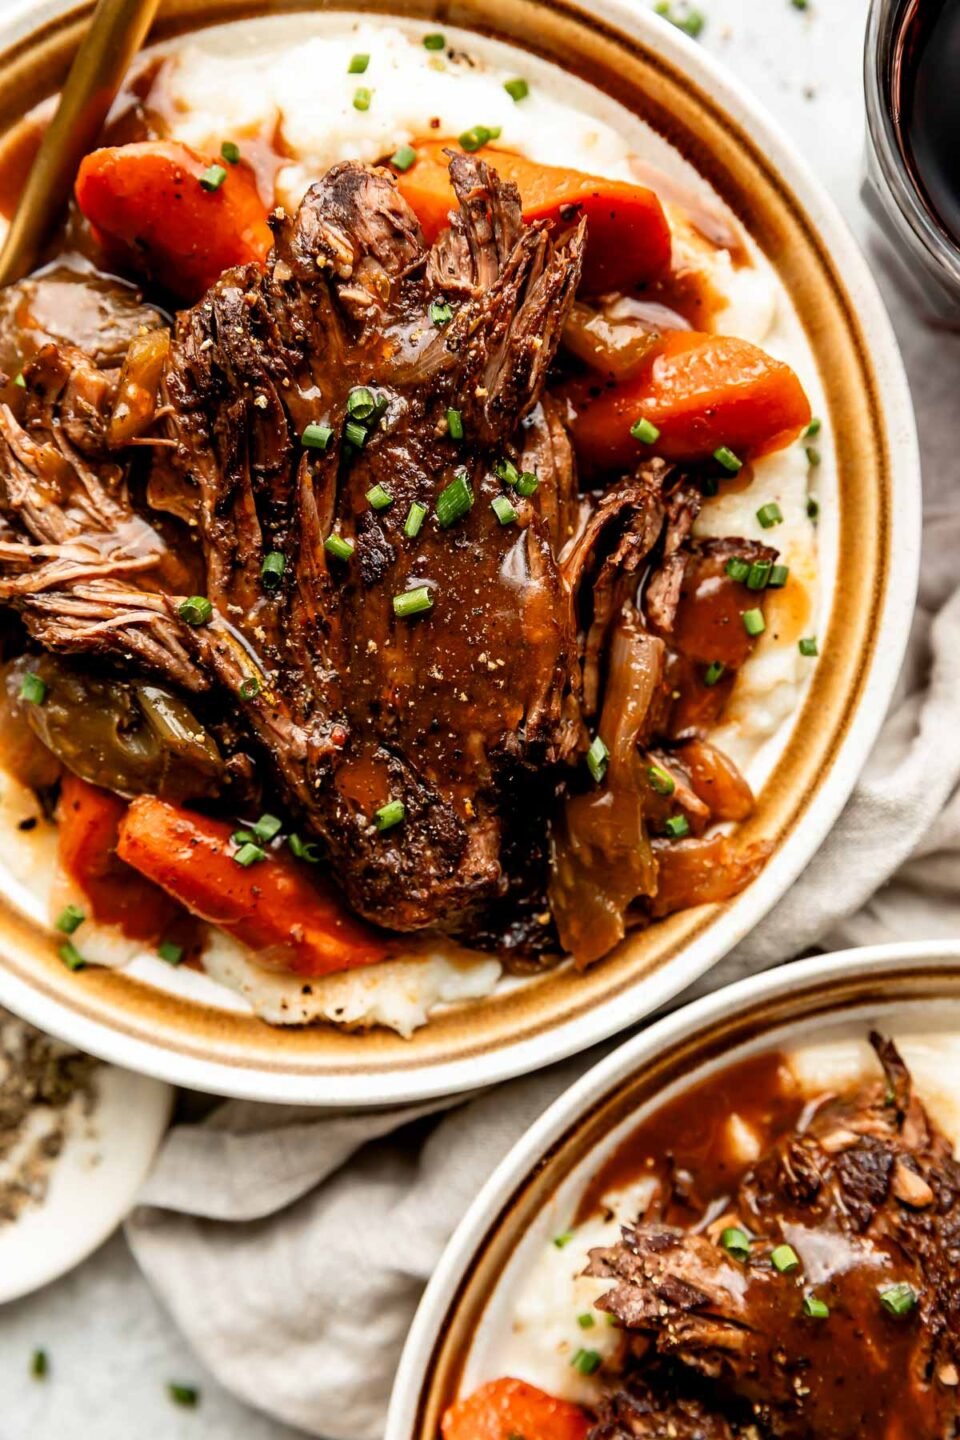
I love to serve this braised beef with a cozy carb like Chris’ Roasted Garlic Buttermilk Mashed Potatoes or some creamy polenta to soak up all of the richness of the red wine gravy. Crispy roasted potatoes or even a simple slice of crusty bread also do the trick!
For a bit of freshness, I also like to complete this meal with a Lemon Kale Salad or sautéed veggies like green beans or broccoli. Fresh vegetables balance out all the richness from the beef for a complete and comforting meal!
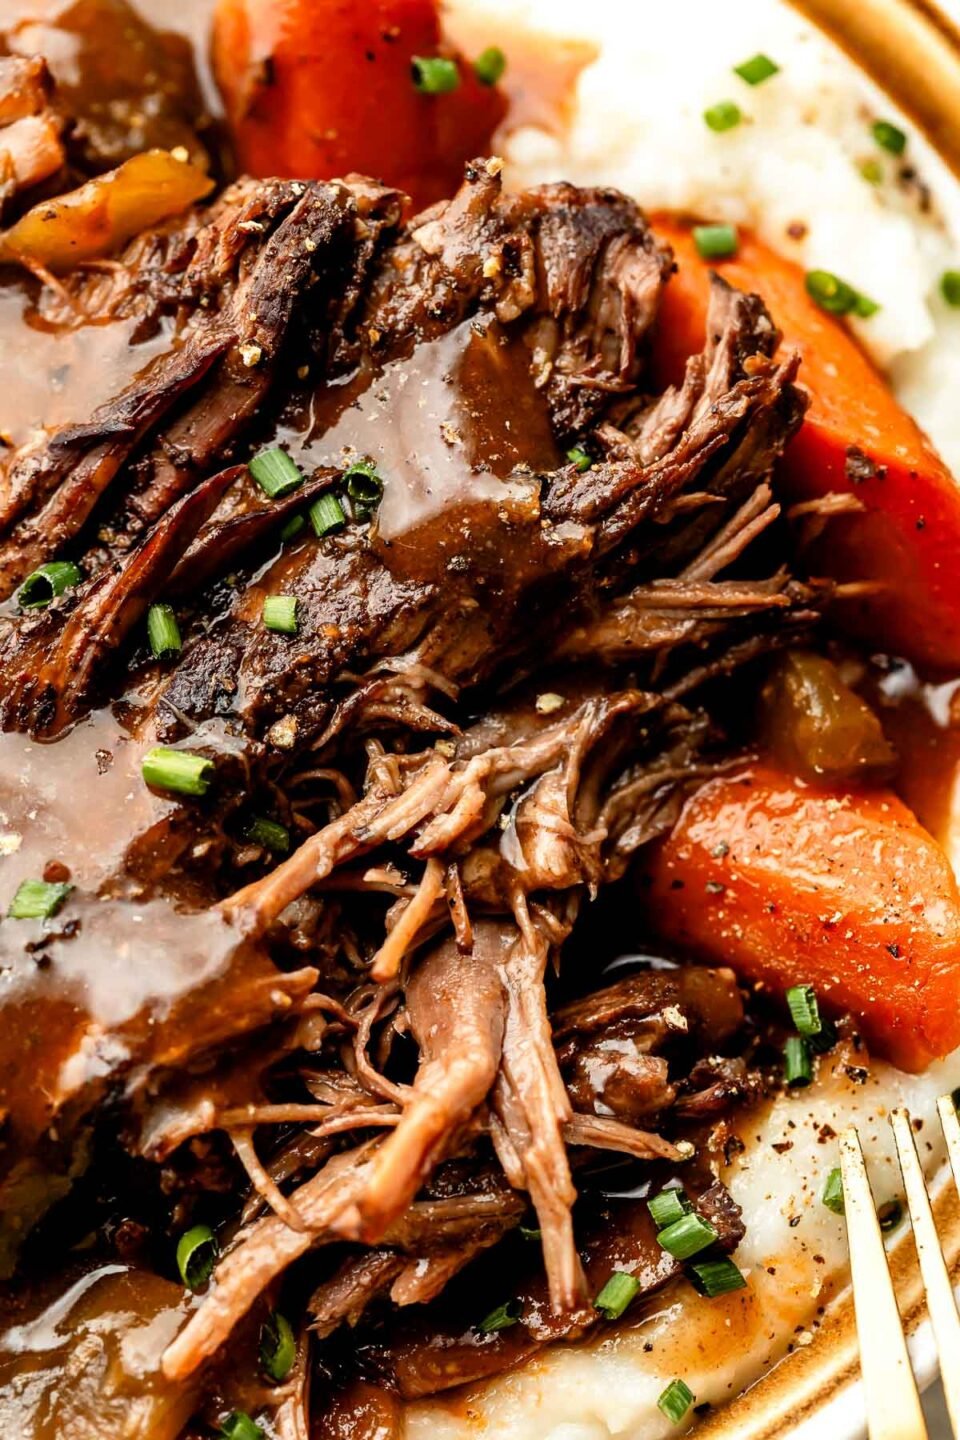
I can’t wait for you to try this Meltingly Tender Red Wine Braised Beef! It’s such a simple yet elegant dish – perfect for special occasions AND easy enough for lazy weekends. A true staple recipe that I think you’ll come back to time and time again – I know I do! 😉
If you do give it a try, be sure to let us know! Leave a comment with a star rating below. You can also snap a photo and tag @playswellwithbutter on Instagram. We LOVE seeing your PWWB creations! ♡ Happy cooking!
Print
Meltingly Tender Red Wine Braised Beef (Stovetop, Oven, Slow Cooker, Instant Pot)
- Prep Time: 15 minutes
- Cook Time: 3 hours 45 minutes
- Total Time: 4 hours
- Yield: serves 6
- Category: Main Dish, Beef Recipes
- Method: Braised
- Cuisine: American
Description
Braised beef is one of my favorite things to make for dinner in the fall and winter. It’s cozy, comforting, and practically guarantees an impressive result – all with very minimal effort required.
This particular recipe is a slightly more budget-friendly version of my popular Damn Good Red Wine Braised Short Ribs, replacing pricier beef short ribs with a hearty chuck roast instead.
After an hours-long simmer with aromatic veggies, fresh herbs, and red wine, the humble beef chuck transforms into a succulent, fall-apart tender roast that practically melts in your mouth – it’s kind of like the best pot roast you’ll ever have!
I’ve included lots of braising tips and tricks in the blog post, above, and some alternate cooking methods are detailed in the Recipe Notes, below. ♡ Happy cooking!
Ingredients
- 2–3 tablespoons olive oil
- 3–3 ½ pounds beef chuck roast, trimmed of excess fat
- 3 large carrots, peeled as desired & diced into chunky 1-inch pieces
- 2 stalks celery, finely sliced
- 1 large yellow onion, peeled & diced into 1-inch pieces
- 8 cloves garlic, finely chopped or grated
- 2 cups dry red wine (see Recipe Notes, below)
- 2 cups beef stock
- 2 tablespoons tomato paste
- 2 tablespoons Worcestershire sauce
- 1 tablespoon Dijon mustard
- 2 bay leaves
- 3–4 sprigs fresh rosemary
- 10–12 sprigs fresh thyme
- optional: flour slurry (2 tablespoons all-purpose flour whisked with ½ cup beef stock)
- for serving, as desired: mashed potatoes, roasted vegetables or sautéed green beans, salad, etc.
Instructions
- Prepare the beef chuck roast: About 30 minutes – 1 hour before you’d like to begin cooking, pull the beef chuck roast from the refrigerator & allow it to come up to room temperature. Just before cooking, use a paper towel to pat all sides of the roast as dry as possible. Season liberally with kosher salt and ground black pepper – a good rule of thumb is 1 teaspoon kosher salt per pound of meat.
- Brown the chuck roast: Add the olive oil to a large, heavy-bottomed pot or Dutch oven (at least 5-qt capacity) over medium-high heat. Once the oil is hot & simmering, carefully add the chuck roast. Cook 4-5 minutes per side, until deeply browned. Don’t forget to brown the skinnier edges! Once seared, transfer to a plate & set aside.
- Cook the aromatics: Add the carrots, celery, onion, and garlic to the pot used to sear the chuck roast. Season with ½ teaspoon kosher salt and ground black pepper as desired. Stir to combine. Cook 2-3 minutes, just until fragrant.
- Deglaze and braise the red wine beef: Pour in the red wine, using a wooden spoon to scrape up any browned bits that may have formed at the bottom of the pot. Cook 1-2 minutes, then add the seared beef chuck roast back into the skillet, nestling it into the vegetables. Add in the beef stock, tomato paste, Worcestershire sauce, Dijon mustard, bay leaves, fresh rosemary and thyme. Stir to combine well. Bring the pot up to a boil, then reduce heat to maintain a very gentle simmer. Cover and braise, stirring occasionally, for 3 – 3 ½ hours, or until the beef is tender – it’s ready once it shreds easily with the twist of a fork.
- Finish the red wine braised beef: Once the red wine braised beef is tender, carefully transfer the roast to a plate or cutting board. At this point, you can remove & discard the spent herbs and bay leaves from the pot, as well. If desired, thicken the braising liquid. Skim any excess fat from the top of the braising liquid, then return to medium heat. Once bubbling, stir in the flour slurry. Simmer, stirring occasionally, for 3-4 minutes until thickened as desired. Taste and season with additional kosher salt & ground black pepper as needed.
- Serve: Shred the red wine braised beef into 6 large pieces. Serve immediately. I always place the braised vegetables and beef on a warm pile of mashed potatoes, then drizzle the red wine sauce over top. Enjoy!
Notes
Jess’ Tips and Tricks:
- Suggested red wine: For this red wine braised beef recipe, use a bold red wine that stands up to the rich flavor of the beef chuck roast. You don’t have to use the nicest wine here, but it should definitely be drinkable since it provides the base flavor of the braising liquid. I suggest a nice, medium-bodied Chianti or Merlot for this recipe. If you do not want to cook with alcohol, you can swap the wine for more beef stock, noting that your braising liquid may be a little less aromatic than described.
- 10-Minute Meal Prep: Nearly all of the active prep work for this red wine braised beef recipe comes from prepping the veggies. Take care of this in advance – it takes 10 minutes, tops! – & you can jump straight in to cooking during the week:
- Prep the veggies: Dice 3 large carrots and 1 large yellow onion into 1-inch pieces. Finely slice 2 stalks of celery. Transfer to an airtight container & store in the refrigerator for up to 5 days. (10 minutes active prep)
Storage and Freezing:
- Storage and Reheating: Leftover red wine braised beef and vegetables will keep, stored in an airtight container in the refrigerator, for up to 4 days. Reheat on the stovetop or in the microwave until warmed through.
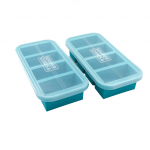
- Freezing Instructions: This red wine braised beef is also incredibly freezer-friendly. To freeze, transfer the cooled braised beef, vegetables, and red wine sauce to a freezer container (or divide it up between multiple freezer containers for smaller portions – Souper Cubes are my fave!). Freeze up to 3 months. To thaw, place in the refrigerator overnight or submerge the freezer container in room temperature water for a quicker thaw. Reheat on the stovetop until warmed through, adjusting as needed. If the red wine sauce is a little watery, simply allow residual water simmer out. If the red wine sauce sauce is too thick, simply add in a splash of water or stock until your desired consistency is reached.
Alternate Cooking Methods:
- Oven Braised Red Wine Beef: Prep the recipe according to Steps 1-4, above. Rather than braising on the stovetop, transfer the covered pot to a 325 degree F oven. Braise in the oven for 3 – 3 ½ hours, until the beef chuck is fall-apart tender, then finish and serve according to Steps 5-6, above.
- Crock Pot / Slow Cooker Red Wine Beef: Prep the recipe according to Steps 1-4, above. Once the pot is deglazed, transfer the seared beef chuck roast, vegetables, and wine to the slow cooker. Finish assembling according to Step 4, above. Slow cook on high for 3-4 hours or on low for 6-8 hours, stirring occasionally. Finish the red wine sauce as directed in Step 5, which you can do right in your slow cooker. If your slow cooker has a searing/browning feature, you can use it to cook the entire red wine braised beef recipe (Steps 1-5) in the slow cooker.
- Electric Pressure Cooker / Instant Pot Red Wine Beef: Use your Instant Pot’s “Sauté” setting to prepare the recipe according to Steps 1-4, above. Cover & seal the pressure cooker and cook on manual high pressure for 50 minutes. Allow the pressure cooker to naturally release pressure for 10 minutes before carefully flicking the valve to its “venting” position to vent out any residual pressure. If the red wine sauce seems a little too liquidy, feel free to turn on the Sauté setting again, letting the sauce simmer down a little before finishing as directed in Step 5.
Recipe and Food Styling by Jess Larson, Plays Well With Butter | Photography by Rachel Cook, Half Acre House.
Follow along with Plays Well With Butter on Instagram, YouTube, Facebook, and Pinterest for more unfussy recipes that pack a big punch of flavor!








Incredible dish, especially paired with a creamy mashed potato and asparagus. My husband loved it! This is going into our regular meal rotation.
Hi Livia, we’re so happy the Braised Beef turned out great for you! Serving it on mashed potatoes (and with asparagus!) is the BEST way to enjoy! 🙂
Looooved this! For such a special dish it is pretty easy and hands off. Tastes so rich and delicious – I got so many compliments from my dinner companions! A+, 2 thumbs up, would definitely make again!
You tried this one out SO quickly, Christine! So glad you enjoyed, and thank you for the kind review! 🙂