Description
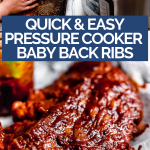
The BEST pressure cooker baby back ribs recipe! My dry rub for baby back ribs + a secret ingredient + perfected cooking time = the perfect juicy & tender ribs. You will love this recipe for pork ribs!
Ingredients
Scale
- 1 3-4-pound rack baby back pork ribs
- 1 tablespoon kosher salt
- 1 cup water + 1 tablespoon liquid smoke
- for serving: Your favorite BBQ sauce of choice, potato salad, coleslaw, cornbread, etc.
for the dry rub:
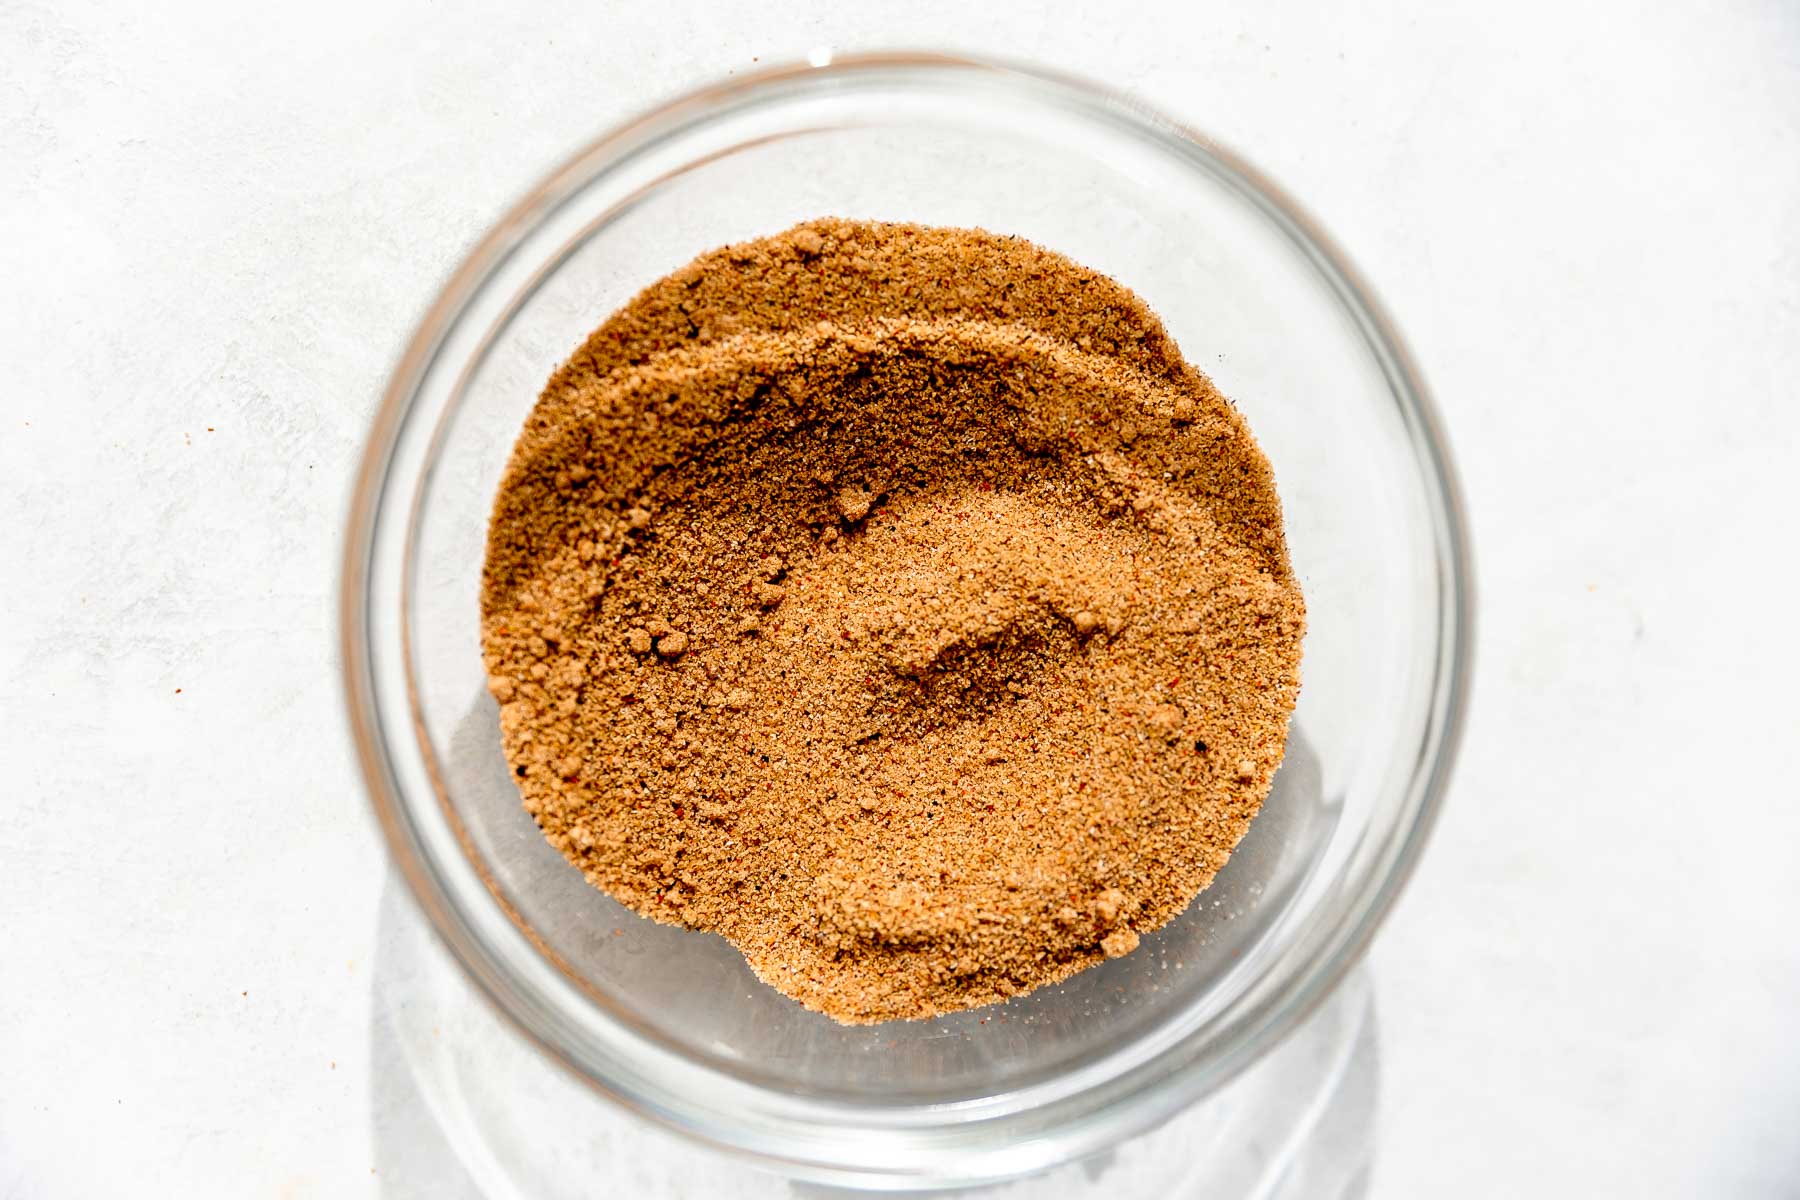
- ¼ cup firmly packed brown sugar
- 1 teaspoon chili powder
- 1 teaspoon ground cumin
- 1 teaspoon garlic powder
- 1 teaspoon onion powder
- 1 teaspoon smoked paprika
- 1 teaspoon ground black pepper
- optional: ⅛ – ¼ teaspoon cayenne pepper
Instructions
- Mix the dry rub: Add all listed dry rub ingredients to a small bowl. Stir to combine. Set aside, or store in an airtight container on your spice rack for up to 1 month.
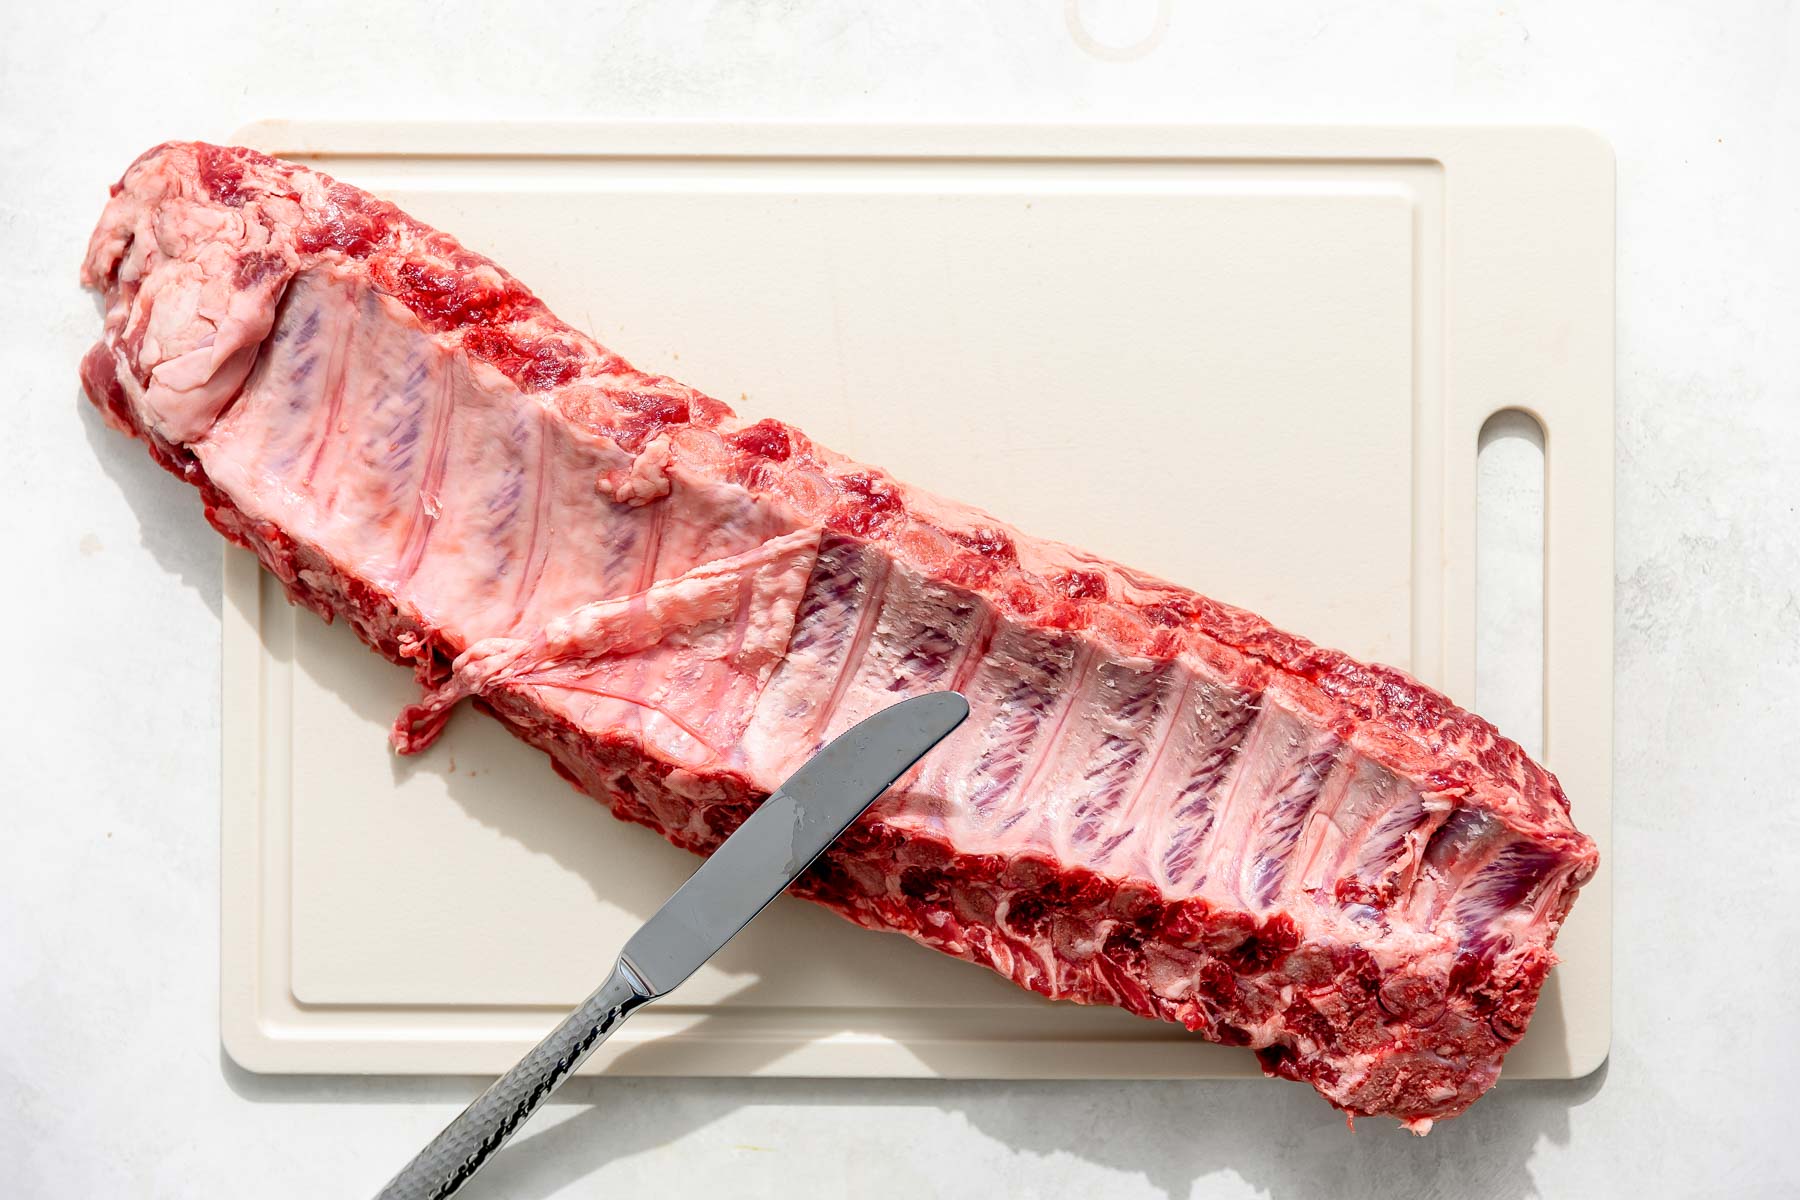
- Prep the baby back ribs: There will be a thin membrane on the back of the ribs (“silverskin”) that needs to be removed – otherwise the dry rub won’t penetrate the meat all around the ribs & your ribs will be difficult to chew! I find it’s easiest to use a butter knife (something with a blunt edge that is not sharp) to work the silverskin off the ribs in 1 spot. From there, slide your finger under the membrane and the silverskin should pull off very easily. Reference the photos provided in the blog post above if you need a visual. I also found this simple video tutorial to be very helpful!
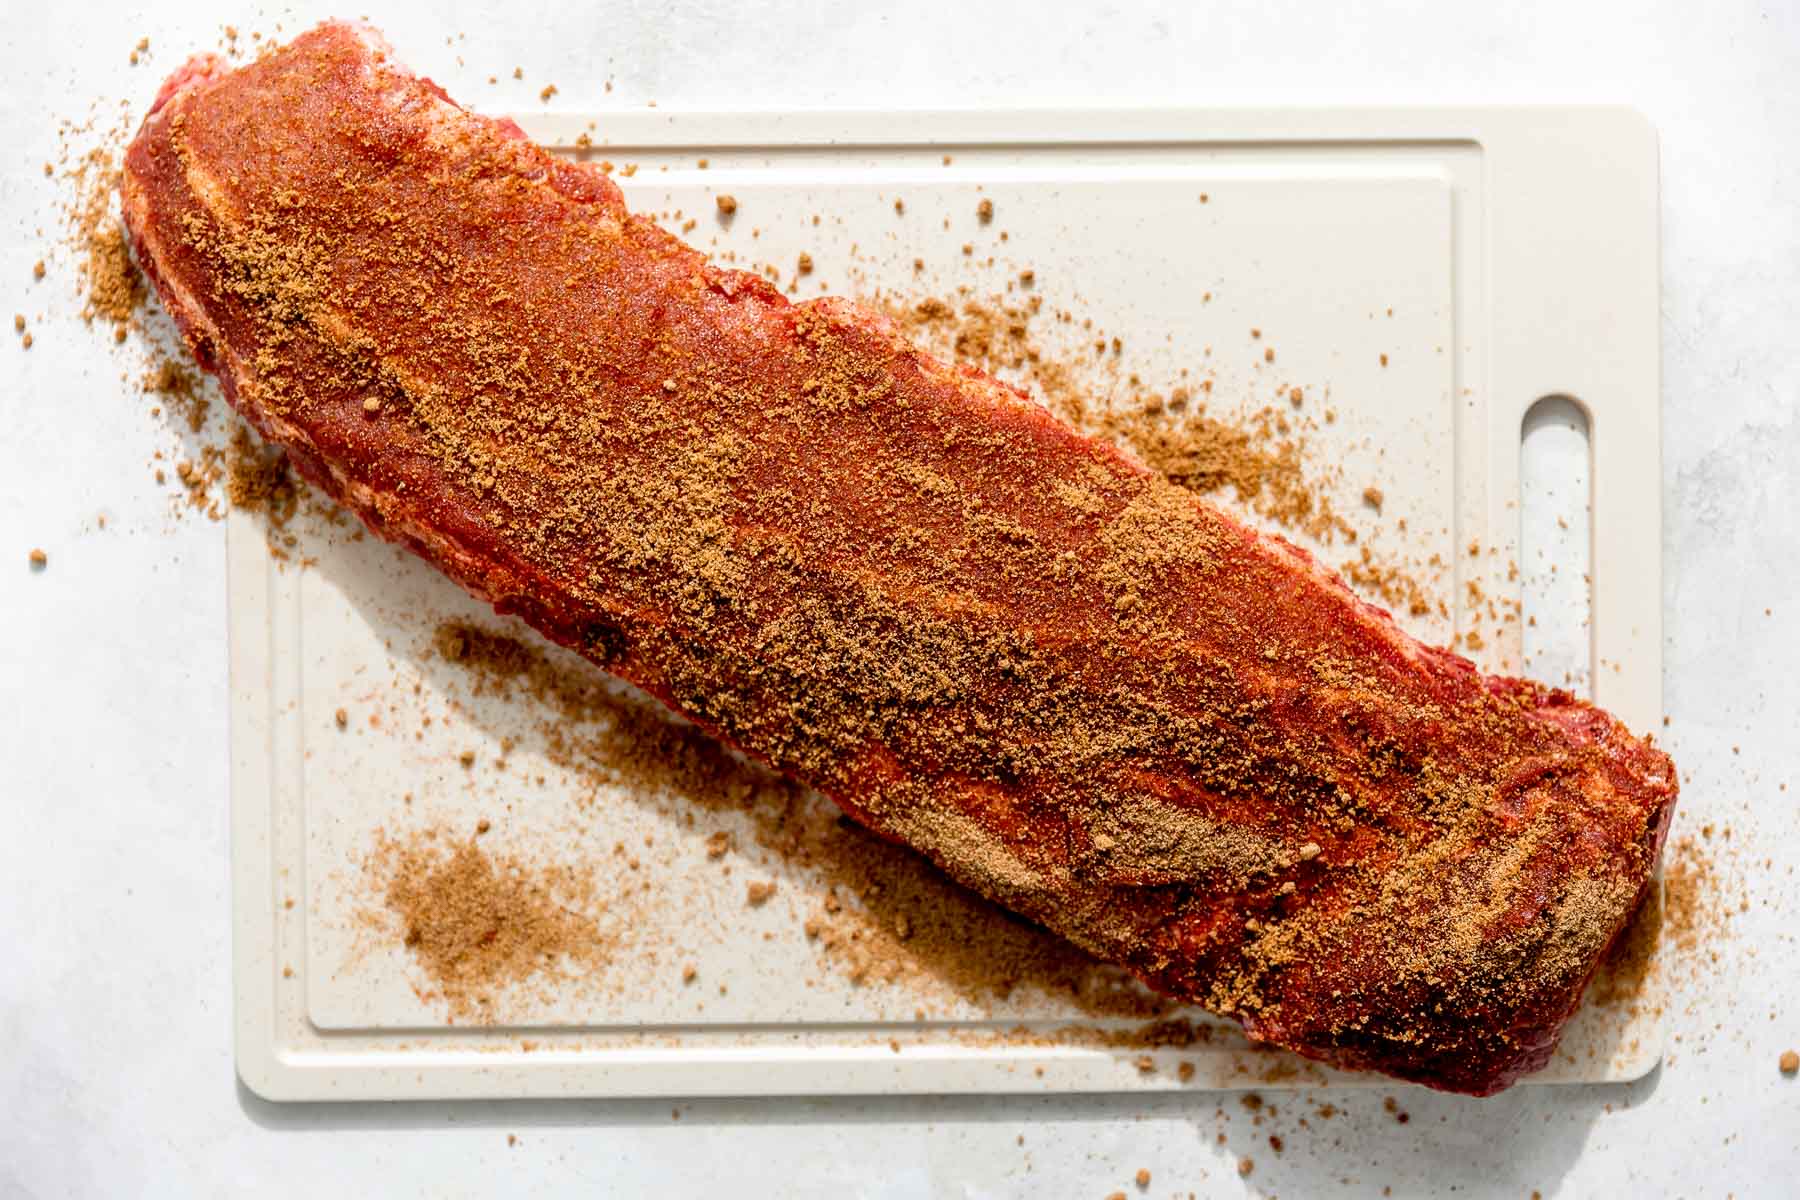
- Season the ribs: Generously season the ribs all over with kosher salt, then sprinkle the dry rub all over the ribs, using your hands to lightly work the rub into the meat.
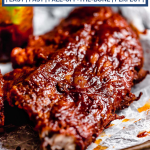
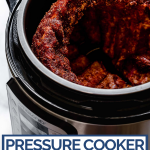
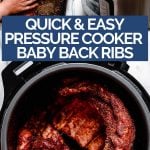
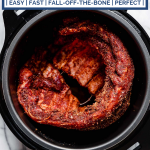
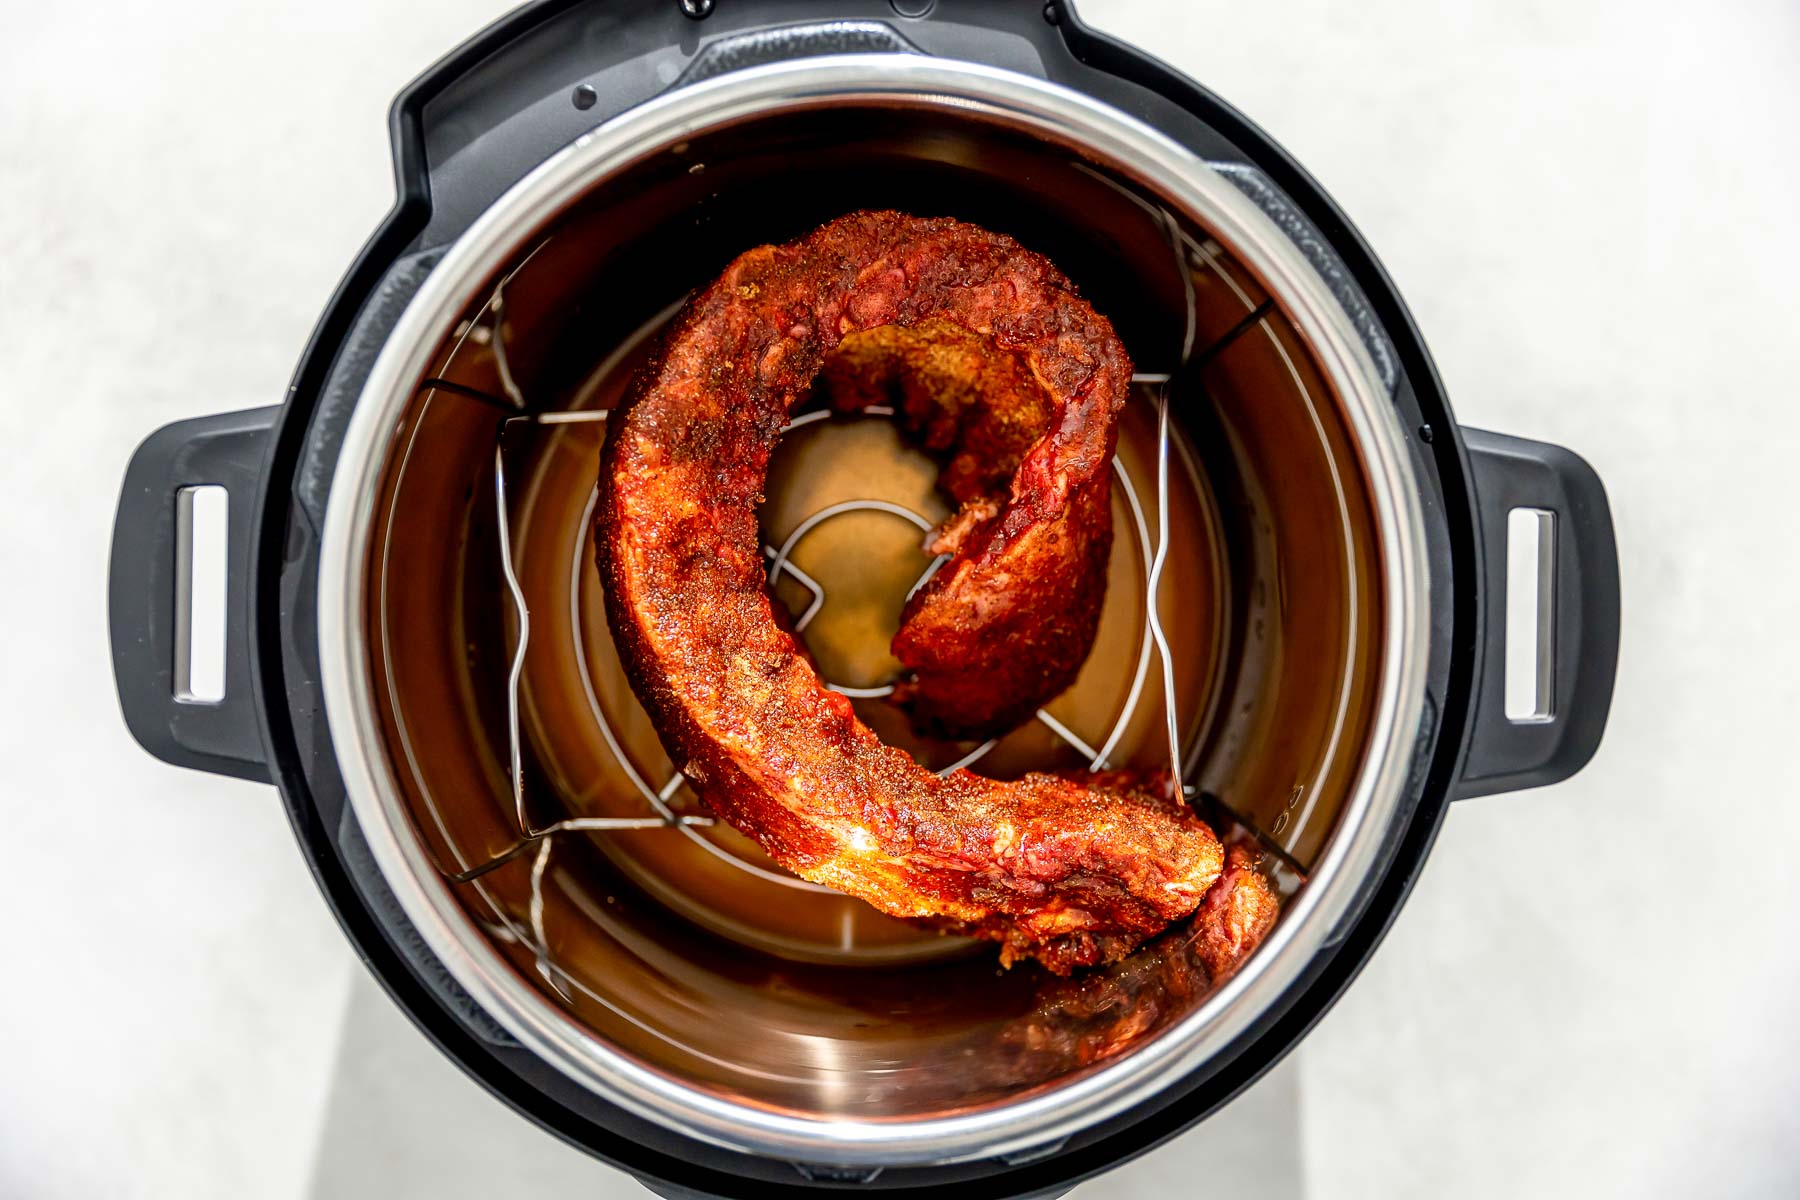
- Pressure cook the ribs: Add the water and liquid smoke mixture to the bowl of your electric pressure cooker. Fit the bowl with its trivet/rack. Place the prepared rack of ribs on the trivet/rack, bending as needed to fit into the bowl. Cover the pressure cooker, securely locking its lid into place and ensuring the vent is turned to its “sealing” position. Cook on low pressure for 30 minutes. Once the timer goes off, allow the pressure to release naturally for about 10 minutes (literally just leave the pot for 10 minutes!) before carefully flicking the vent to its “venting” position to allow any residual pressure to release. The ribs will hold to the bone but will have a great fall-apart tender texture – perfect! Carefully transfer the ribs to a baking sheet or serving platter.
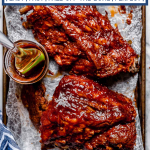
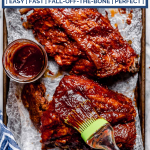
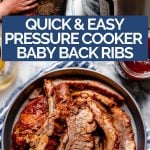
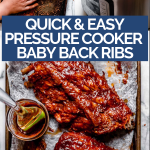
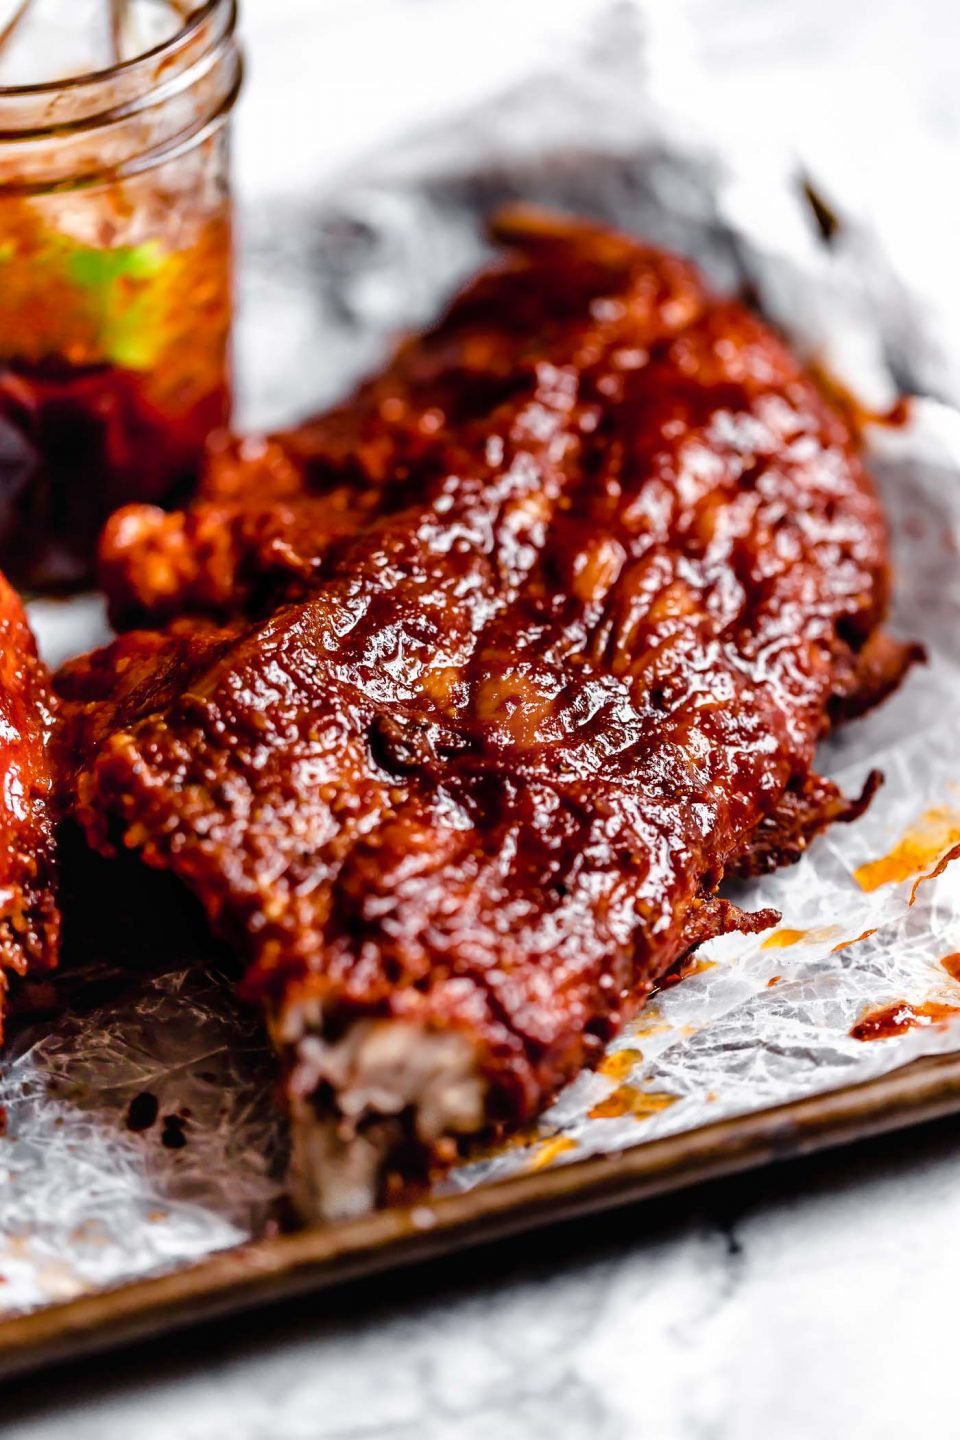
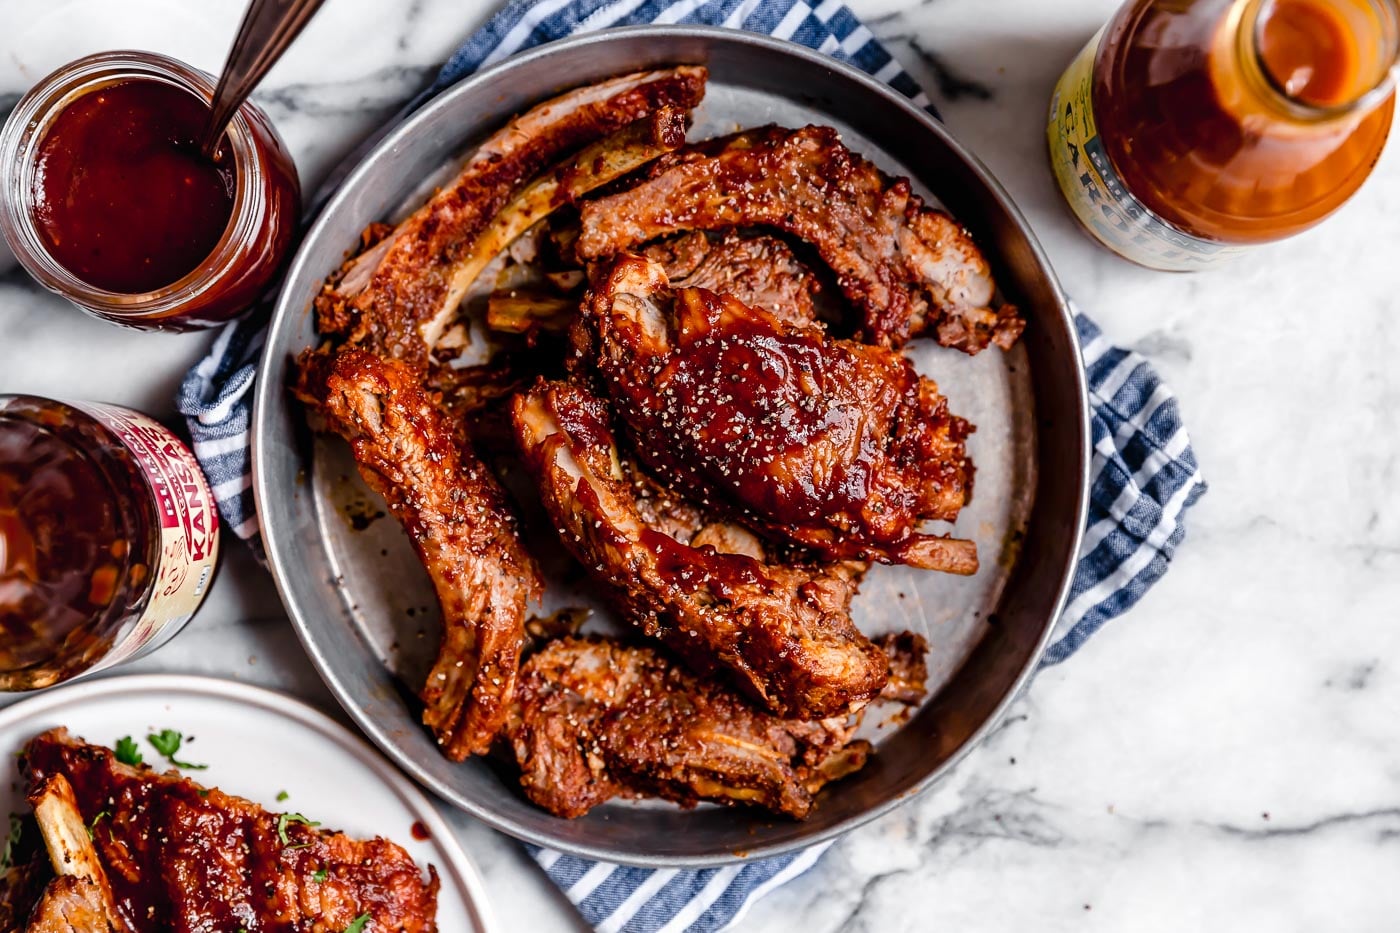
- Optional: Grill the ribs: While the pressure cooker releases, preheat the grill to medium-high (approx. 600 degrees F). Grill the ribs over direct heat for 3-4 minutes per side, brushing them with your favorite BBQ sauce the whole time. You don’t need to grill them very long, just enough to get some nice grill marks and smoky char.
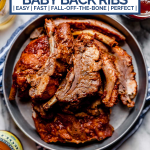
- Serve the ribs with your favorite BBQ sauce and BBQ sides. In our house, that’s cornbread, potato salad and coleslaw – YUM. Enjoy!
Notes
- Make ahead baby back ribs: Ribs might not be the first thing that comes to mind when you think of “make-ahead” food, but this is one of my favorite parts of this recipe. You can make the ribs in advance, then finish them on the grill just before you’re ready to serve. To make ahead, prep the ribs through Step 4 of Recipe Directions. Allow to cool slightly before wrapping in foil & transferring to the refrigerator. Store in the refrigerator for up to 3 days. When you’re ready to serve, resume with Steps 5-6 of Recipe Directions. You may need to grill slightly longer, just to ensure the ribs are warmed all the way through.
- No grill? No worries! Rather than grilling ribs as described in Step 5, you can achieve the same effect with your broiler. Position the ribs on a rack about 6 inches under the broiler & broil on high for 3-4 minutes. Brush with sauce, flip & repeat. As always – when working with your broiler, keep a close eye on things to avoid flare ups!