Description
How to Sear Scallops absolutely perfectly every single time…it’s easier than you think! Beautifully golden brown & juicy pan seared scallops are simple to make at home. Serve them on their own alongside lemons & crusty bread, toss them into a pasta dinner, pair with roasted winter veggies, & more.
Ingredients
Scale
- 1 pound jumbo sea scallops, U/20-30 (see Recipe Notes)
- 2 tablespoons avocado oil (or another high smoke point cooking oil, such as grapeseed, corn, peanut, canola, etc.)
- kosher salt & ground black pepper
Instructions
- Scallops prep: Working one by one, give the scallops a quick rinse under cold water to rinse away any sand that might be stuck on the flesh of the scallop (this helps prevent gritty seared scallops). Check each scallop for its adductor muscle – if present, it looks like a small, rectangular tag positioned right along the side of the scallop, with its fibers running opposite the fibers in the scallop itself. Use your fingers to gently tear it away. Some of your scallops may not have their side muscle attached – totally normal! Transfer the cleaned scallops to a paper towel-lined plate. Gently press a second piece of paper towel over top to remove as much excess moisture as possible. Set aside. [gallery columns="2" size="full" ids="12376,12377"]
- Searing prep: Add the avocado oil to a large nonstick or stainless steel skillet over medium-high heat. Season the scallops generously with kosher salt, about 1 teaspoon per pound. If desired, season with cracked black pepper. If the salt draw some moisture to the surface of the scallops, use a fresh paper towel to pat dry again. [gallery columns="2" size="full" ids="12378,12379"]
- Sear the scallops: Once the oil is hot, carefully transfer the scallops to the skillet. Work in batches, as needed, to avoid overcrowding the pan. Cook, giving the pan a gentle shake every so often, for 2-3 minutes, until a deep golden crust has formed on bottom of the scallops. Flip and cook for 1-2 minutes more. You will be able to tell that the scallops are cooked through when the side of the scallop is opaque top-to-bottom. Transfer the seared scallops to a fresh paper towel-lined plate. Repeat with any remaining scallops, adding extra oil to the pan as needed. [gallery columns="2" size="full" ids="12380,12381"]
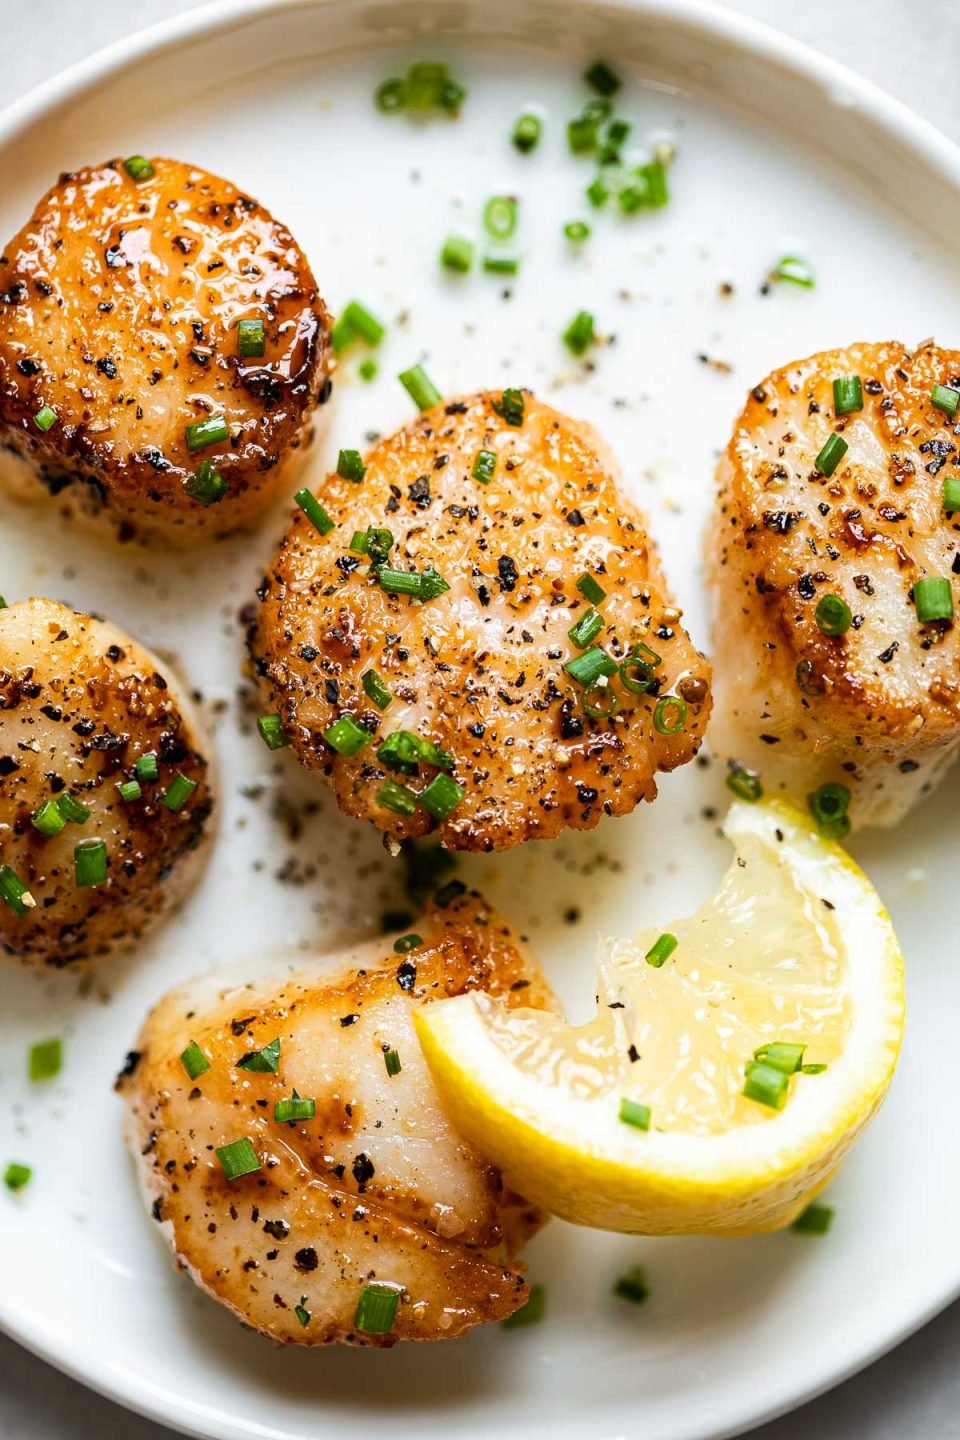
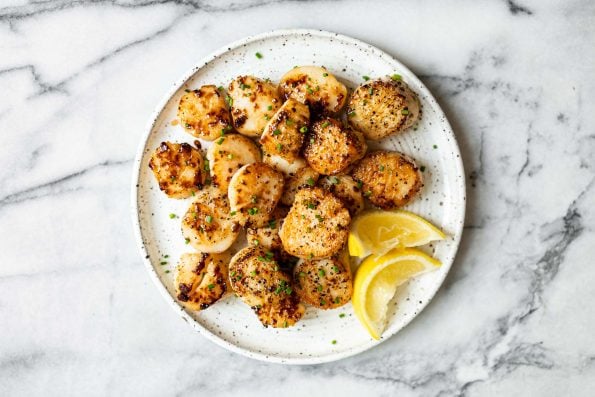
- Serve immediately: You can enjoy your perfectly pan-seared scallops with crusty bread & a big squeeze of fresh lemon juice, drizzle them with herbaceous sauces like chimichurri or pesto, or pair with your favorite dishes. Pan-seared scallops are a great, easy seafood option to pair with steak for a surf & turf dinner at home. They’re also great on pasta – my favorite is this Pesto Pasta with Seared Scallops. Enjoy!
Equipment

ALDI Simply Nature 100% Avocado Oil
Buy Now →
ALDI Specially Selected Jumbo Scallops
Buy Now → Buy Now →
 Notes
- “U” designation: This recipe is written specifically with jumbo sea scallops in mind, about U/15 – U/20. The “U” designation is a measure of size, indicating how many individual pieces make a pound. The smaller the U designation, the larger the scallops & vice versa (i.e. U/10 sea scallops are larger than U/30 sea scallops because only 10 individual scallops make up 1 pound vs 30).
- Frozen vs fresh scallops: Conventional wisdom may dictate that fresh is best, especially when it comes to seafood. While there’s certainly some truth there, it’s a little more nuanced than that. Unless you live on the coast, ‘fresh’ seafood is most likely previously frozen for transit to the store. On the other hand, frozen seafood is typically frozen quickly after its caught, giving the final consumer more control to thaw immediately before use. In terms of freshness, I think frozen is the way to go! (& a bonus? Frozen is typically less expensive!)
- Thawing frozen scallops: The best way to thaw frozen scallops, or any frozen protein for that matter, is to place them in a zip-top bag & submerge in cool water. The steady, cool temperature of the water creates a really controlled environment for the frozen scallops to come up to room temperature. This is better from a food safety standpoint, since it limits bacterial growth. It’s also really quick – the scallops thaw in 25-30 minutes, tops!