Description
A treasured family recipe – the Best-Ever Kalua Pig!
Succulent, fall-apart tender pulled pork shoulder infused with rich earthy and smoky flavor, kalua pork is pure Hawaiian goodness, perfect for traditional kalua pork and cabbage, pulled pork sandwiches and sliders, tacos, nachos, and more.
Oven, slow cooker and electric pressure cooker instructions provided.
Ingredients
Scale
- 2 ½-3 pounds boneless pork shoulder, cut into 3-4 large pieces
- 8-10 cloves garlic, sliced in half lengthwise
- 2 tablespoons olive oil
- 1 large banana leaf, thawed if frozen and cut into 3 smaller pieces (see Recipe Notes)
- 2 tablespoons Hawaiian sea salt (see Recipe Notes)
- 1 ½ tablespoons liquid smoke, divided
- 2 cups water or chicken stock
Instructions
- Preheat the oven to 325 degrees F, ensuring a rack is positioned in the center of the oven.
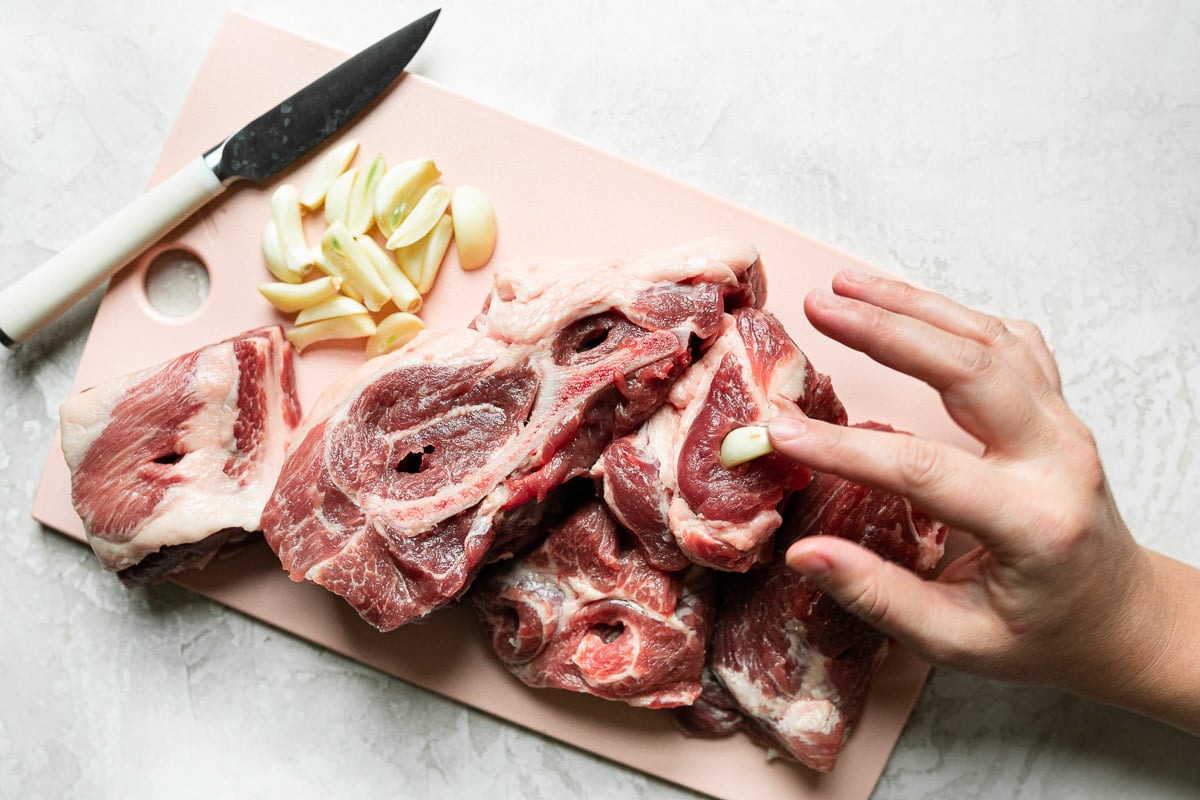
- Stud the pork with garlic: Using a sharp paring knife, carefully cut a few deep slits into each piece of pork shoulder, then insert sliced garlic into each pocket.
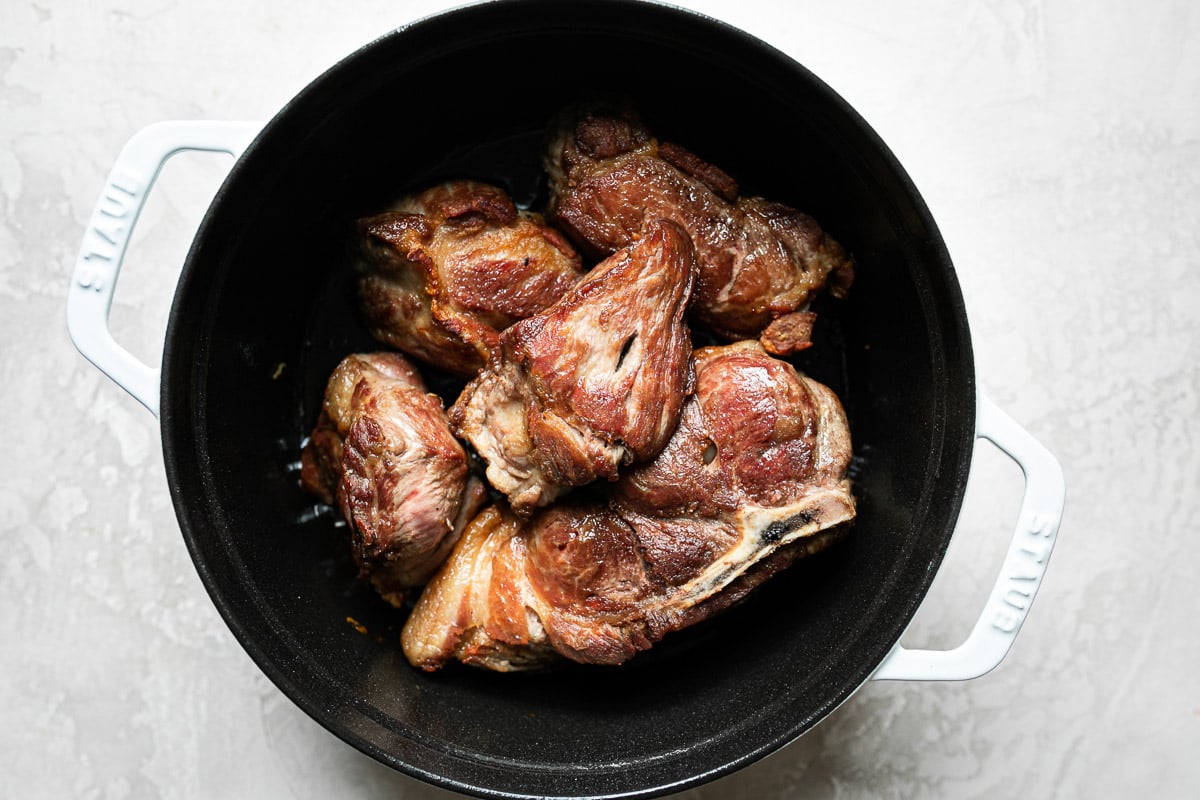
- Sear the pork: Add the olive oil to a large, heavy-bottomed pot with a lid over medium-high heat (I use a 5-qt Dutch oven). Once the oil is hot and shimmering, carefully add in the prepared pork. Work in batches, as necessary, to avoid overcrowding the pot (which prevents browning). Cook for 4-5 minutes per side, until nicely browned. Transfer the browned pork to a plate, remove the pot from the heat and set aside to cool.
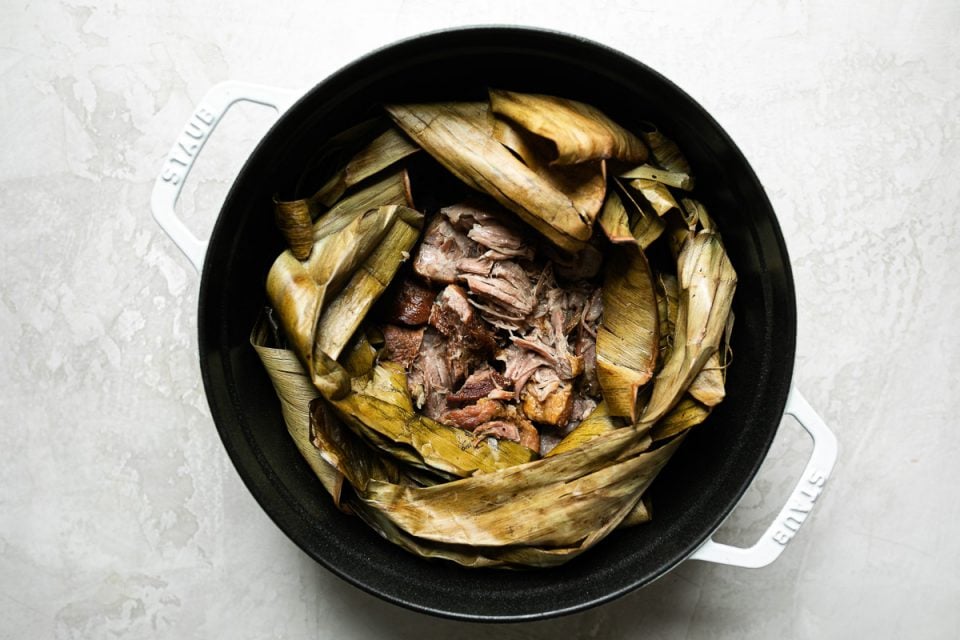
- Wrap the pork in banana leaves: Place the seared pork in the center of one of the pieces of banana leaf. Season with the Hawaiian sea salt and 1 tablespoon of the liquid smoke, using your hands to rub the salt and liquid smoke all over the surface of the pork. Arranged the seasoned pork in a small pile at the center of the banana leaf, folding the corners and edges of the banana leaf into the center to encase the pork. Carefully flip and set the wrapped pork seam side down on the second section of banana leaf. Repeat folding with the remaining pieces of banana leaf. Note: The banana leaf may split a little bit as you work, which is okay. Just work quickly and do your best to completely encase the pork in the banana leaf. [gallery columns="2" size="medium" ids="14033,14034,14035,14036,14037,14038"]
- Braise the kalua pig: Carefully set the banana leaf-wrapped pork seam side down in the pot used to sear the pork. Pour the water or chicken stock around the sides of the banana leaf-wrapped pork. Cover the pot and transfer the pot to the oven. Cook for 2 ½ – 3 hours, until the kalua pork is fall-apart tender.

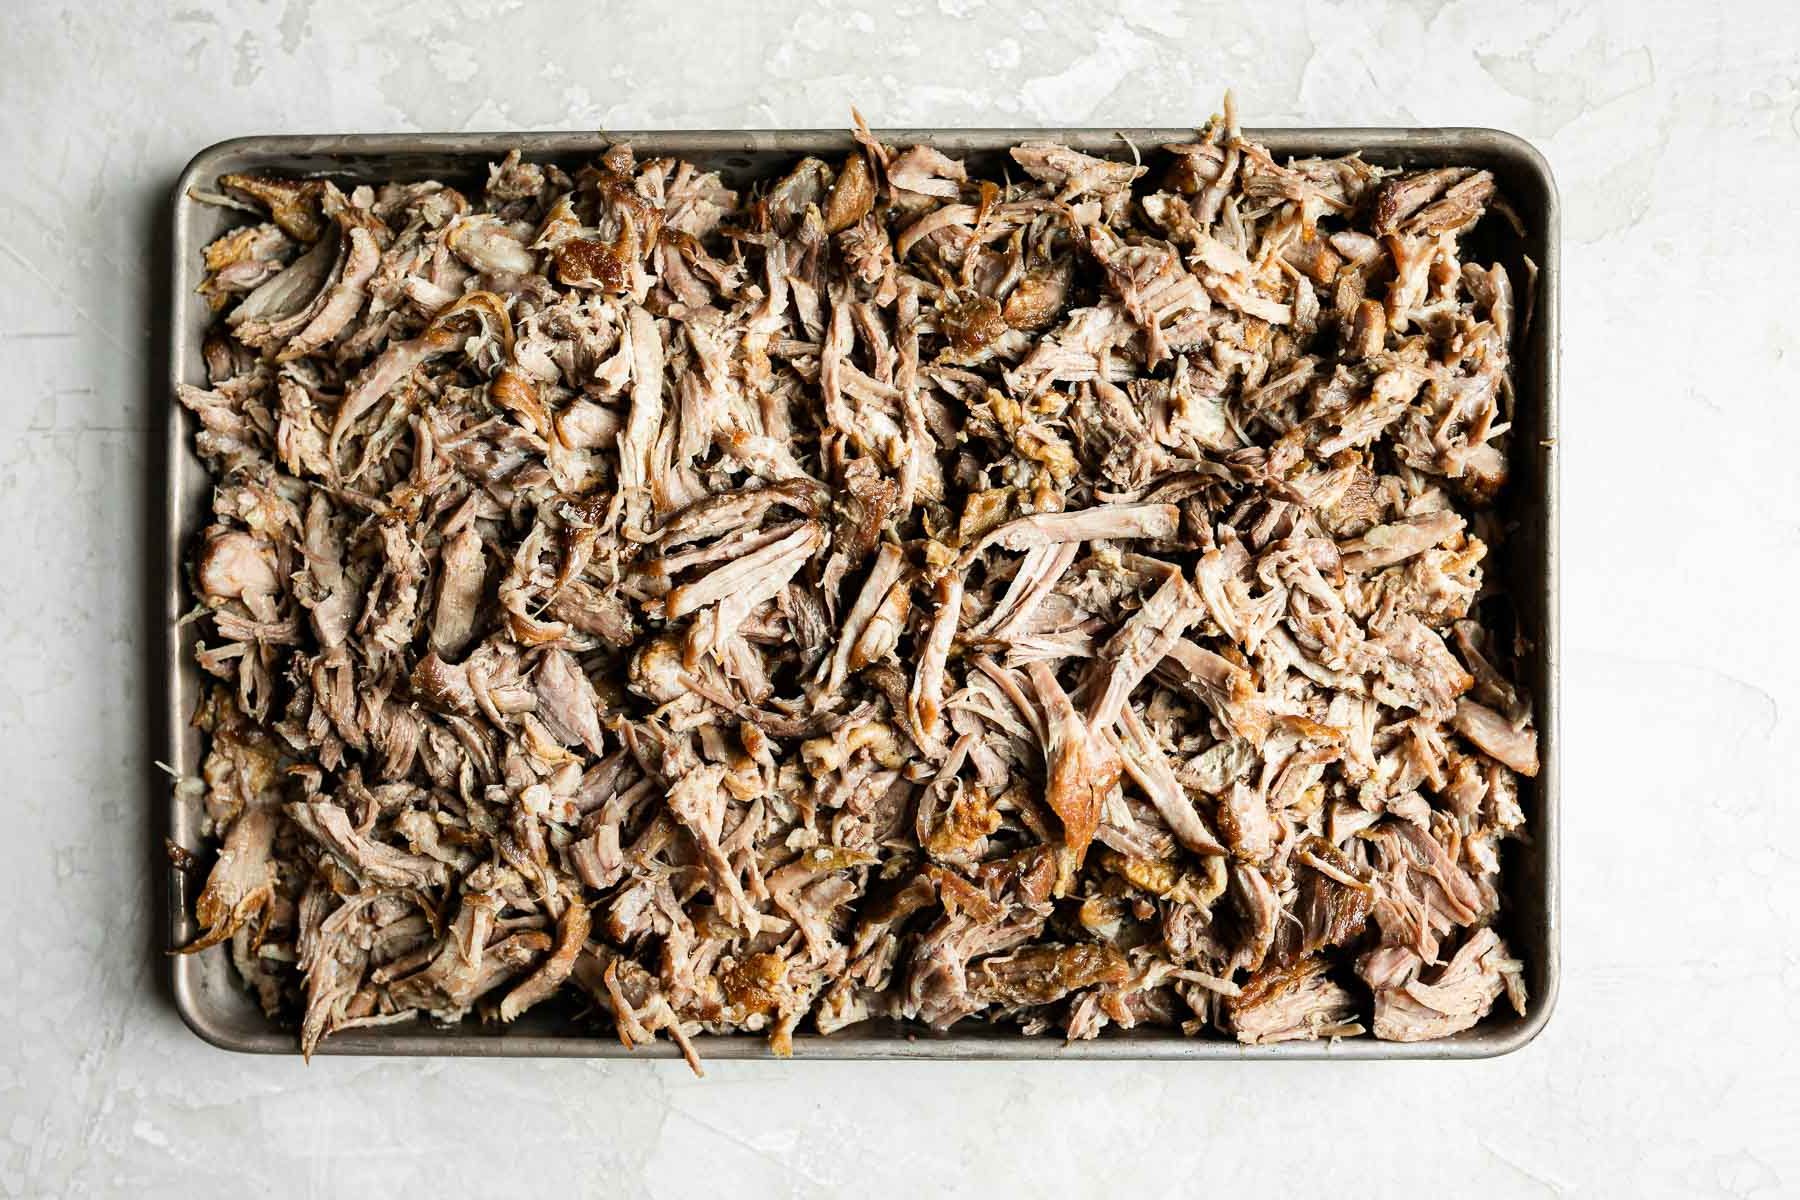
- Finish the kalua pork: Carefully transfer the pork to a plate or cutting board. Use tongs or 2 forks to shred the pork into bite-sized pieces. Once shredded, transfer to a large mixing bowl. Season with the remaining ½ tablespoon liquid smoke and a few spoonfuls of the cooking liquid in the pot as desired, stirring to combine. At this point, you can enjoy your Hawaiian kalua pulled pork immediately or cool and store for later use (see Recipe Notes for storage and freezing directions).
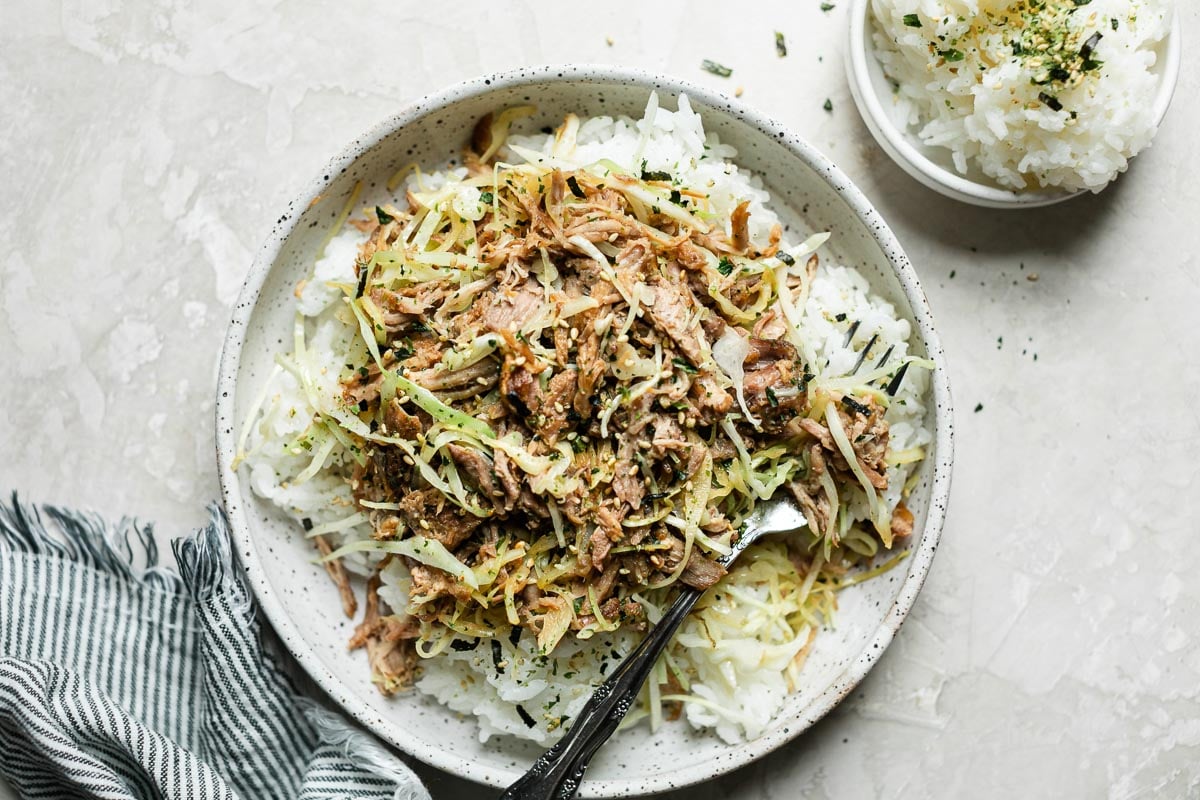
KALUA PORK AND CABBAGE: My favorite way to enjoy this kalua pig is a pretty classic preparation of Kalua Pork and Cabbage. When I cook kalua pig and cabbage, I mostly eyeball things, but here’s the gist of how it’s done (the below steps yields 1 generous portion, multiply as desired for more servings!):
- Add a couple of teaspoons of neutral cooking oil to a skillet over medium heat. Once the oil is hot & shimmering, add in roughly ½ cup of kalua pulled pork and a couple of handfuls of finely shredded cabbage. Stir to combine.
- Once the pork is hot and the cabbage begins to wilt, pour in a few teaspoons of shoyu (or soy sauce/tamari/coconut aminos). Stir to combine and continue to cook 1-2 minutes more.
- Serving: Kalua pig and cabbage begs to be served over a pile of rice! If you want to take your meal to the next level, drizzle with spicy mayo and serve alongside Hawaiian mac salad. Enjoy!


Notes
- Banana leaf: Banana leaf is absolutely crucial in this kalua pork recipe, as it perfumes the pork with a rich, earthy flavor. You can find banana leaf sold in the freezer section of most well-stocked Asian grocery stores.
- Hawaiian sea salt: Hawaiian sea salt is also crucial in this kalua pig recipe. It’s richer in minerals than conventional salt (and it’s as authentic as it gets!). Yes, you need 2 full tablespoons for this recipe – Hawaiian sea salt is very coarse (so there are fewer crystals per tablespoon) and it’s notably less salty than conventional salt. When it comes to Hawaiian salt, I use this ‘Alaea salt (red clay salt with naturally occurring minerals and iron) and this Hawaiian sea salt – either will work wonderfully in this recipe. If you don’t wish to use Hawaiian sea salt, substitute with coarse rock-style salt.
- Make-Ahead, Storage and Freezing:
- Storage Instructions: Kalua pulled pork stores incredibly well! Transfer cooled kalua pork to an airtight container and store in the refrigerator for 4-5 days. Easily reheat on the stovetop or in the microwave.
- Freezing Instructions: Kalua pulled pork is also incredibly freezer-friendly. To freeze, transfer cooled kalua pork to a freezer container (or divide it up between multiple freezer containers for smaller portions). Freeze for up to 3 months. To thaw, place the frozen kalua pig in the refrigerator overnight or submerge the freezer container in room temperature water for a quicker thaw. Easily reheat on the stovetop or in the microwave.
- Alternate cooking methods:
- SLOW COOKER KALUA PORK: Prep the recipe according to Steps 2-4, above. Transfer the banana leaf-wrapped pork to the slow cooker, along with water (or stock) as directed in Step 5. Slow cook on high for 4-5 hours or on low for 7-8 hours until the kalua pig is fall-apart tender. Finish as directed in Step 6. If your slow cooker has a searing/browning feature, you can use it to cook this entire kalua pork recipe (Steps 1-6) in the slow cooker.
- ELECTRIC PRESSURE COOKER KALUA PORK: Use your electric pressure cooker’s “Sauté” setting to cook the recipe according to Steps 2-4, above. Place the rack insert that came with your pressure cooker into the bottom of the pot, then set the banana leaf-wrapped pork over top. Pour just 1 cup of water (or stock) around the sides of the banana leaf-wrapped pork. Cover and seal the pressure cooker. Cook on manual high pressure for 50 minutes. Allow the pressure cooker to naturally release pressure for 15 minutes before carefully flicking the valve to its “venting” position to vent out any residual pressure. Finish as directed in Step 6.